
Planned Work Maintenance
Planned work is work that needs to be done, but not immediately. For example, a fabric rip in a seat. The challenge with planned work is it is easily forgotten.
The web app displays any planned work for an asset when a work order is viewed and all planned work can be reviewed in the Planned Work Maintenance area of web.
Planned work can be reviewed and automatically sent to a work order with a few clicks making it easier than ever to manage planned jobs.
Before a job will appear in the Planned Work Maintenance area, it has to be set up as a planned job. Refer to Planned Jobs for more information on setting up a planned job through a work order or visit the section below to add a planned job via the master list.
Master List Overview
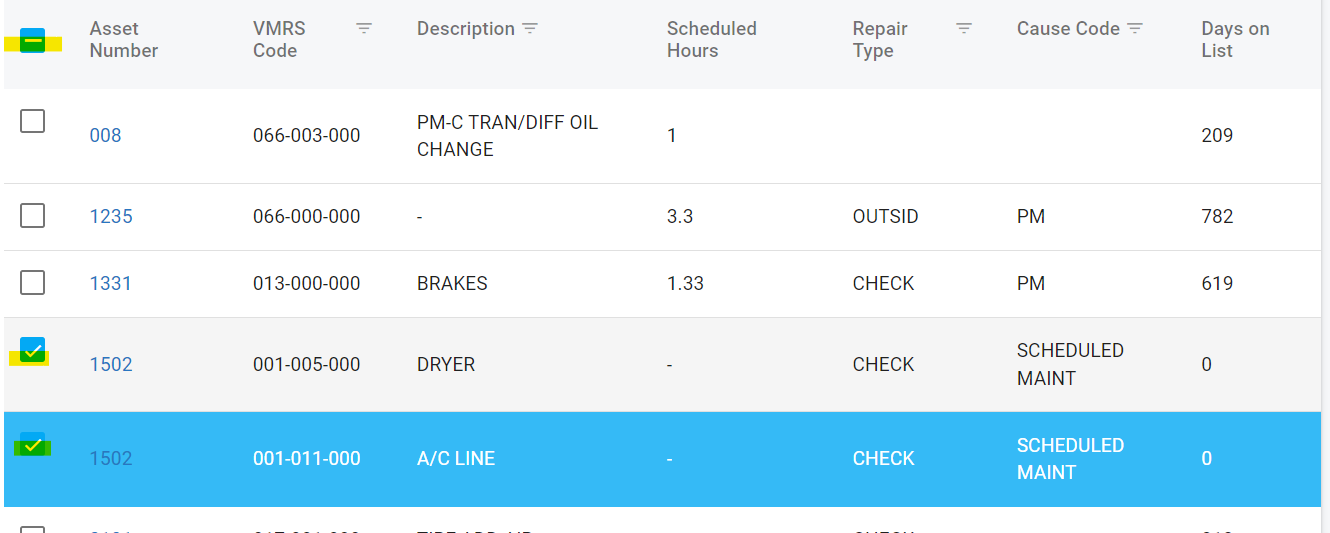
Access the “Planned Work Maintenance” section of the main menu under Work Orders in Maint. & Repair. This area will provide a list of all the planned work currently waiting to be completed.
Master List Column Descriptions
Actions that can be performed on the Asset Master List
There are multiple actions that can be taken from the Master List at the click of a button. Below is a list of actions that can be performed from the list. Detailed instructions for each may be located elsewhere and a link to the appropriate article will be provided.
Customizing columns - Refer to Customizing Master List Columns
Exporting the list - Refer to Exporting a Master List
Adding a planned job to RTA - See adding a planned job below
Viewing planned job Details - Clicking a line item will open up the planned job file.
Adding Planned Work via the Master List
Click on the + sign from the master list view
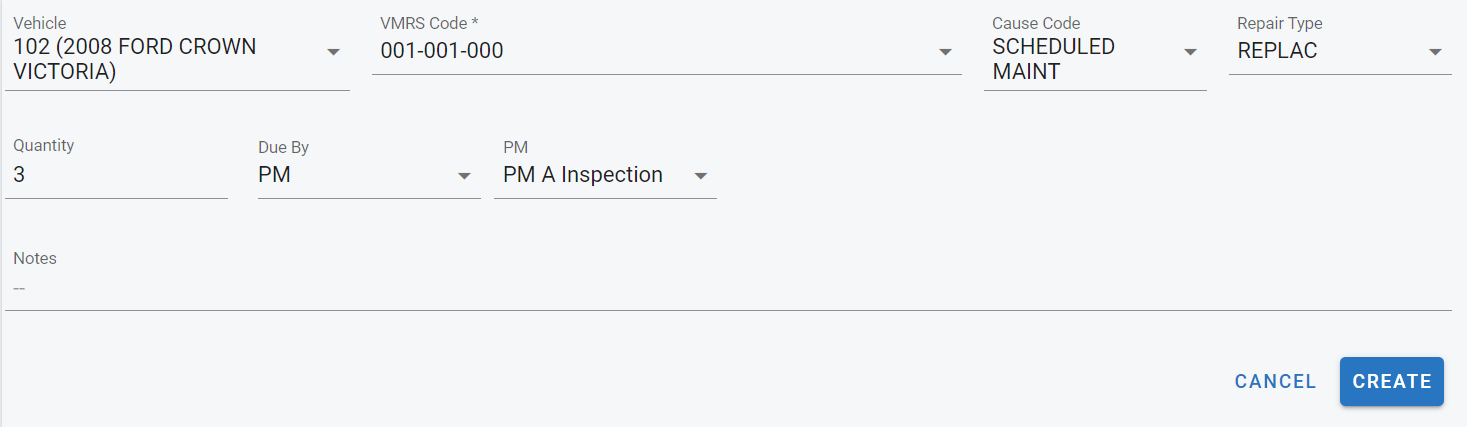
Enter in the fields stated below
Vehicle = Asset number on which the work will be performed
VMRS Code = The work order job code associated with the work to be performed
Cause Code = The cause for the particular job line
Repair Type = Type of repair to be performed
Quantity = How many iterations of the job need to be performed on the asset
Due By = Parameters for when the job is due
Date = A specific due date
Meter = A specific meter reading
PM = In conjunction with a specifically chosen PM Schedule
Notes = Enter any line notes associated with the planned work
Attachments = Add any corresponding/necessary attachments for the job line
Click Create
Actioning on Planned Work
Assigning Planned Work to a Work Order
Planned work can be automatically assigned to an existing or a new work order. This can be done for each planned job individually or a bulk assign can be performed.
Each planned work line will be assigned to a separate work order.
To assign to a work order, follow the below steps:
Click the selection box next to each item to be sent to a work order or click on the select all box at the top to select all lines at once
Click the Assign to WO drop down at the top of the list
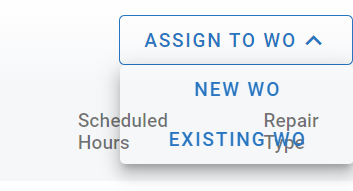
Select to either send to a new work order or to an existing work order where applicable
The system will display a message letting you know the work order numbers used for the line items

Deleting Planned Work
If a planned work line needs to be deleted from the master list, select the line to be deleted using the chooser box and click the delete button at the top of the list.
This can be done in bulk for multiple lines at a time.