
Custom Dashboard
Before you start. Custom Dashboard is an add on module. If Custom Dashboard is greyed out with a padlock icon in the Analytics menu, the module is not included for your account, and user group permissions cannot unlock it. If it is available, a user still needs the Custom Dashboard permissions in their user group to view or change a layout. See Why Custom Dashboard Is Locked or Unavailable.
Custom Dashboard allows the organization to customize the layout of the available widgets for the following categories:
Assets
Work Orders
Parts
Purchase orders
Fuel
Follow the steps below to set up a custom dashboard:
From the main menu, select Home> Custom Dashboard
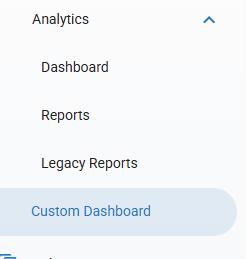
Select Custom Dashboard from the menu under Analytics
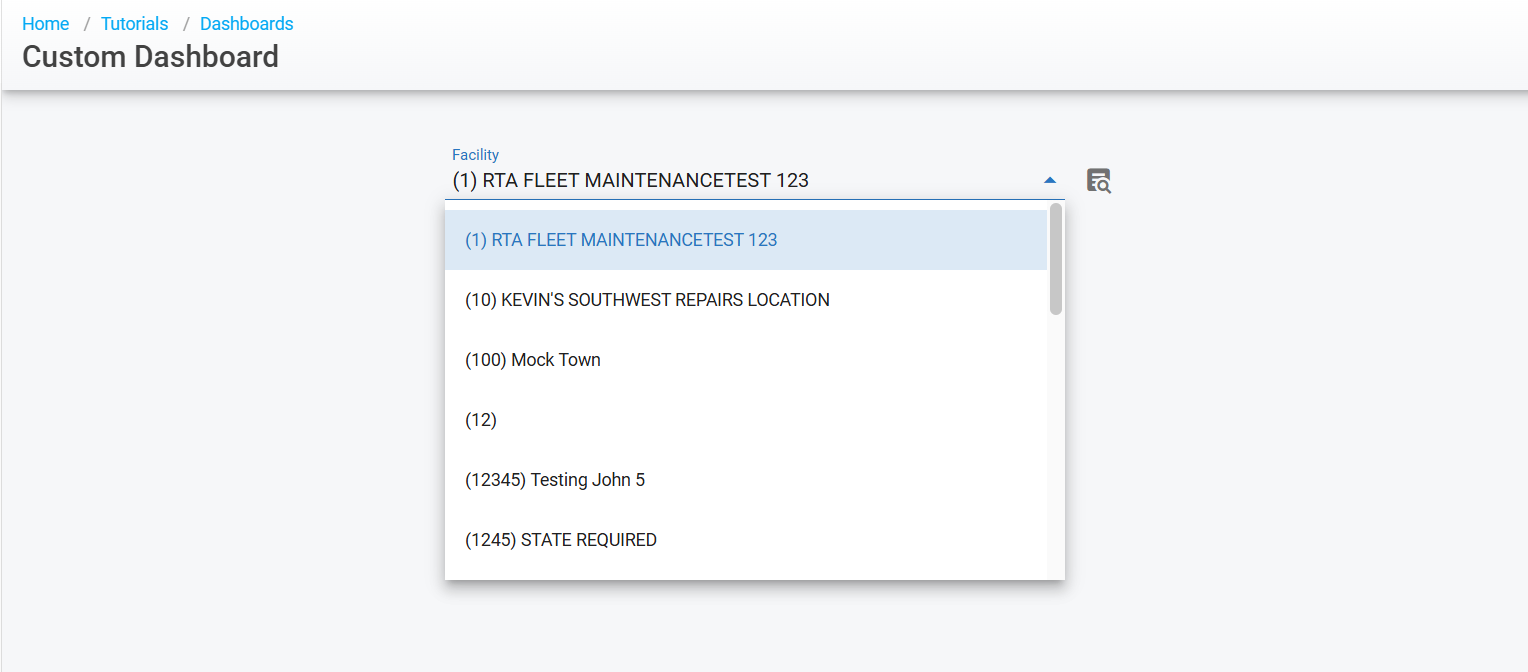
Select the facility to associate the Custom Dashboard
One custom dashboard layout is saved per user group, plus one personal layout (Current User) for your own login. If a layout already exists for the group you pick, you are editing that layout rather than creating a second one. The facility selected at the top of the screen filters the data shown in the widgets.
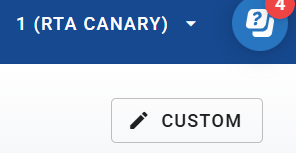
Once the Facility is selected click on “Custom” found in the top right corner and the edit page will populate
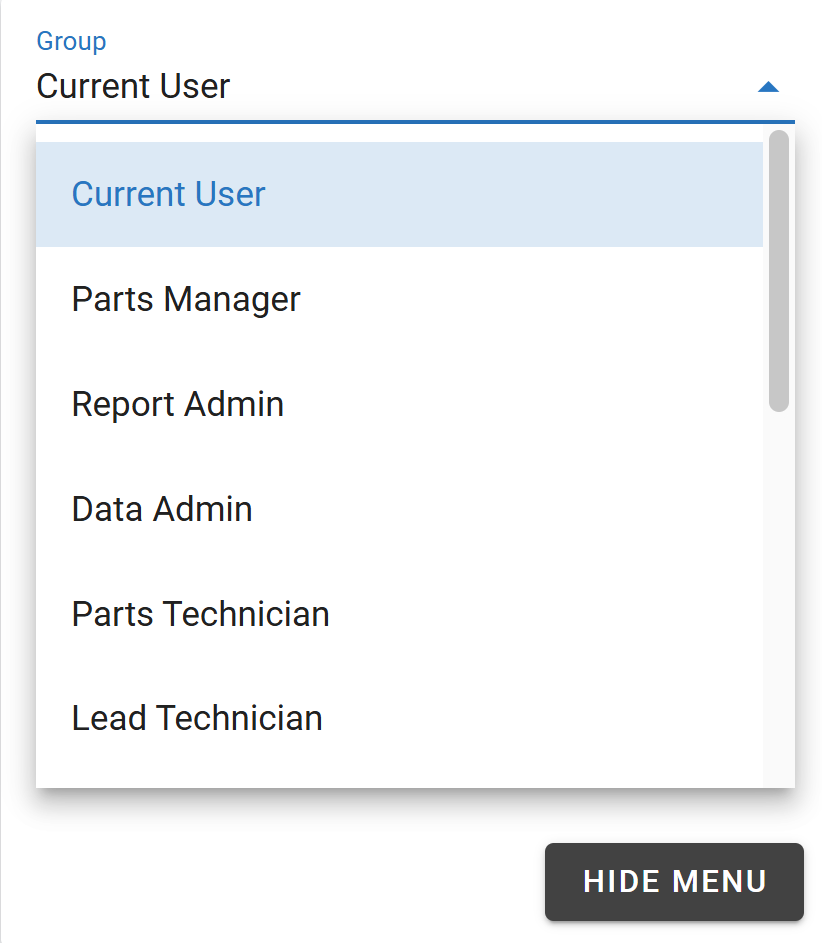
Begin by selecting the Group (user group) you wish to customize a dashboard for
After selecting the Group to edit, begin selecting the preferred widget categories to add specific dashboards
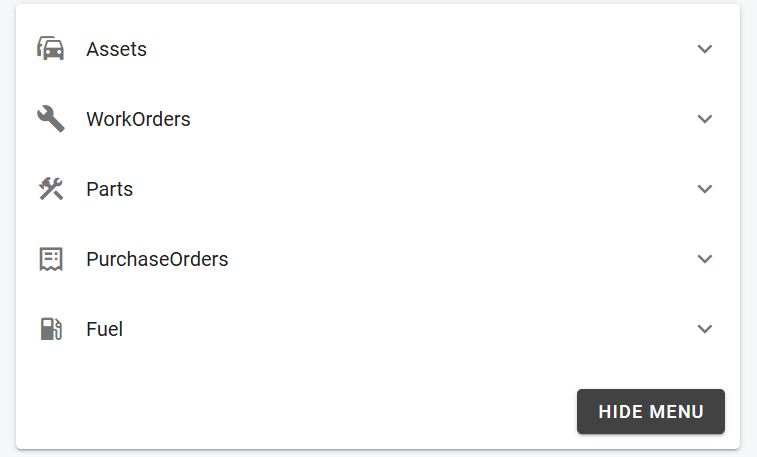
To select the widgets, click on the categories of choice and click on the add icon
 to the left of the sub category.
The widgets will then populate on the page
To remove a widget: Click on “Custom” found in the top right corner, then select the delete/remove icon
 found in the top right of the dashboard box
To rearrange widgets: Click and hold to drag the dashboard to the preferred location
To resize widgets: Move the cursor to the bottom right corner of the widget, then click, hold, and drag
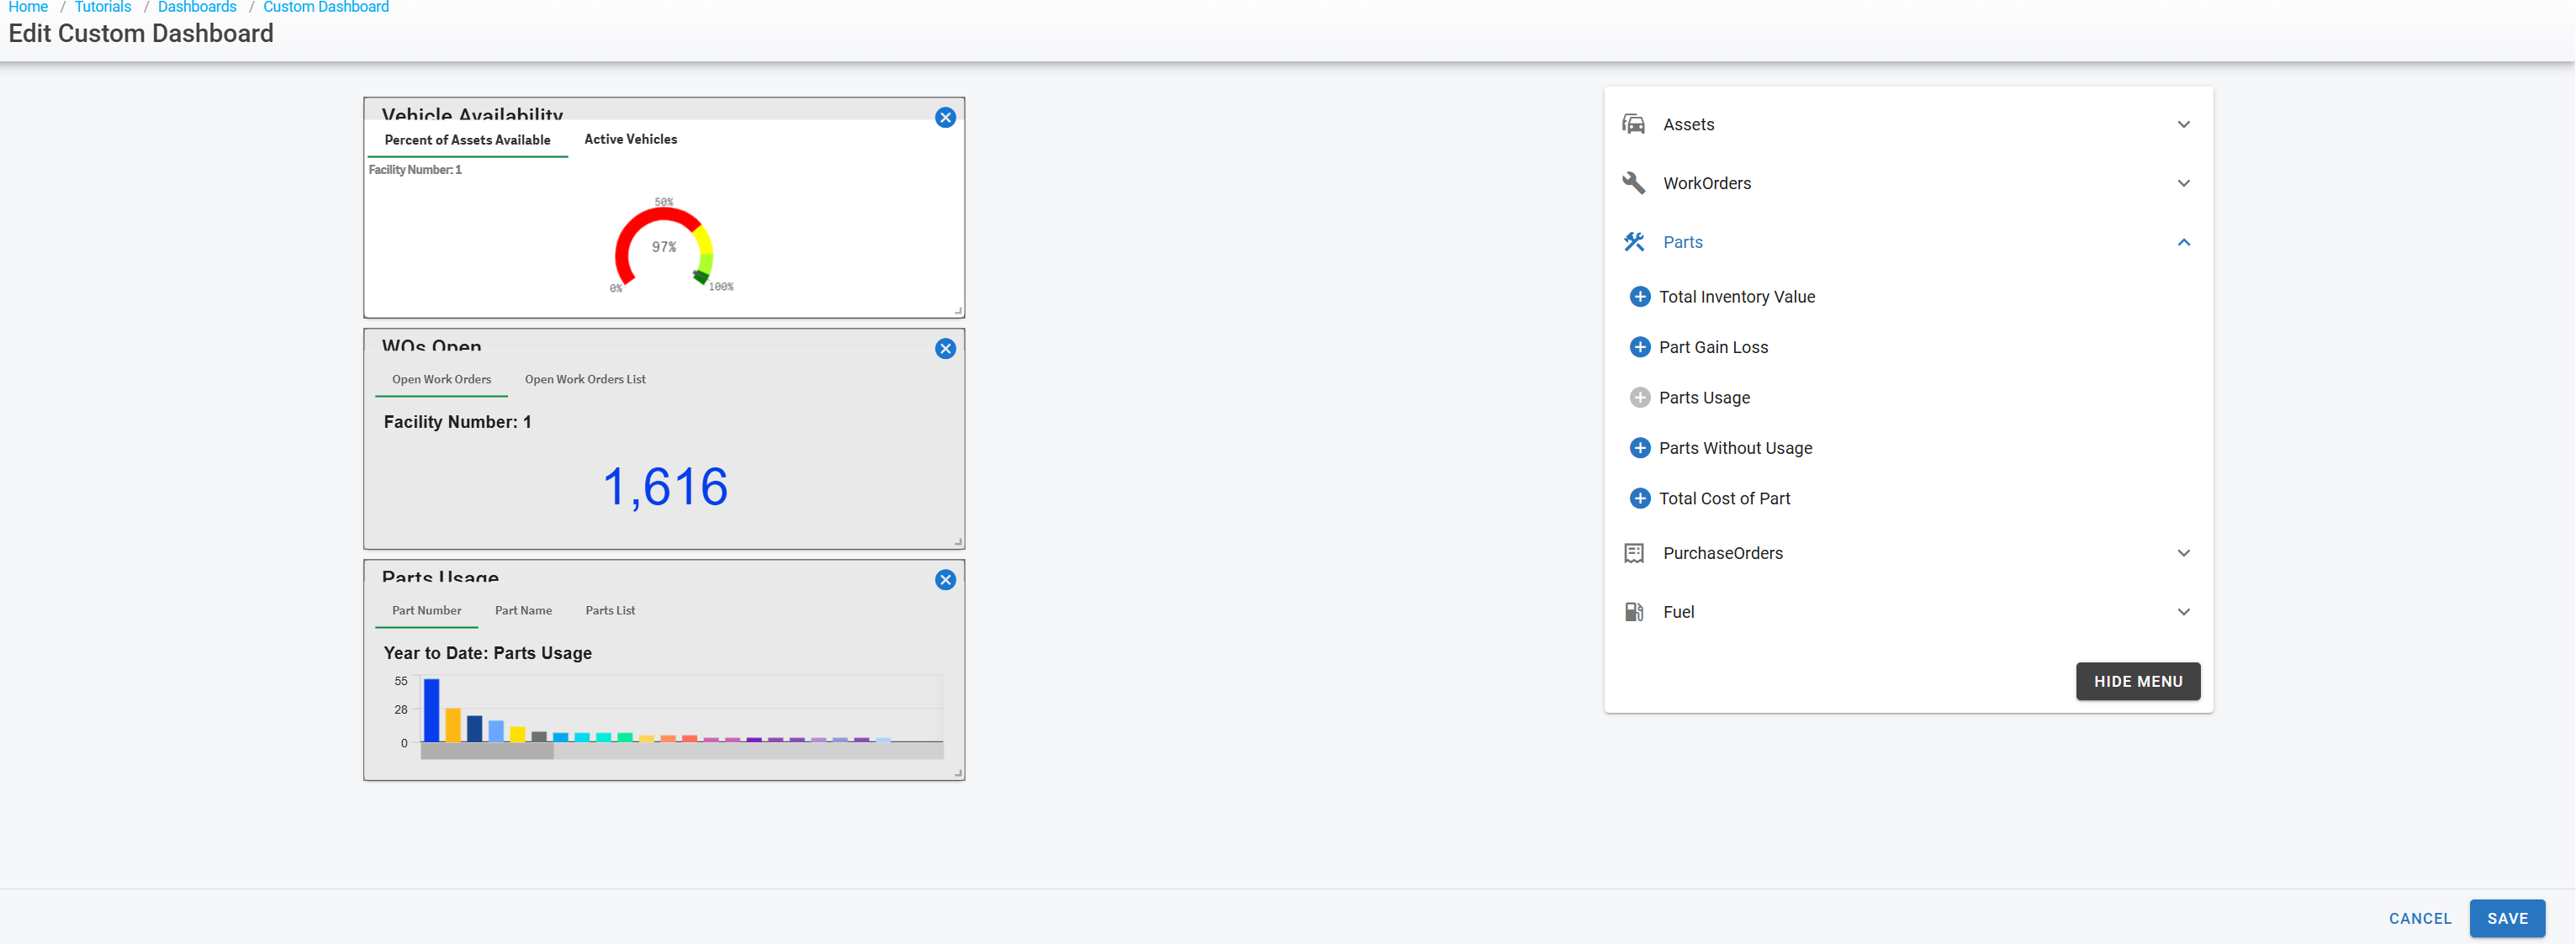
To finalize the Custom Dashboard, click on save found in the bottom right corner