
Purchase Order Approvals Process
When the approval process for Purchase Orders is turned on in your RTA Software. Purchase Orders that are pending approval will be found in this section. Activate the Purchase Order Approval switch via Admin → System Switches → Purchase Order → Use PO Approval to ensure RTA is using approvals.
Refer to Purchase Order Approvals for detailed information on setting up approval features.
Approving Purchase Orders Via the PO Master List

Access the purchase orders needing approval via the Purchase Order Search menu item to view the approvals requested of the user
Select the PO from the master list
Review the information
Click on Approve if doing individually OR see the PO Approvals for requested approvals that can be done in bulk
Select Approve or you can Request Approval. See the PO Approvals
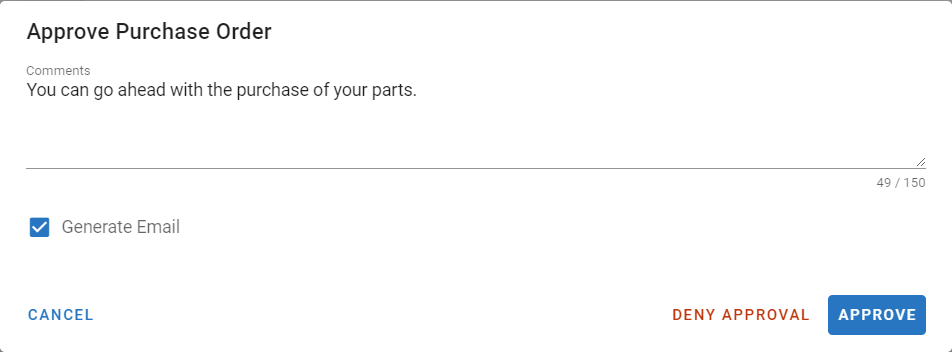
Add comments if desired
Check box to generate email if desired
If the option “Generate Email” has been selected, then an email should appear with the PO#, new status (Approved or denied) and comments included should be sent back to the user who requested the PO Approval
Click approve
If the individual accessing does not have the authority to approve or approve the amount, a separate window will appear asking for an approvers user ID and PIN which was set up at the employee level or the individual can click request approval and select the individual they’d like to have assigned to the approval
If you are Approving from another person's computer
Access the master list by clicking on the PO’s option under the Vendor section in the main menu
Click on the applicable purchase order to be approved (pending approval)
In the upper left, click on Approve
Enter you User ID and PIN and click approve

Denying Purchase Orders
Access the PO needing approval via the PO Master List
Select the PO from the list
Review the information
Click on Approve
Add comments if desired
Check box to generate email if desired
If the option “Generate Email” has been selected, then an email should appear with the PO#, new status (Approved or denied) and comments included should be sent back to the user who requested the PO Approval
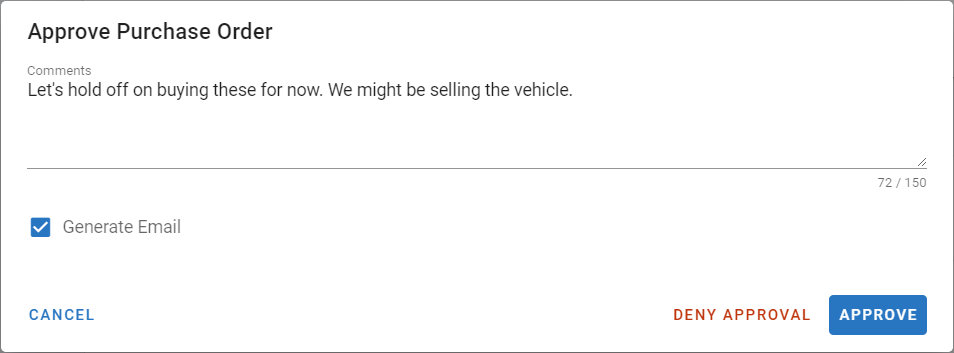
Click Deny Approval
The PO Status would then show Denied Approval like below.
