Adding a Brake Inspection
Adding a Brake Inspection
Once the Brake Inspection Setup is complete you can enter the Brake inspections electronically in the system. See Brake Inspection Setup for more information on how to.
Inspections can be entered five different ways:
In the Asset File Manually (See Below)
From the Standard Work Orders. Refer to Brake Inspections via Work Orders to Add Brake Inspections in Work Orders.
From Work Orders in Paperless Shop. Refer to Brake Inspections via Paperless Shop to Add Brake Inspections in Paperless Shop.
From the Standard Work Orders in Mobile. Refer to RTA Mobile - Work Order Brake Inspection to Add Brake Inspections in Mobile Work Orders.
From Work Orders in Mobile Paperless Shop. Refer to RTA Mobile - Paperless Shop Brake Inspection to Add Brake Inspections in Mobile Paperless Shop.
Adding a Brake Inspection through the Asset File
Select the Brake Inspection Section from in the Asset file
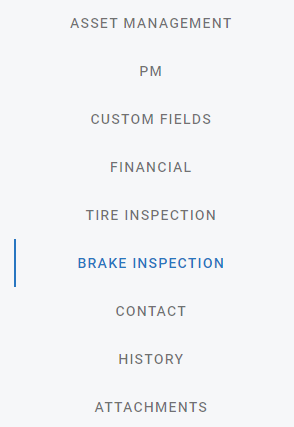
Brake Inspection Section

Select the ![]() button
button
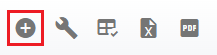
This following Inspection entry panel will pop up:
🔓 Denotes fields that are editable within RTA
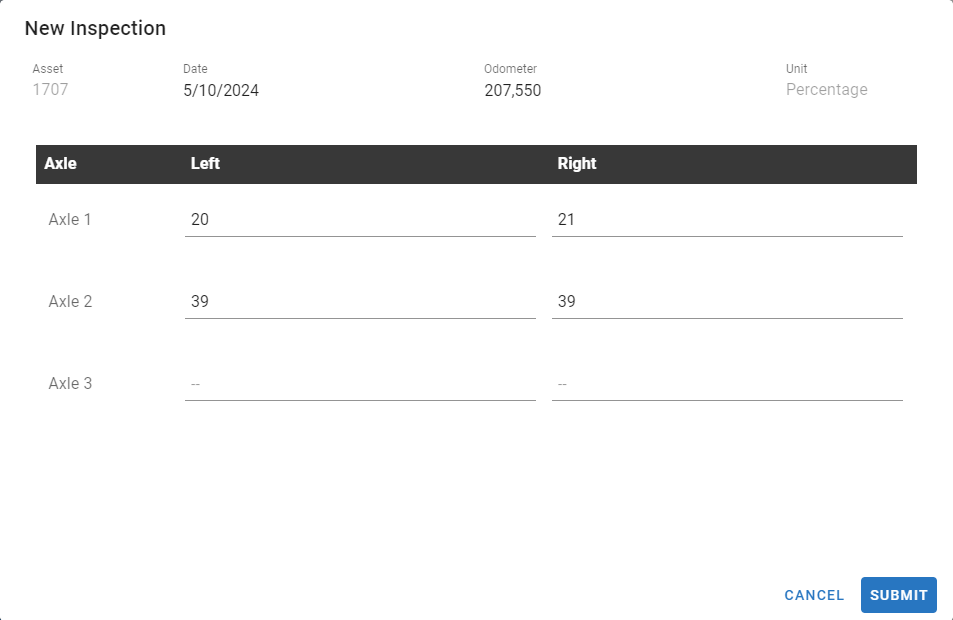
The following items will be presented in the Tire New Inspection screen.
Asset – This field displays the Asset Number you are inputting the inspection for
🔓 Date – Select the date when the inspection was Completed
🔓 Odometer – Select the Asset Odometer reading when the inspection was Completed
Unit – This is the Unit of Measure for the Brake Inspection Readings:
Percentage
Inches
Millimeters
32nds
Axle – This is the Axle Position for the Brake Inspection Readings (Note: You can set between one and eight Axles)
🔓 Left – Left side reading per axle
🔓 Right – Right side reading per axle
Once the sections are updated then select the Submit Button.

Completed Brake Inspection Transaction
Once a Brake Inspection is completed the transaction gets added to the Asset file as a permanent record that can easily be reviewed throughout the service life of the Asset.
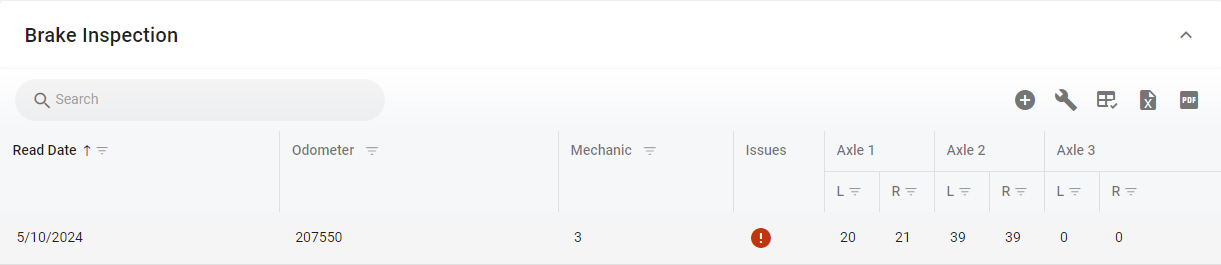
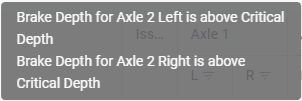
Note: If any of the readings are below the Critical threshold then you will see the Red❗icon show up in the Issues column.
Hovering over the Red❗in the issues column will also pop-up information about the warning.