Fleet Wiki - Custom Resource Hub and Homepage
The Fleet Wiki acts as your organization’s central repository for workflows, processes, and procedures.
Store everything from fleet policies and maintenance guidelines to contact directories and troubleshooting steps in one easily accessible Wiki page.
With all critical resources in one place, your team can make faster decisions, avoid miscommunication, and ensure compliance with organizational standards.
Fleet Wiki feature is included with the Diamond Package. Add-ons to Gold and Platinum packages can be done at a cost.
Adding/Updating these elements is an organization-wide change and will impact all users of the system.
Three key factors apply to the Fleet Wiki Concept:
Set any existing menu page as the home page (default landing page when user’s log into the software)
Create a custom home page/landing page that consists of items that might be beneficial such as announcements, company SOPs, and procedure docs
Add Custom Pages to various menu sections (embed procedure or process docs into corresponding menu paths)
Adding a Custom Page
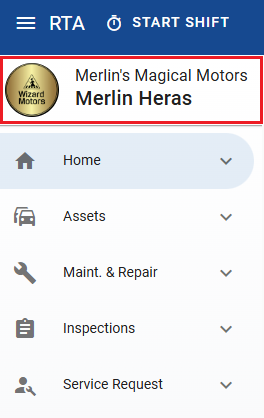
Access the Edit Nav option by clicking on your user name in the upper left corner
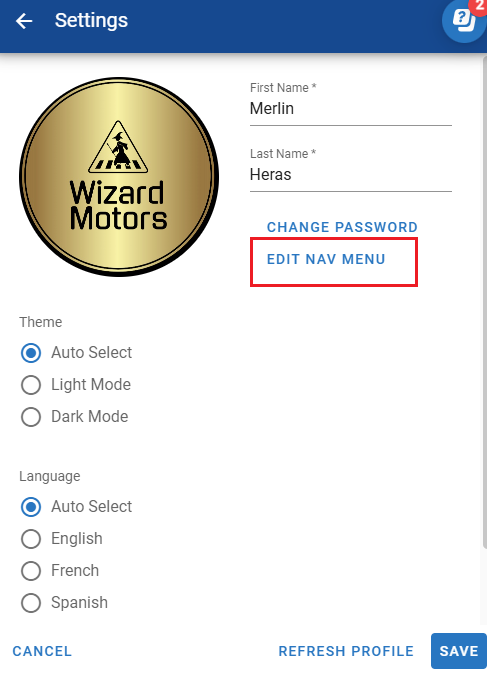
Once in this section you can access the menu edit options by clicking Edit Nav Menu
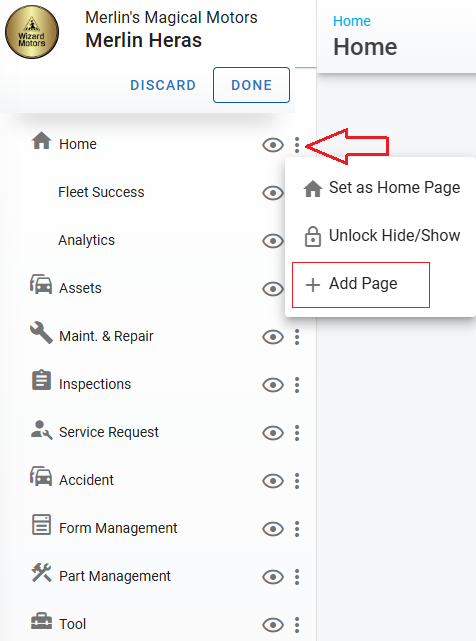
Find the main section where you would like to add your customized page and click on the three dots, then click the
 Add Page option
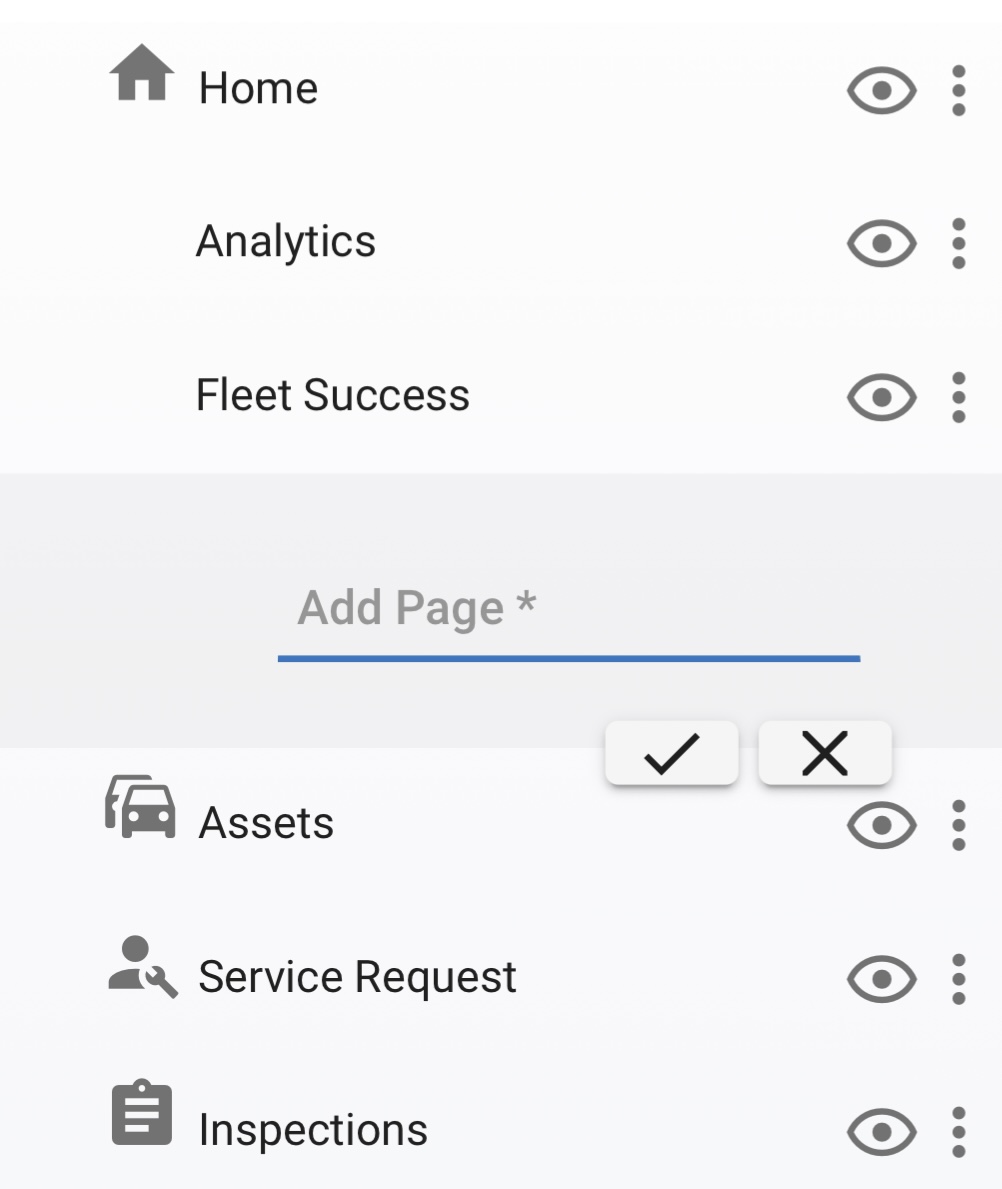
A tab will open which will allow you to give your new page a name, add the name and click the checkmark to save
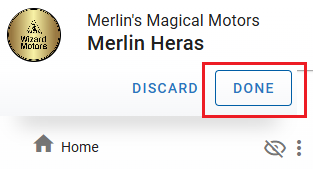
Click Done to save your changes, your new page will now display in the section where it was added
Editing an Added Page
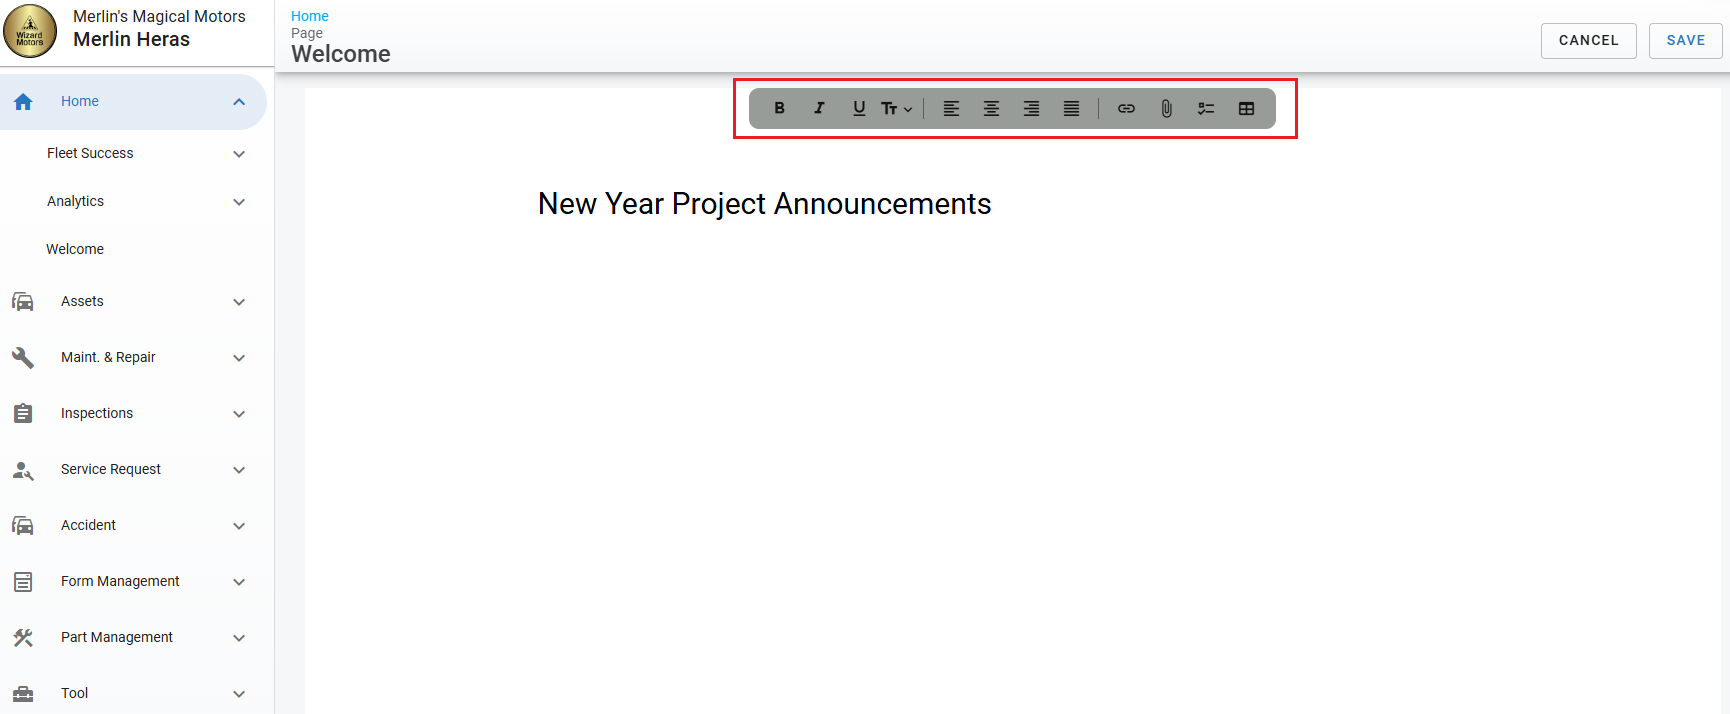
You can customize your page to your desire, by building it on the fly, adding links, attachments. Click on the page and click Edit Page towards the top right corner
Build your page to your preference, you can upload documents, photos, or add links in here
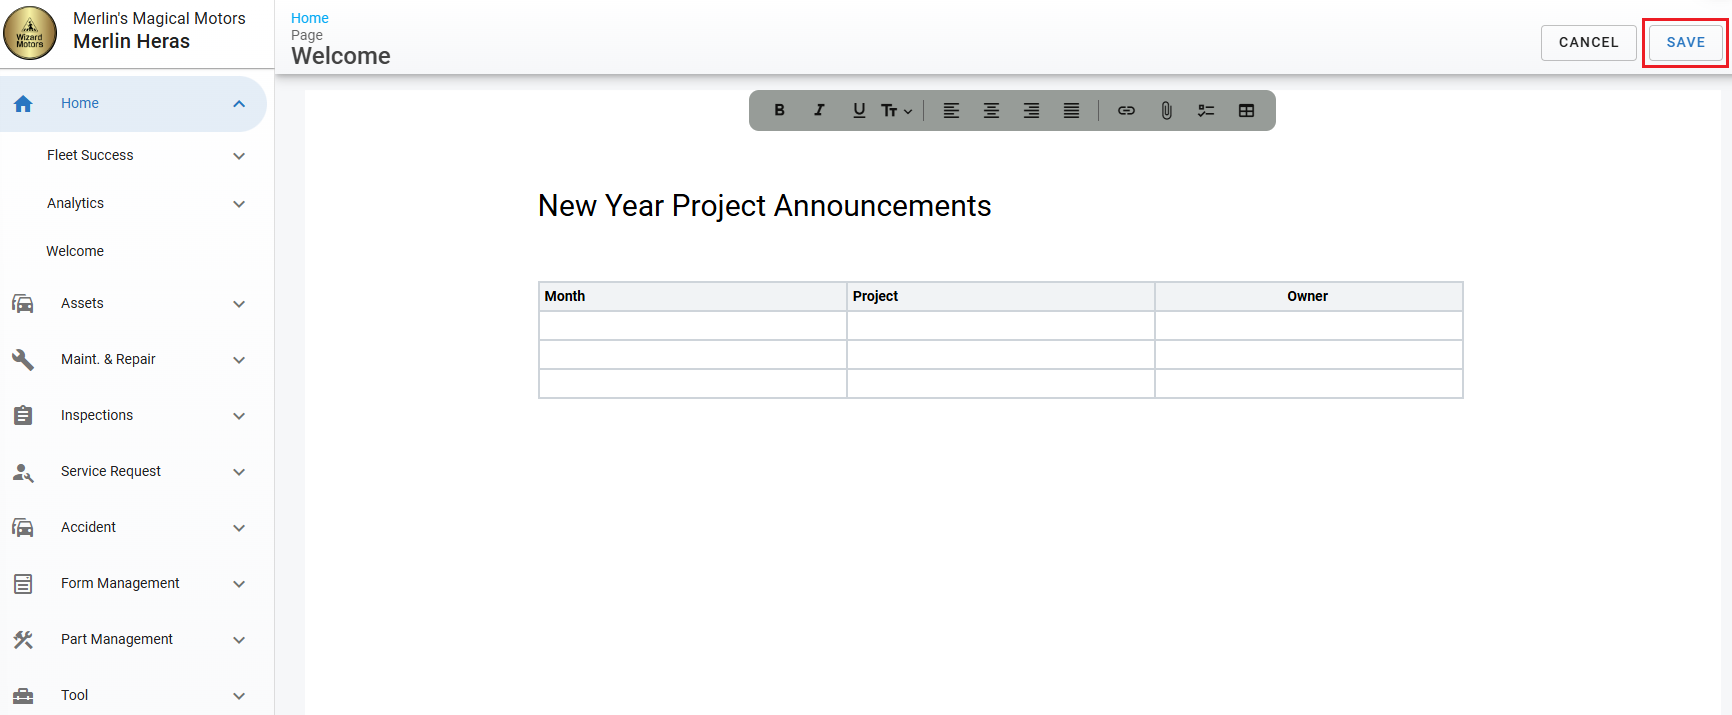
Once you have finished building your page you can click Save towards the top right corner
You can go back and edit your page at any time, once the page is saved you will see an Edit Page option towards the top right
Additional Settings/Options for Added Pages
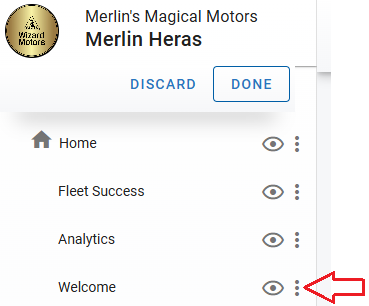
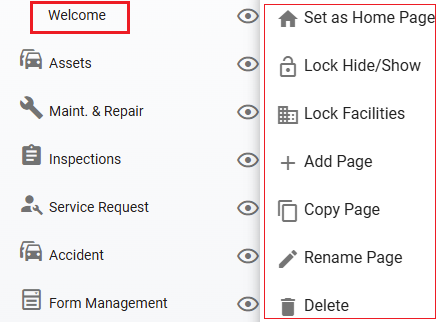
You can find additional settings for your added page by selecting Edit Nav in your profile settings and clicking the three dots to the right of your page.
Setting an Existing Page as the Default Home/Landing Page - Coming Later in 2025
Access the Edit Nav option by clicking on your user name in the upper left corner
Once in this section you can access the menu edit options by clicking Edit Nav Menu
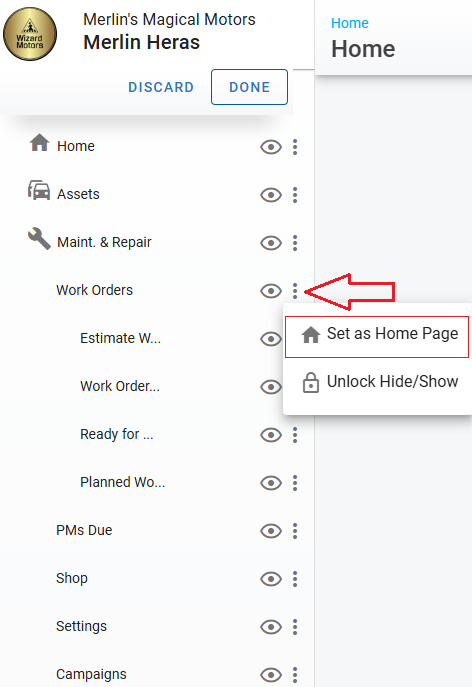
Find the section that you would like to set as your landing Home Page and click the three dots, then select Set as Home Page
Once the section has been selected to set as Home Page, click the Done option towards the top of the menu, clicking Done will save your changes
Setting | Function |
|---|---|
Set as Home Page - Coming Soon | Allow the selected page to become your home landing page |
Lock Hide/Show | Allows and admin to lock the eye icon for users to not make changes to hide or unhide the section |
Lock Facilities | Allows you to select the specific facility or facilities where you would like this page to display in |
Add Page | Will add a subpage within this section |
Copy Page | Will duplicate page along with the data that has been added to the page |
Rename Page | Allows you to update the page name |
Delete | Deletes the entire page |
