Warranty Claims Denied Status
Once the warranty claim is submitted to the vendor, the vendor will then process the claim and provide either a refund, credit or occasionally deny the claim. If the claim is denied, the warranty claim file status will need to be updated and a deny reason should be selected.
Refer to Part Warranty Claim Deny Reasons, to learn how to create a list of denial reasons
Access the claim file via the warranty claims master list under the vendor menu option
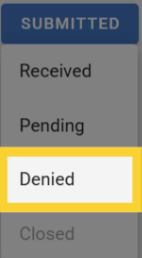
Click the status button in the upper right corner
From the drop down, click on the Denied status
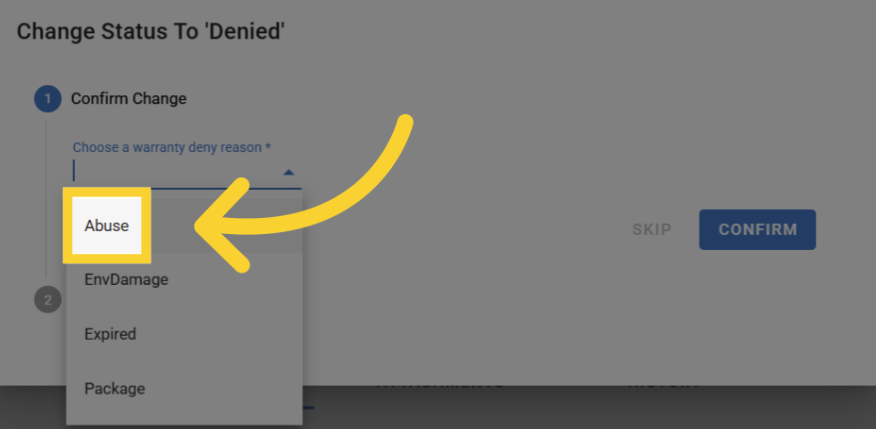
Select the Denied reason from the list
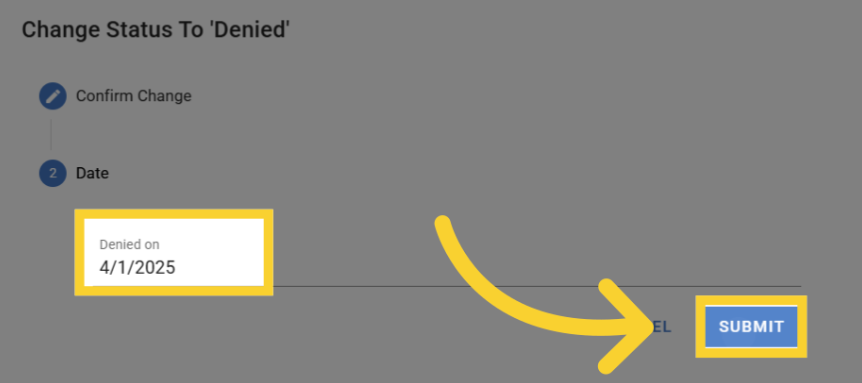
Add the Denied Date and click Submit