
Navigating the Equipment File
Assets>Equipment
The equipment file must be created before it will show in the software. Refer to Adding Equipment Files for instructions to add equipment in the software.
Accessing the Equipment File
Expand the Assets Main Menu Section
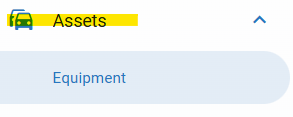
Click on Equipment
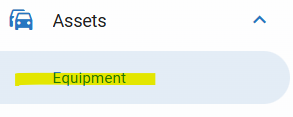
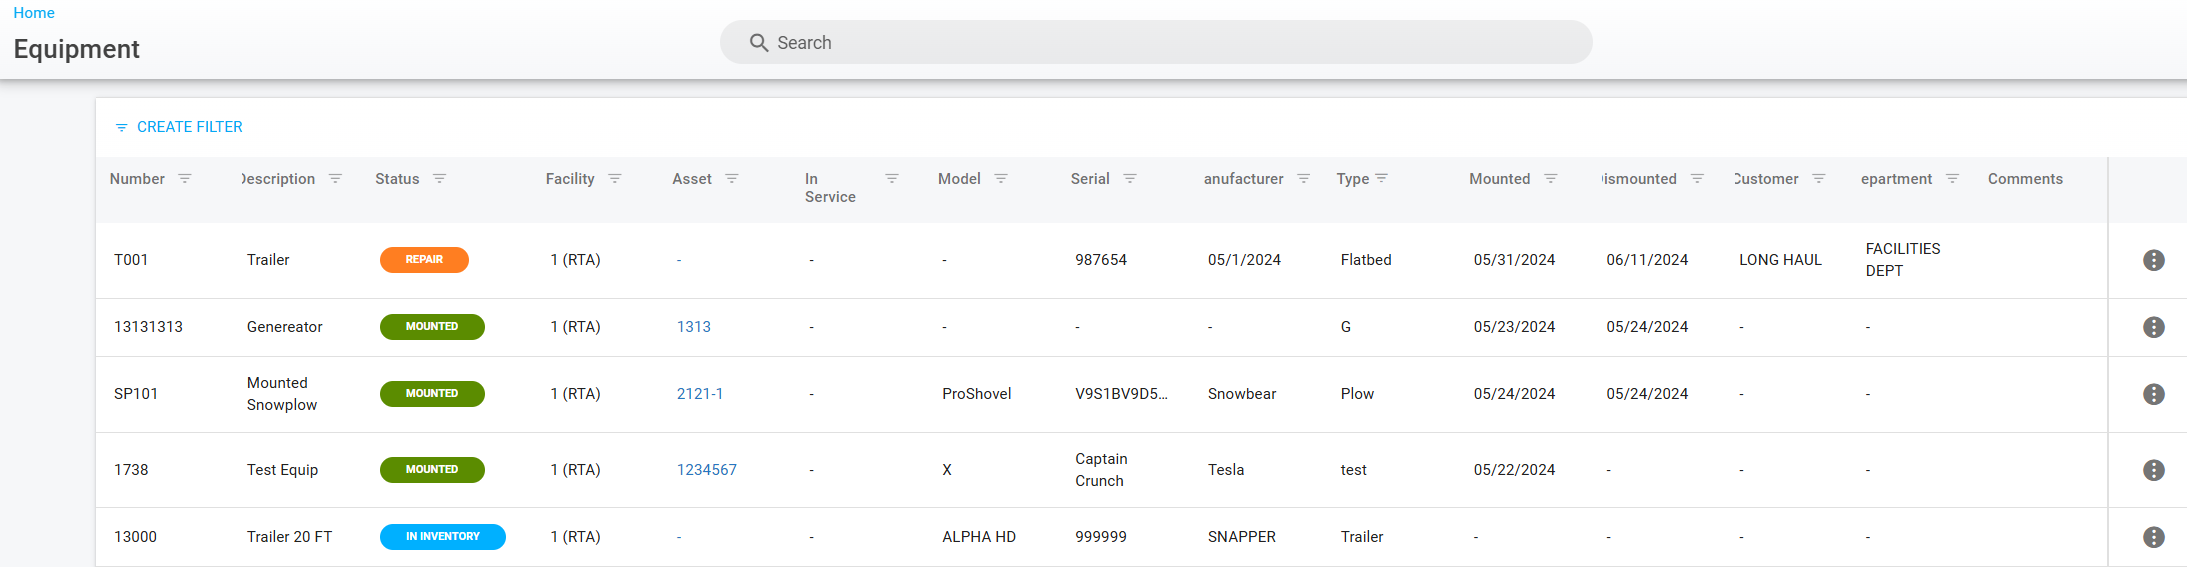
Locate the desired equipment file via the search list by searching, sorting, filtering and/or scrolling
Click on the line from the search list to open the equipment file
Navigating the Equipment File
Once the file is accessed, there are multiple areas of information within the file.
Primary Info Panel

The primary info panel houses all of the main information for the equipment itself such as:
Profile Picture = Optional and can be added at any time
Description = Description of the tool
Year = The year that the tool was manufactured
Equipment Status = Current status of the equipment
Serial = The equipment serial number/code
Model = The equipment model
Manufacturer = The equipment manufacturer
Acquired = Where the equipment was acquired
Info Tab Panel
The info tab panel consists of three sections, history, purchase info and assignment.
History
The history section will show you mount and dismount history for this equipment.
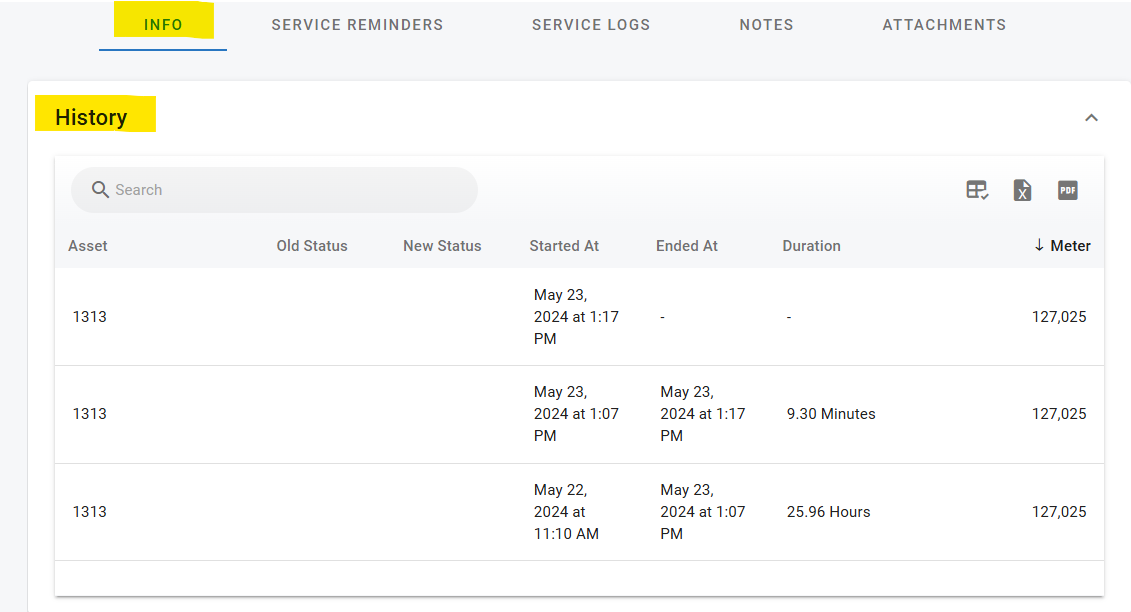
Asset = Refers to the asset number that it is/was mounted to
Old Status = Refers to the status of the equipment prior to mounting
New Status = Refers to the new status of the equipment after mounting
Started At = Will show the date and time that the equipment was mounted to that particular asset
Ended At = Will show the date and time that the equipment was dismounted from that particular asset
Duration = Will show the total time the equipment was mounted to the asset
Meter = Is referring to the assets primary meter
Purchase Info
The purchase info section will allow you to add the following information
Date Purchased
PO Number
Cost
Assignment
The assignment section will allow you to enter the following information
Facility = The facility that this equipment is assigned to
Name = If the equipment is assigned to a specific contact, you may enter their name in this field
Department = If the equipment belongs/assigned to a specific department, they can be identified here
Customer = If the equipment belongs/assigned to a specific customer, they can be identified here
Terms = If this equipment is leased you can add information regarding the lease here
Value = Continuing the terms, you can add payment information in this field
Date = The date that this equipment was assigned to this department/employee
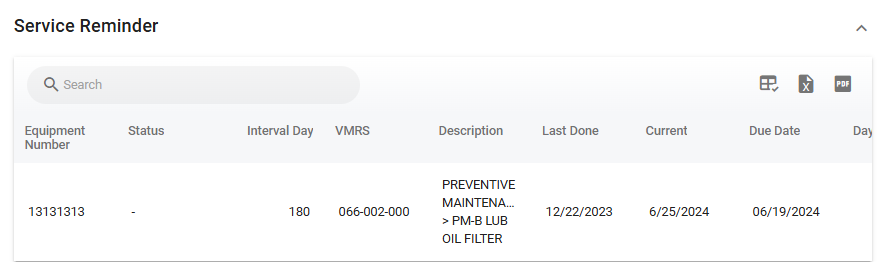
Service Reminder Tab Panel
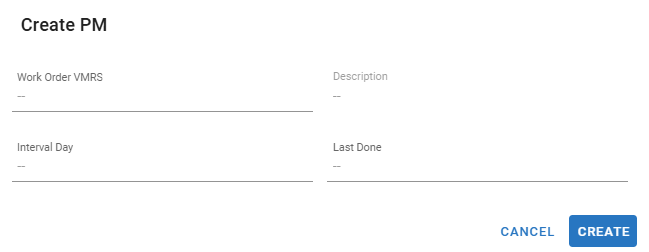
You have the ability to set up one Service PM by days for each equipment file. You can use an existing VMRS code or create a new one if desired.
Adding a Service Reminder
Click the
 towards the right corner of the service reminder window.
 Entered the required information in the Create PM pop-up window. Work Order VMRS, Description, Interval Day, last done. After entering the necessary information click create.
The service reminder window should now display the service that has been added.
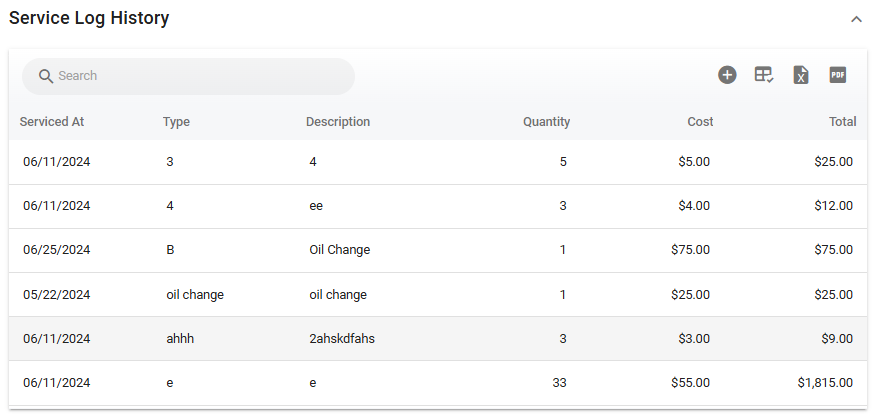
Service Log History
The Service Log History allows you to track equipment maintenance cost by posting parts, labor or additional costs.
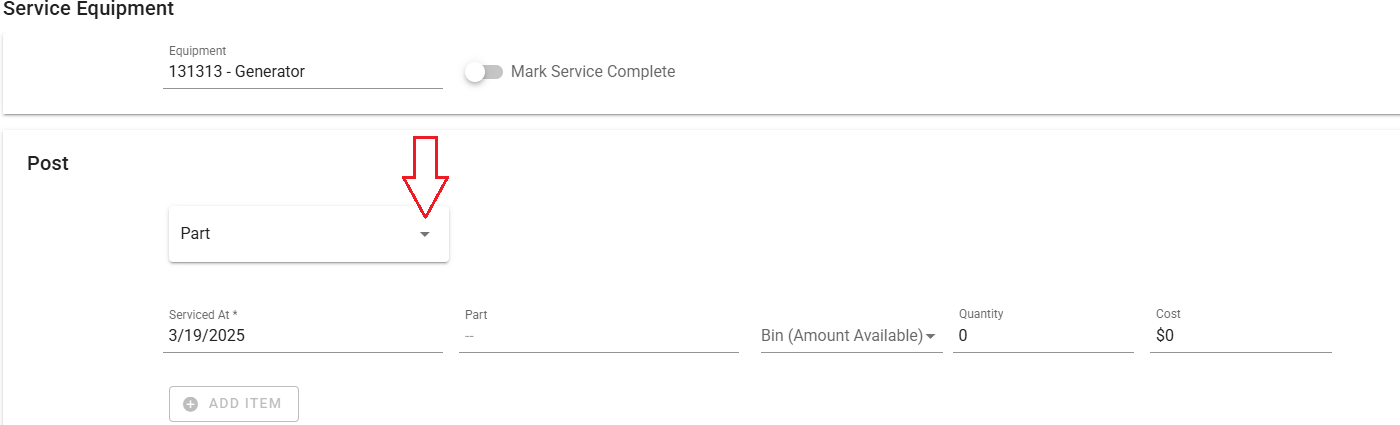
Click the
towards the right corner of the service log history window. The Service Equipment window will pop-up. If the service has already been completed, you can click on the toggle to Mark Service Complete.
Click the drop-down option in the part tab to select labor or other.
Start entering the following information
Part Posting: Service Date, Part, Bin, Quantity, Cost
Labor: Service Date, Work Order VMRS, Employee, Quantity, Cost
Other: Service Date, Description, Quantity, Cost
Once all the information has been entered, click Add Item. The review window will open, select the checkbox for the item you just added, and you will have the option to remove (top right) or post (bottom right).
You can continue to add additional service transactions by repeating steps 1 through 5.
Every service transaction that has been logged will reflect within the Service Log History window.
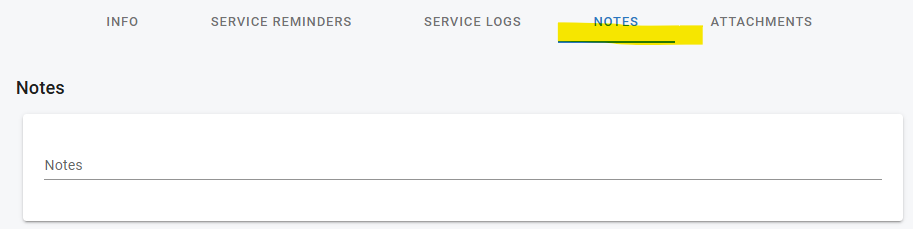
Note Tab Panel
The notes tab contains a panel where free form notes related to the equipment can be entered for documentation purposes.
Attachments Tab
Attachments such as pictures, operation manuals, or other docs that are relevant can be attached to the tool file.
Refer to Attachments for instructions on using attachments if needed.