Shop Scheduler Set Up
Setting up Techs and Bays is crucial for the scheduler functionality. You will automatically see a list of the techs in your facility, who have a user account created. Bays must be set up individually as shown below.
Setting up the TECHS tab
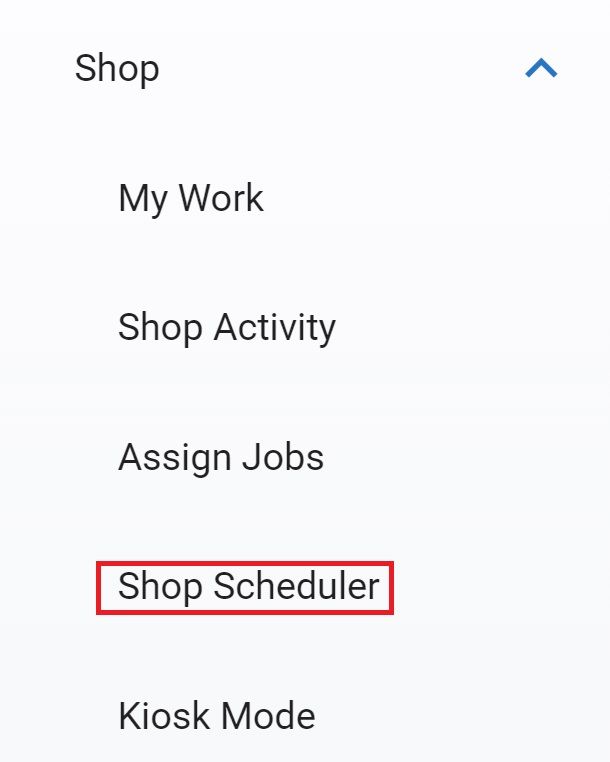
Navigate to the Shop Scheduler tab under the Shop menu in the left-hand menu panel
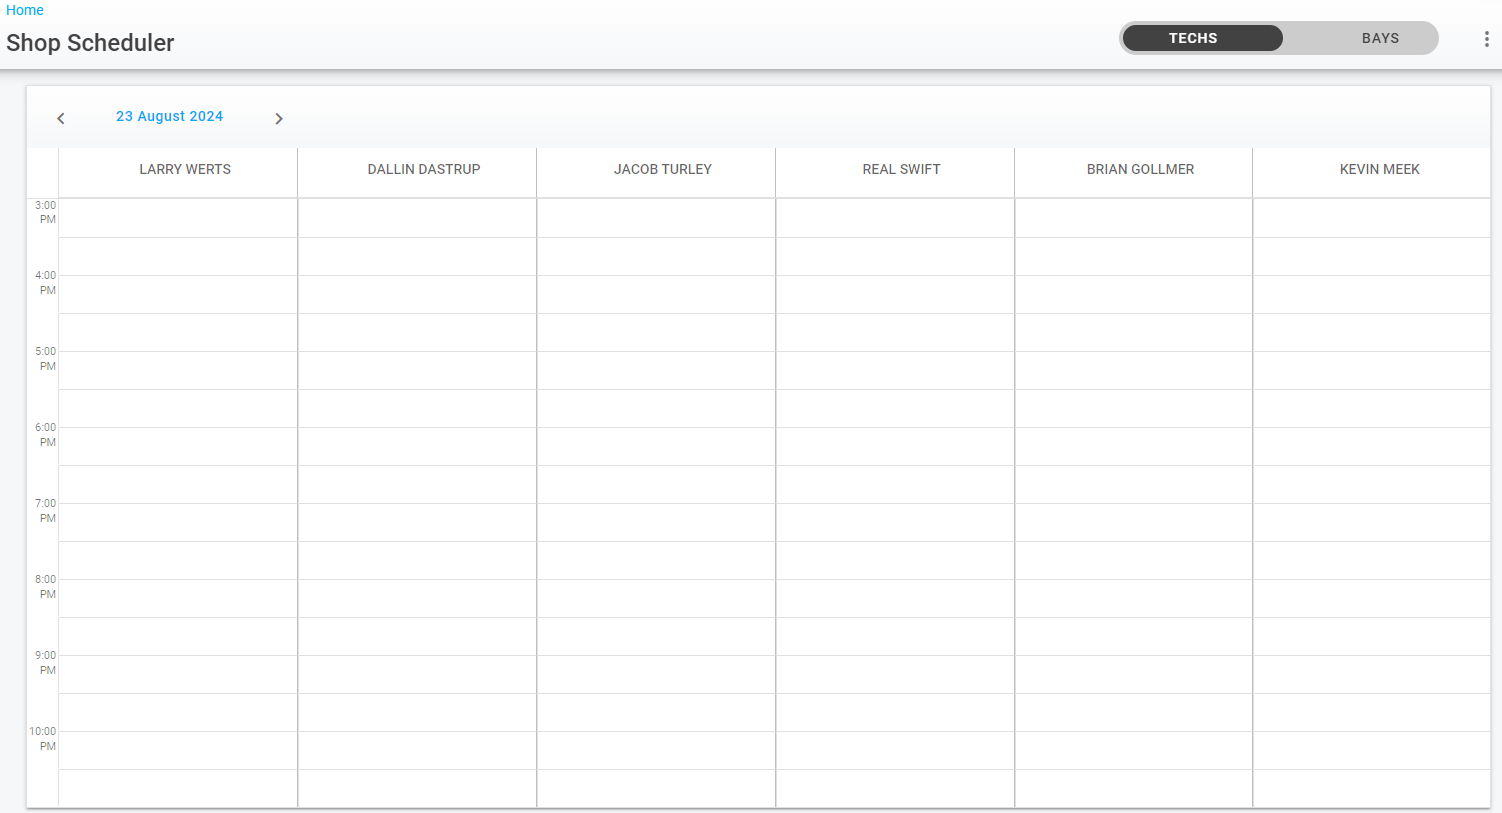
Once Shop Scheduler opens, you will only see yourself as an available technician, if you are set up as a linked employee.
Click the 3-dot menu in the top right corner, while on the “TECHS” tab, and click edit views to add technicians and set shop hours to the Shop Scheduler view
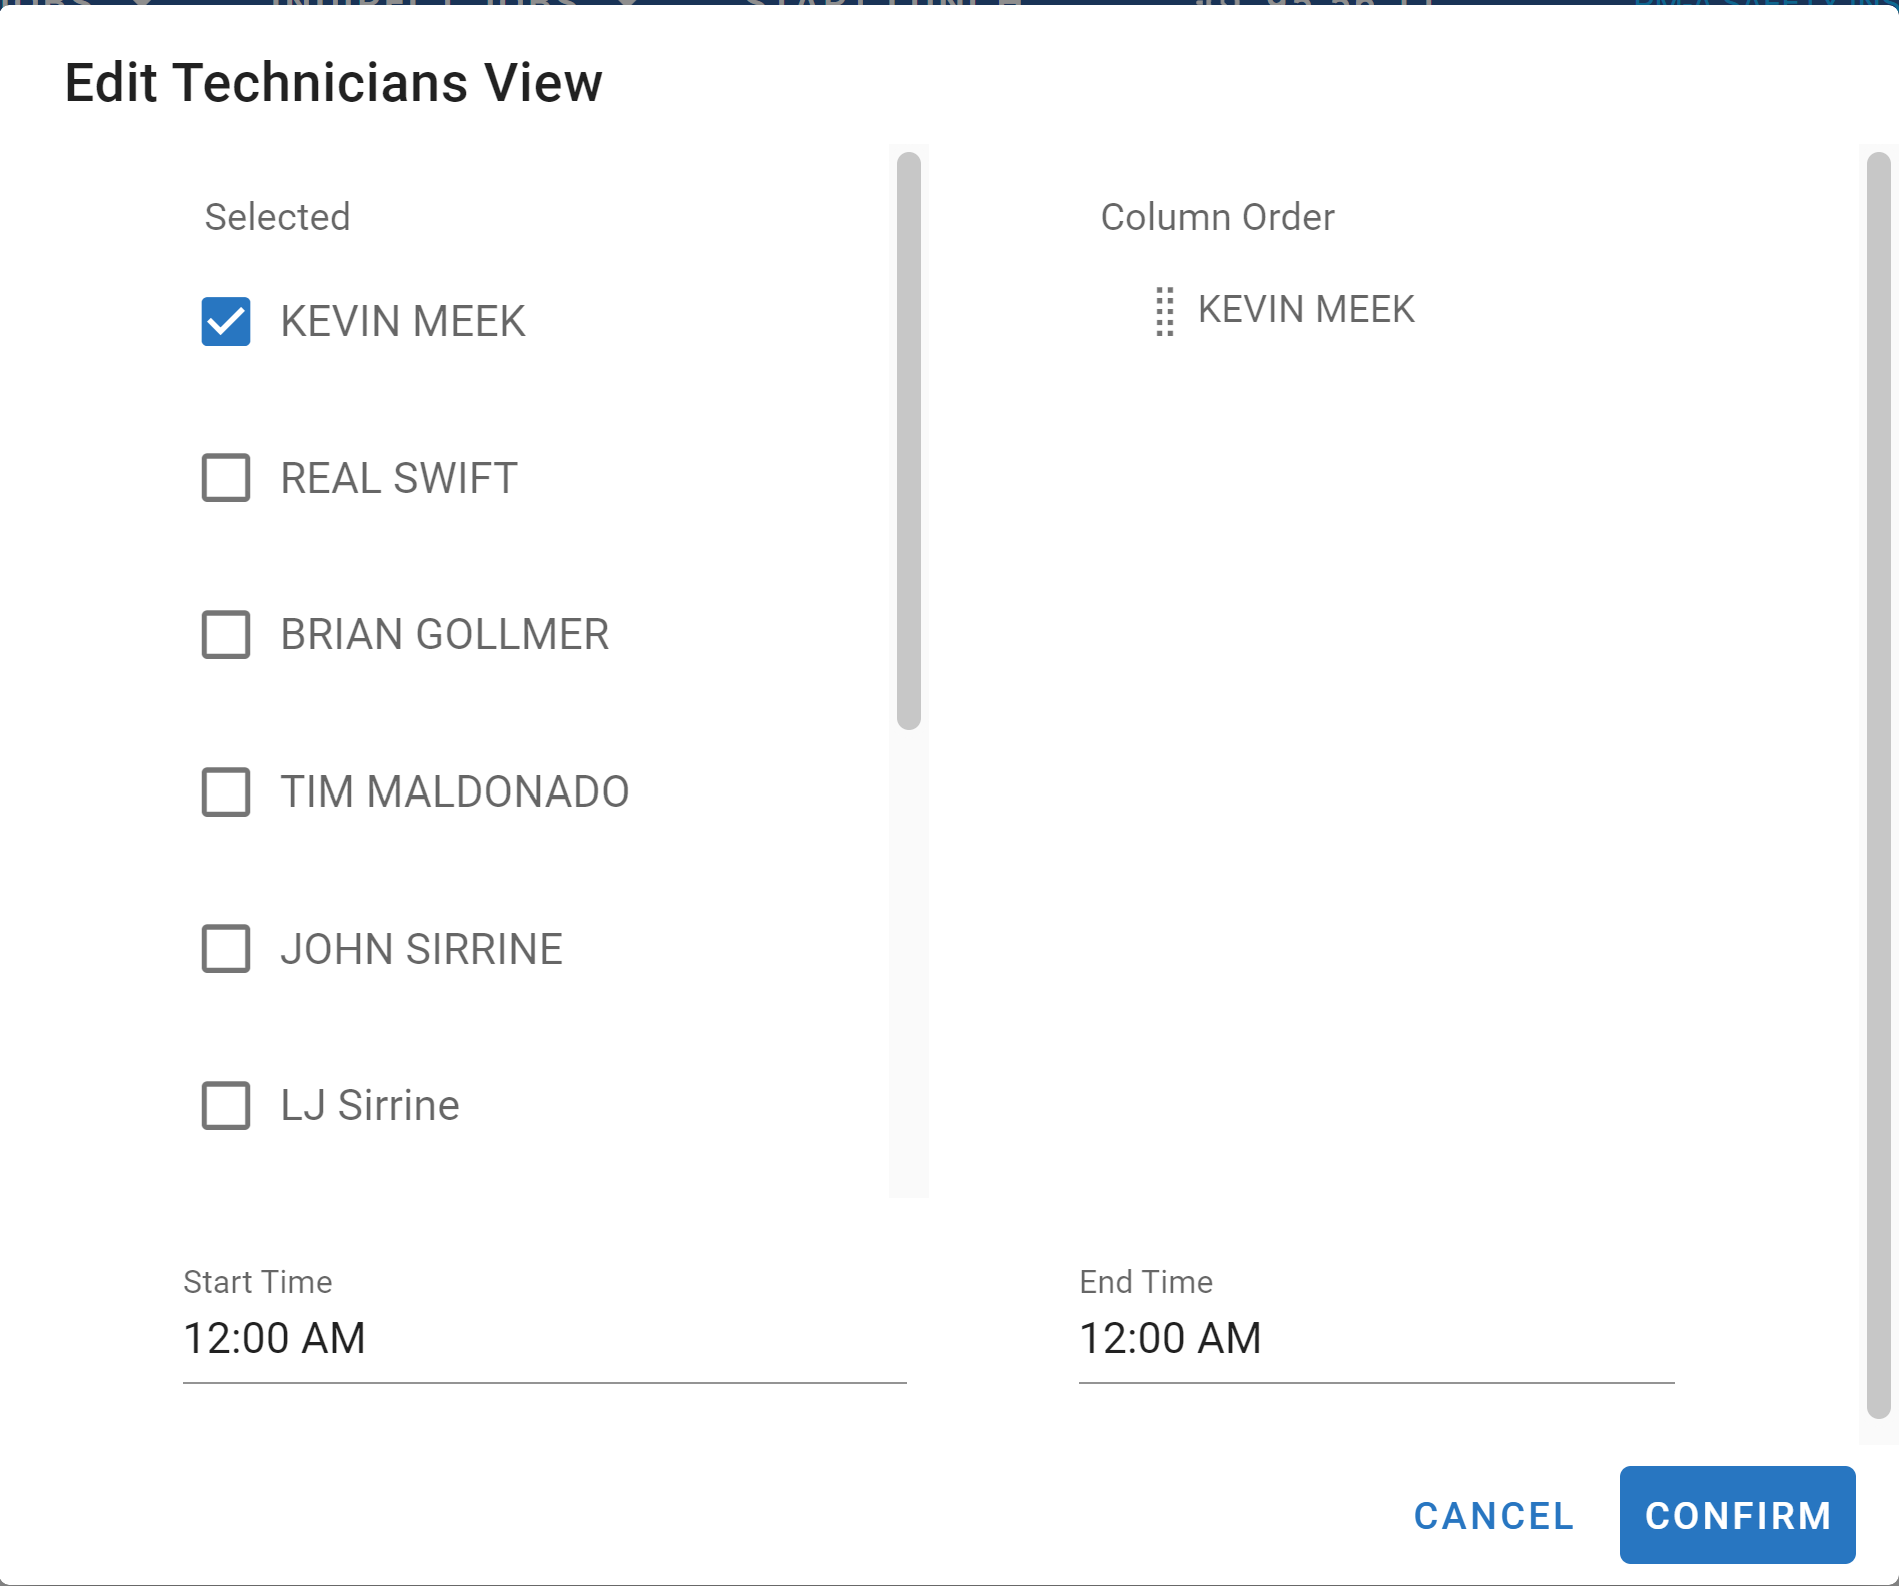
4. Click in the box next to the technician names you want to add to this Shop Schedule view, you will see the column order appear in the order the boxes are checked
Only users with a linked employee file and employee type set as mechanic will show up here as an option. Refer to Employee Maintenance here
Select shop start and end times here. The times added will drive your calendar hours, e.g. if you set up 8:00 AM - 4:00 PM you will only see that timeframe in your calendar.
Once done adding technicians and setting shop times, click confirm and they should all display under the Techs tab
Setting up the BAYS tab
Toggle to the “BAYS” tab to add bays to the Shop Scheduler view
Click the 3-dot menu to add bays, click edit views
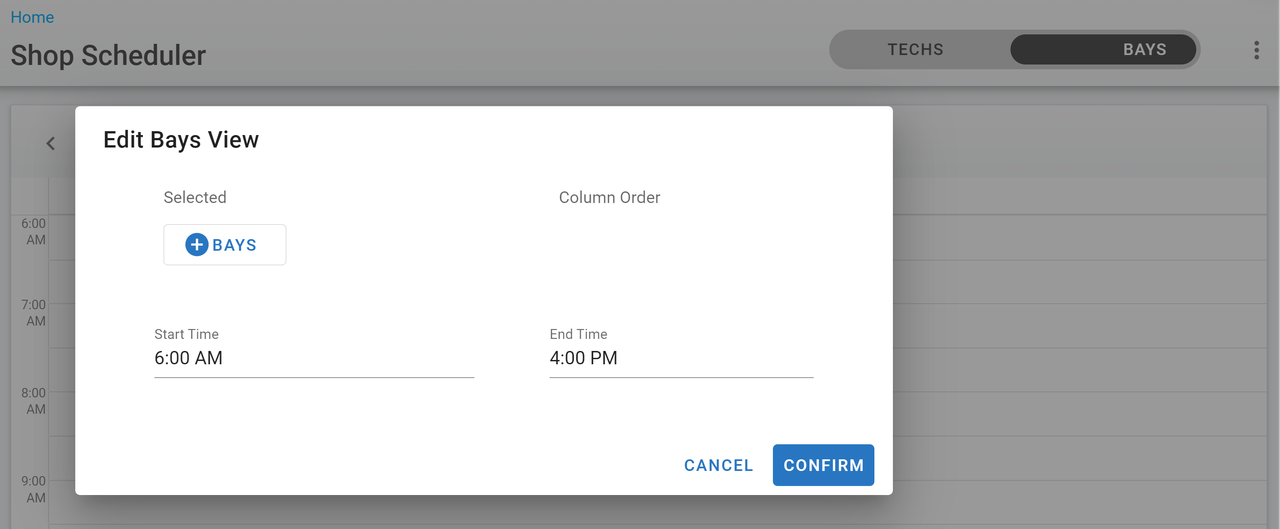
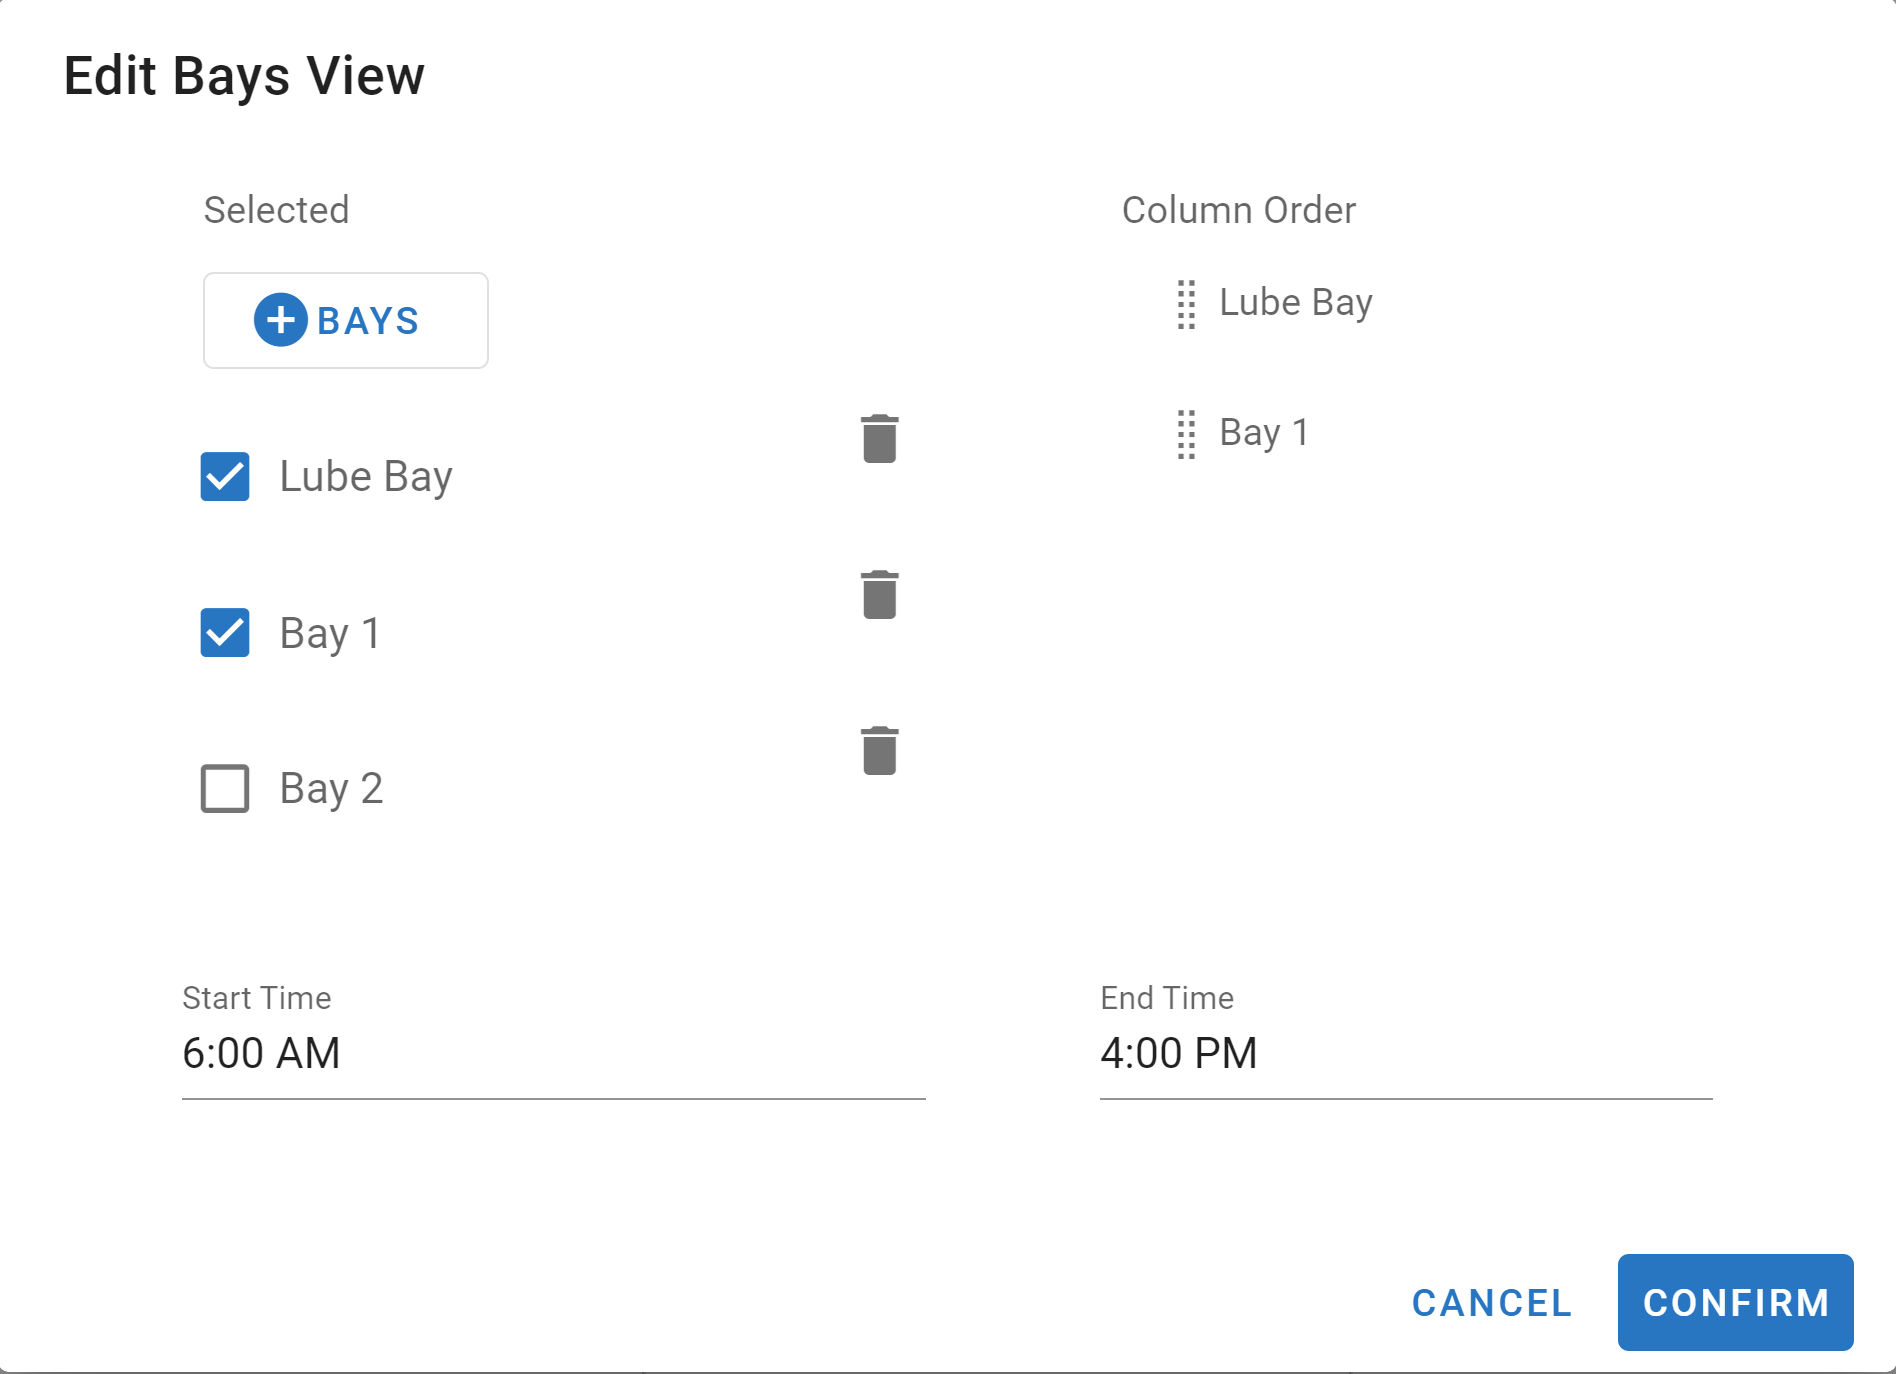
Click the “+BAYS” button to add the bays for your shop
Once all bays are added, click in the boxes to add them to the column order
Click confirm when done adding bays to see the “BAYS” view
You can save different Tech shifts, if necessary, Refer to Creating Presets here.
