
Tool Management Statuses and Set Up
Tool statuses help ensure tools are available for use in the checkout and check in phase as well as help keep a record of where tools are at all times.
The RTA system comes with three statuses already set up and ready for use.
Available
In Use
Repair
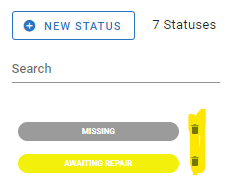
Additional statuses can be set up and used as well depending on the needs of your shop. the default statuses cannot be edited or removed. Other statuses that a shop may consider are (missing, awaiting repair, etc)
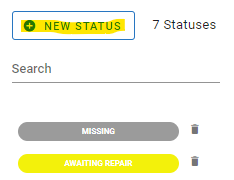
Default statuses are easy to recognize. If a status does not have the trash can icon beside it in the list of statuses, it is a default status.
Below are the steps to set up and edit statuses.
Create a New Tool Status
Click on Settings under the Tools area of the system main menu
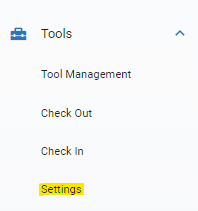
Click on Tool Status from the settings list

Click New Status
Enter the required status code (this is free from, must be unique, can be letters or numbers, and should easily identify the status)
Enter the name of the status (this is what will display as the actual tool status)
Choose the color in which the status will display
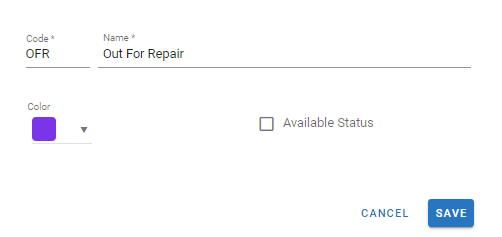
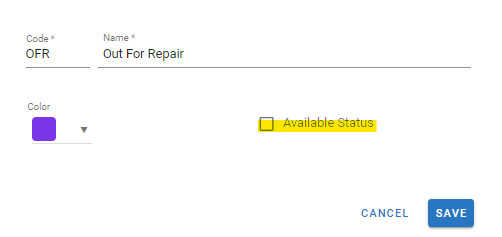
Designate if this status also allows the tool to be considered available
Click Save
The newly created status will now show in the list of available statuses and can be used with tool management

Editing/Deleting a Tool Status
Default statuses (Available, In Use, Repair) can be edited to a different color. Default statuses cannot be deleted, have their code or name changed, and cannot have their availability designation altered.
To edit a tool status, follow the below steps: A STATUS CODE CANNOT BE EDITED ONCE THE STATUS IS CREATED. THE ONLY OPTION FOR A SITUATION LIKE THIS IS TO DELETE THE STATUS AND CREATE A NEW ONE WITH THE DESIRED CODE
To delete a status (as long as it is not a default status) click the trash can icon beside the status.
Click on Settings under the Tools area of the system main menu
Click on Tool Status from the settings list
Click the status to be edited
Edit the Name, color, or available status designation
Edits are saved as you make them