Installing Citizen Label Printer
There are two ways to connect a Citizen label printer. Follow the section that matches your printer:
USB printer (no network card) — the standard setup for current printers.
Network-card printer — only if your printer has a network card installed.
This article covers the Citizen label printers that RTA sells and supports. RTA cannot guarantee compatibility with other printer models. For which printers can be used, see Barcode Printer Selection.
Initial System / Hardware Requirements
Citizen CL-S700III (the model currently sold by RTA, can be purchased from us). Earlier Citizen CL-S700 models and the CL-S621 series are still supported and follow the same setup steps.
Windows computer
A network card is no longer required for printing in Fleet360 and is not included with standard printers. It is still available on request for an additional cost.
Ordering Citizen printer supplies
Labels, ribbons, printheads, and replacement Citizen printers are ordered from RTA, not through Fleet360.
Email reception@rtafleet.com with the printer model and the supplies you need. Reception handles printer and supply orders.
Include your printer model (for example CL-S700, CL-S621, or CLP-7202E) and the label size you use so the correct stock is quoted. See the label sizes in the printing preferences steps below.
Fleet360 requisitions and purchase orders are for purchases your own fleet tracks in the system. They are not the way to order Citizen printer supplies from RTA. Only create a purchase order for printer supplies if your organization wants the purchase recorded in your own inventory and accounting records.
Step 1: Download and Install the Printer Driver
These steps are the same whether your printer connects by USB or by network card.
Go to the Citizen drivers page and select the correct model.
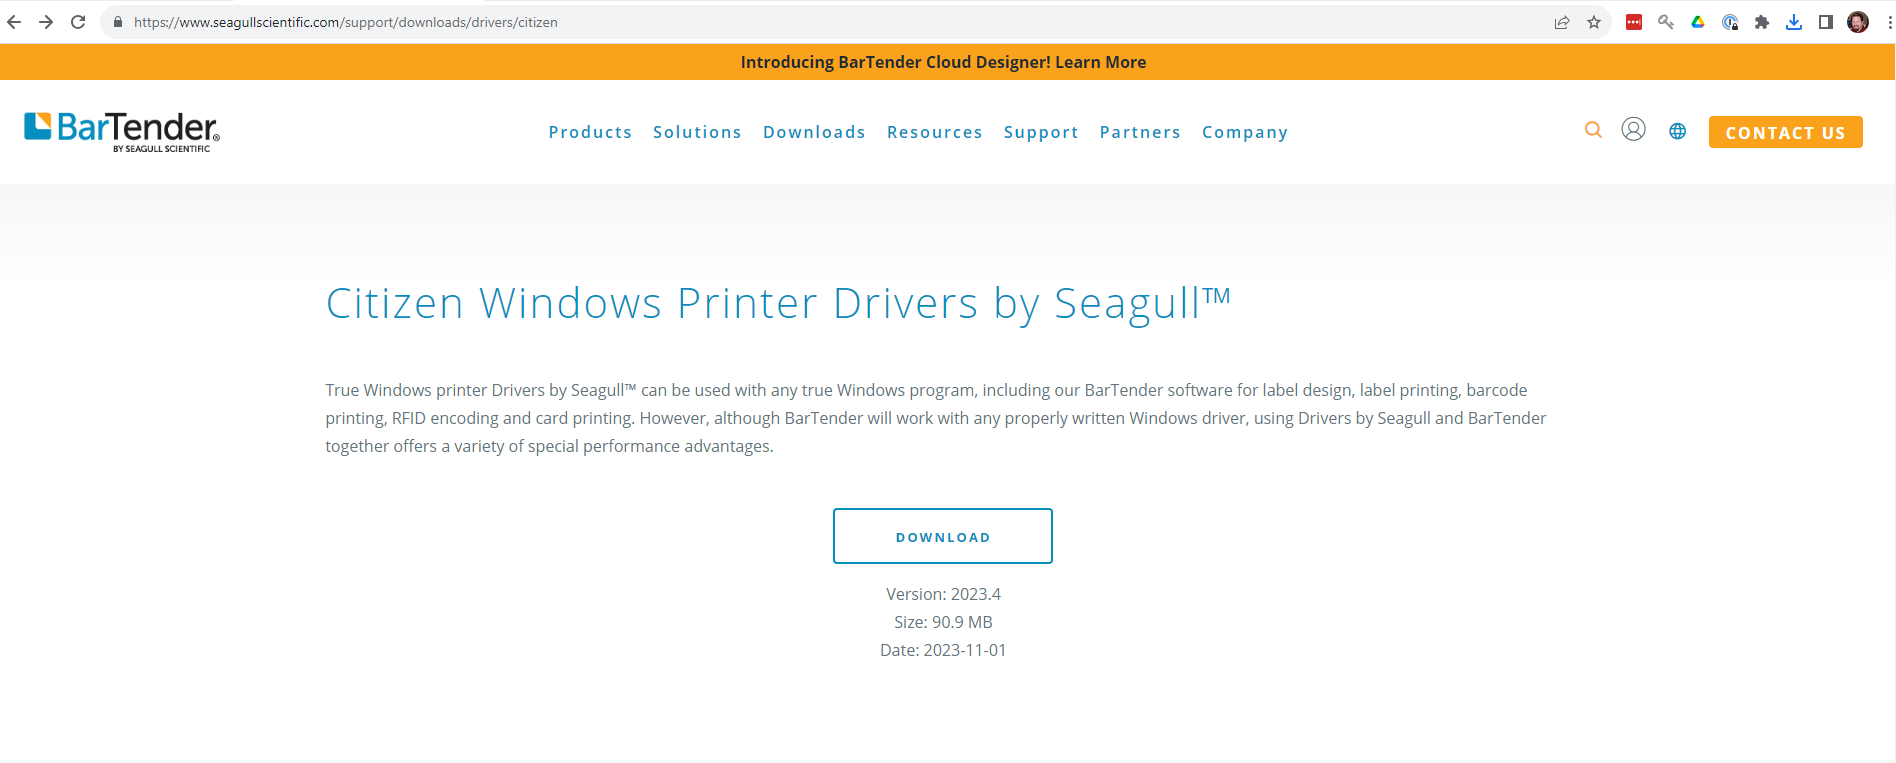
If you cannot find the driver for your model on the Citizen page (for example, the CL-S621II), use the CL-S621Z driver instead. If you are unsure which driver applies, contact Citizen Systems support to confirm the correct one.
Download the printer driver and run the installation.
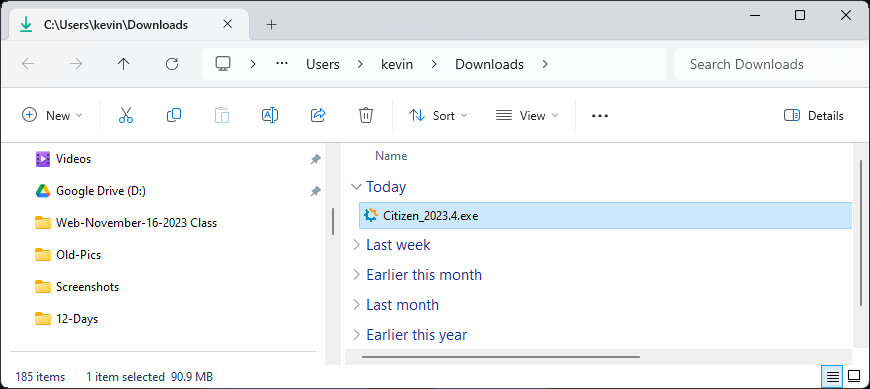
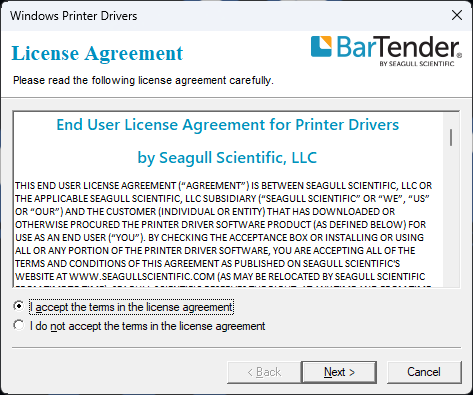
Accept the terms.
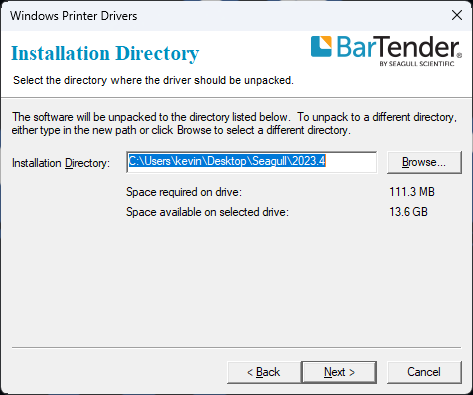
Hit next on the directory screen.
Uncheck installation instructions and click finish.
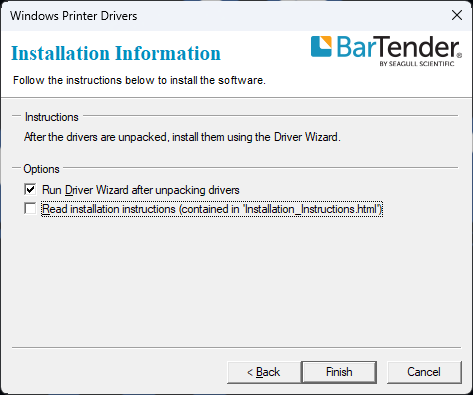
Say yes to the “make changes” prompt.
Keep it on Install printer drivers and click next.
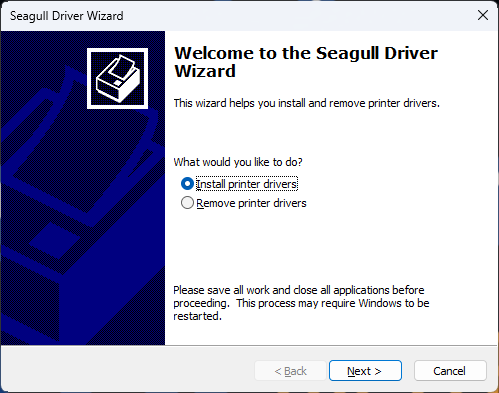
At the next screen you choose how the printer is connected. Continue with USB Printer Setup or Network-Card Printer Setup below.
USB Printer Setup
Select USB and click next.
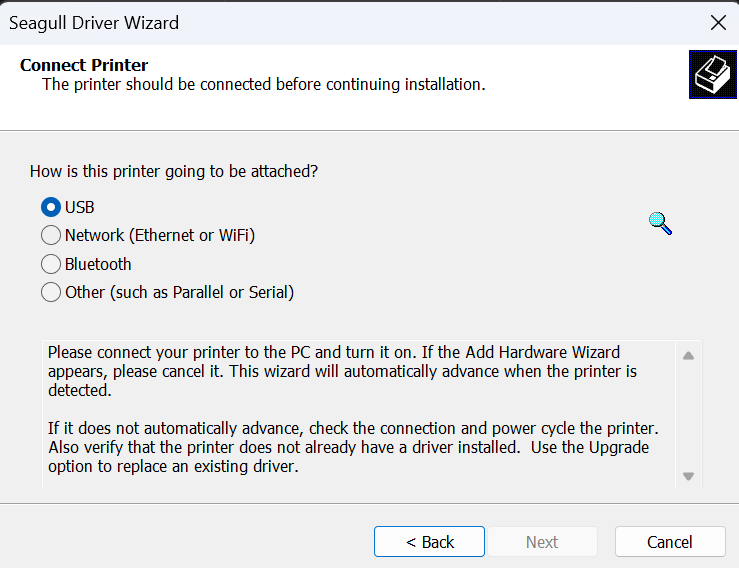
Continue the setup process. Once the driver is installed, configure the printing preferences:
Open Windows Printer Settings
Click the Start/Windows button and search for Settings.
Select Bluetooth & Devices, then Printers & Scanners.
Select your Citizen Label Printer, then click Manage → Printing Preferences.
Page Setup Tab
Click New and enter:
Name Setting: 3x1
Type: Die-Cut Labels
Label Size — Width: 2.95 in, Height: 1.00 in
Exposed Liner Widths — Left: 0.10 in, Right: 0.05 in
Automatic Preset Selection: leave unselected
Set Orientation: Portrait, Effects: None Selected, Preset: Current Settings.
Graphics Tab
Resolution: 203 dpi x 203 dpi
Dithering: None
Color Control: Monochrome
Make sure your browser zoom is set to 100% when printing from Fleet360. If zoom is higher or lower than 100%, labels may print blurry, misaligned, or distorted.
Selecting or Changing the USB Printer
If you have more than one printer, or need to switch which one Windows uses:
Set the default in Windows: open Settings → Bluetooth & Devices → Printers & Scanners, select your Citizen Label Printer, and choose Set as default. (If “Let Windows manage my default printer” is on, turn it off first so your choice sticks.)
Choose it at print time: when the print dialog opens, pick your Citizen Label Printer from the Printer / Destination dropdown before printing.
A USB printer is ready to use once these preferences are set. USB printers do not need a Facility Printers-tab entry — that setup is only for network-card printers (below).
Network-Card Printer Setup
Use this section only if your printer has an internal network card installed. Contact RTA with any questions about Citizen network cards.
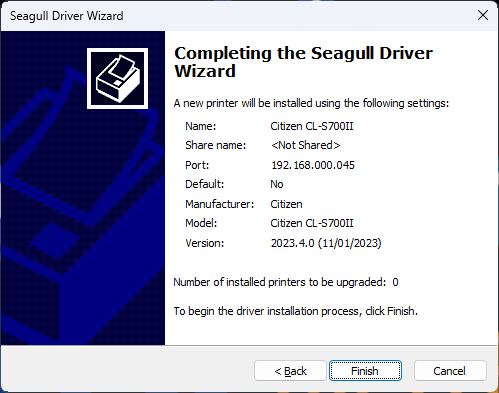
Select network and click next.
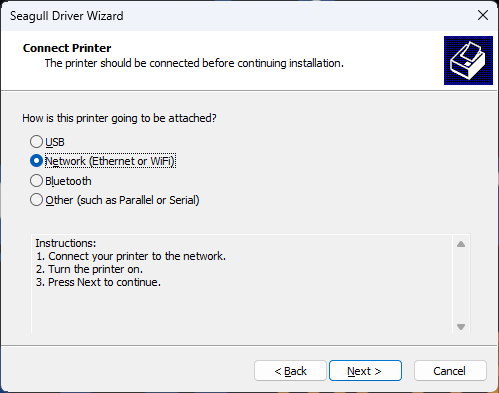
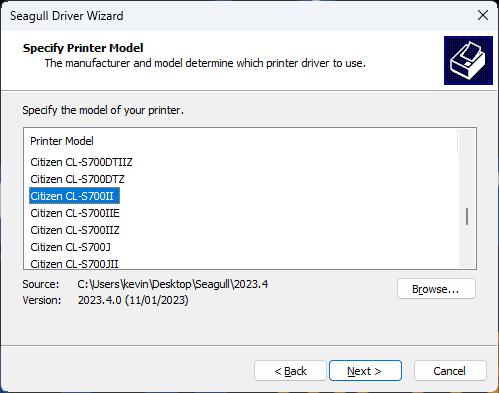
Find your model (for example, Citizen CL-S700II) and click next.
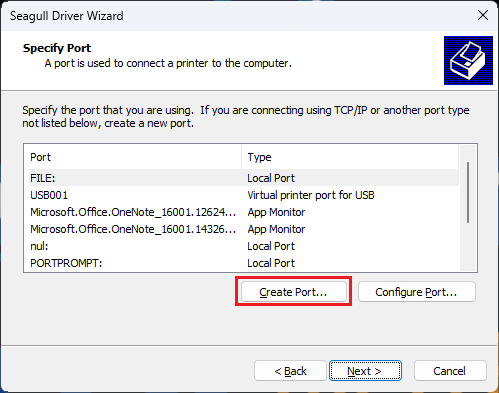
Create the port.
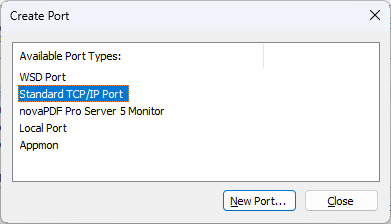
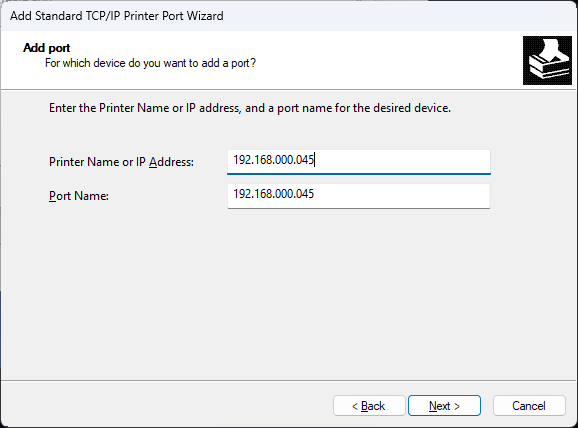
Choose Standard TCP/IP Port, click New Port, then next.
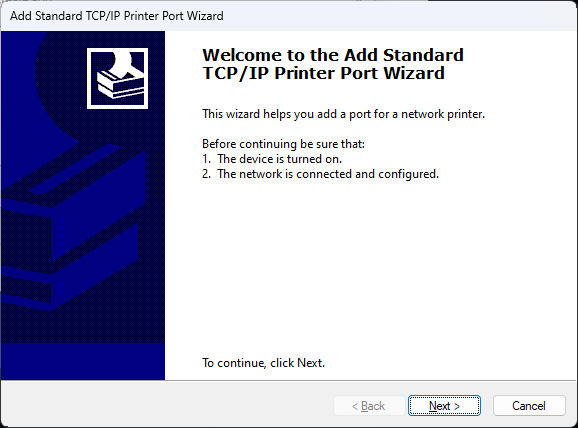
Enter the Printer IP in the IP Address field (see the IP on the printer’s front menu screen) and hit next.
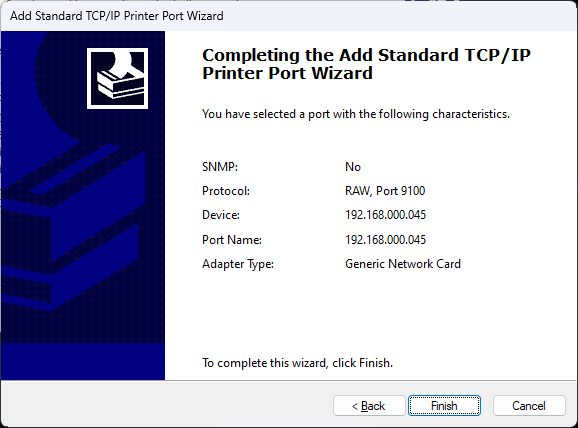
Hit finish.
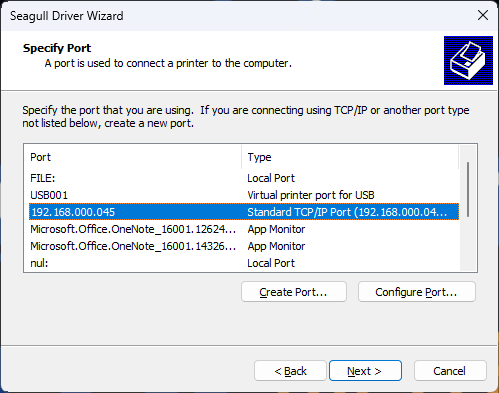
Select the port you created and hit next.
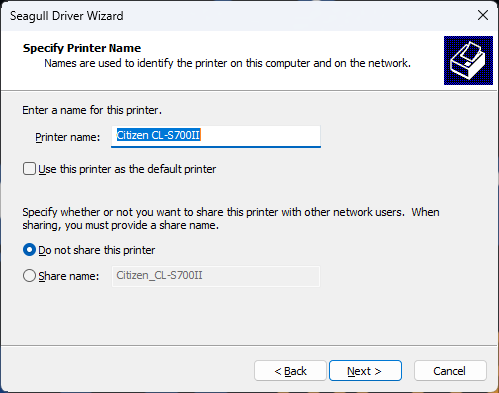
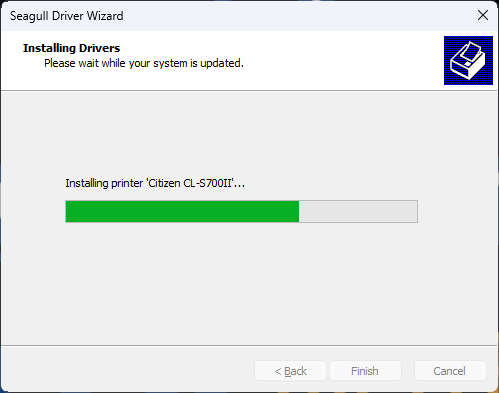
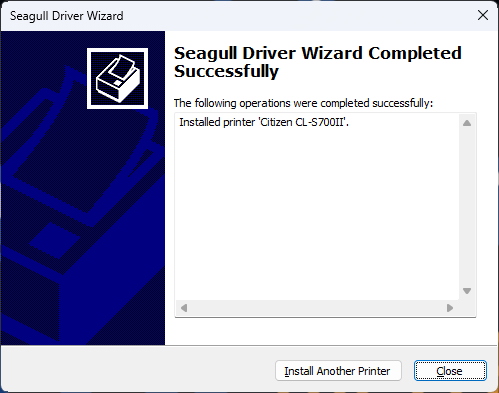
Leave the printer name as-is and hit next, then finish.
Install the RTA Barcodes and Printer Service
Next, install the Barcodes and Printer Service — refer to Installing Barcodes and Printer Service.
Add the Printer to the Facility (Printers Tab)
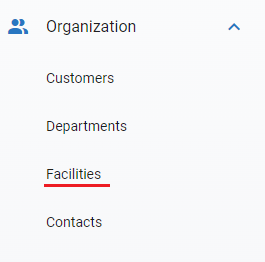
Network printers must be linked to a facility before you can print. From the Main Organization Menu, open Facilities and select your facility.
Open the Printers tab and click Add New.
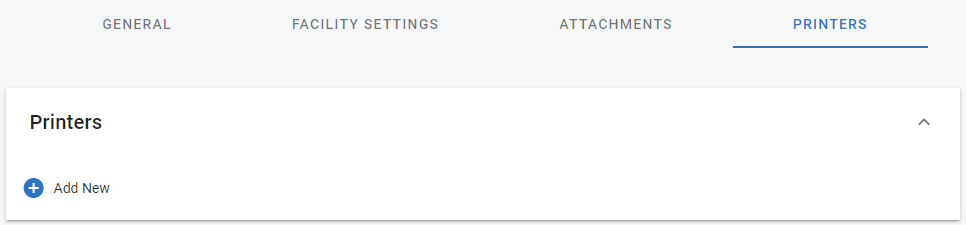
Fill in Printer Name and Printer IP to match how they appear on the network (example: Citizen_SL700II and 123.123.123.123), and set the Port to the same port used when installing the RTA Print Server. Click Add.

Editing or Removing a Printer
To change a printer that is already set up, click its Printer Name, Printer IP or Port on the Printers tab, change the value, and save. To remove a printer, click the delete (trash) icon on its row and confirm. Adding, editing and deleting printers requires the appropriate facility permissions.
Choosing Which Printer to Print To
A facility can have more than one printer configured. When you print (for example, from Print Tags), a Printer field lets you choose which of the facility’s printers to use; it defaults to the first printer in the list. Printers are specific to a facility, so to use a different facility’s printer, switch your Working Facility (top right) to that facility.
Checking the Print Server Connection
With the printing app running, open your user settings by clicking your profile image at the top left (see the Settings section in Getting Started).
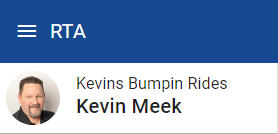
Look for the tag reading Print Server Ready or Print Server Not Ready; if it reads not ready, click the refresh icon.
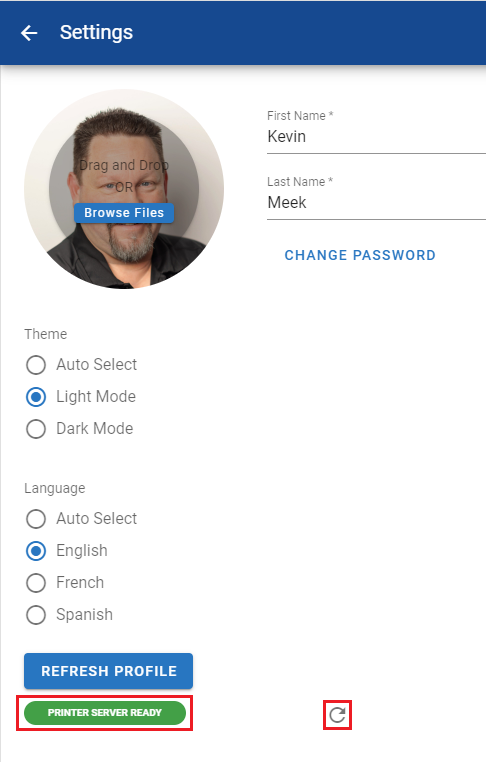
If it still isn’t ready, make sure the printing app was started with administrator privileges and that all printers in that facility use the same port configured for the printing app, then refresh again.