
Imports - How to Import Files
There are 4 key steps to completing an import with ease.
Uploading a File
Matching Data Tables/Mapping Data Columns
Verifying the Data
Results/Completion of the import
The sections below will guide you along each step of the import process.
Imports are an add and update feature. For example, if the file/data already exists in your system, putting it through the import will update the existing data. If the file/data doesn’t exist in your system, imports will add it with the value fields in the import.
Before importing, be sure to review/reference the document that defines and describes the RTA field definitions and requirements for each import type by visiting and then selecting the document for the import type you will be doing.
Download Template
Before beginning any import, you can download pre-formatted templates that display all available columns and required fields for that import type. This ensures your file is formatted correctly before uploading, saving time and preventing validation errors.
Tip: Use these templates as your base file for all imports and updates. You can save a copy and reuse it whenever you need to make bulk updates.
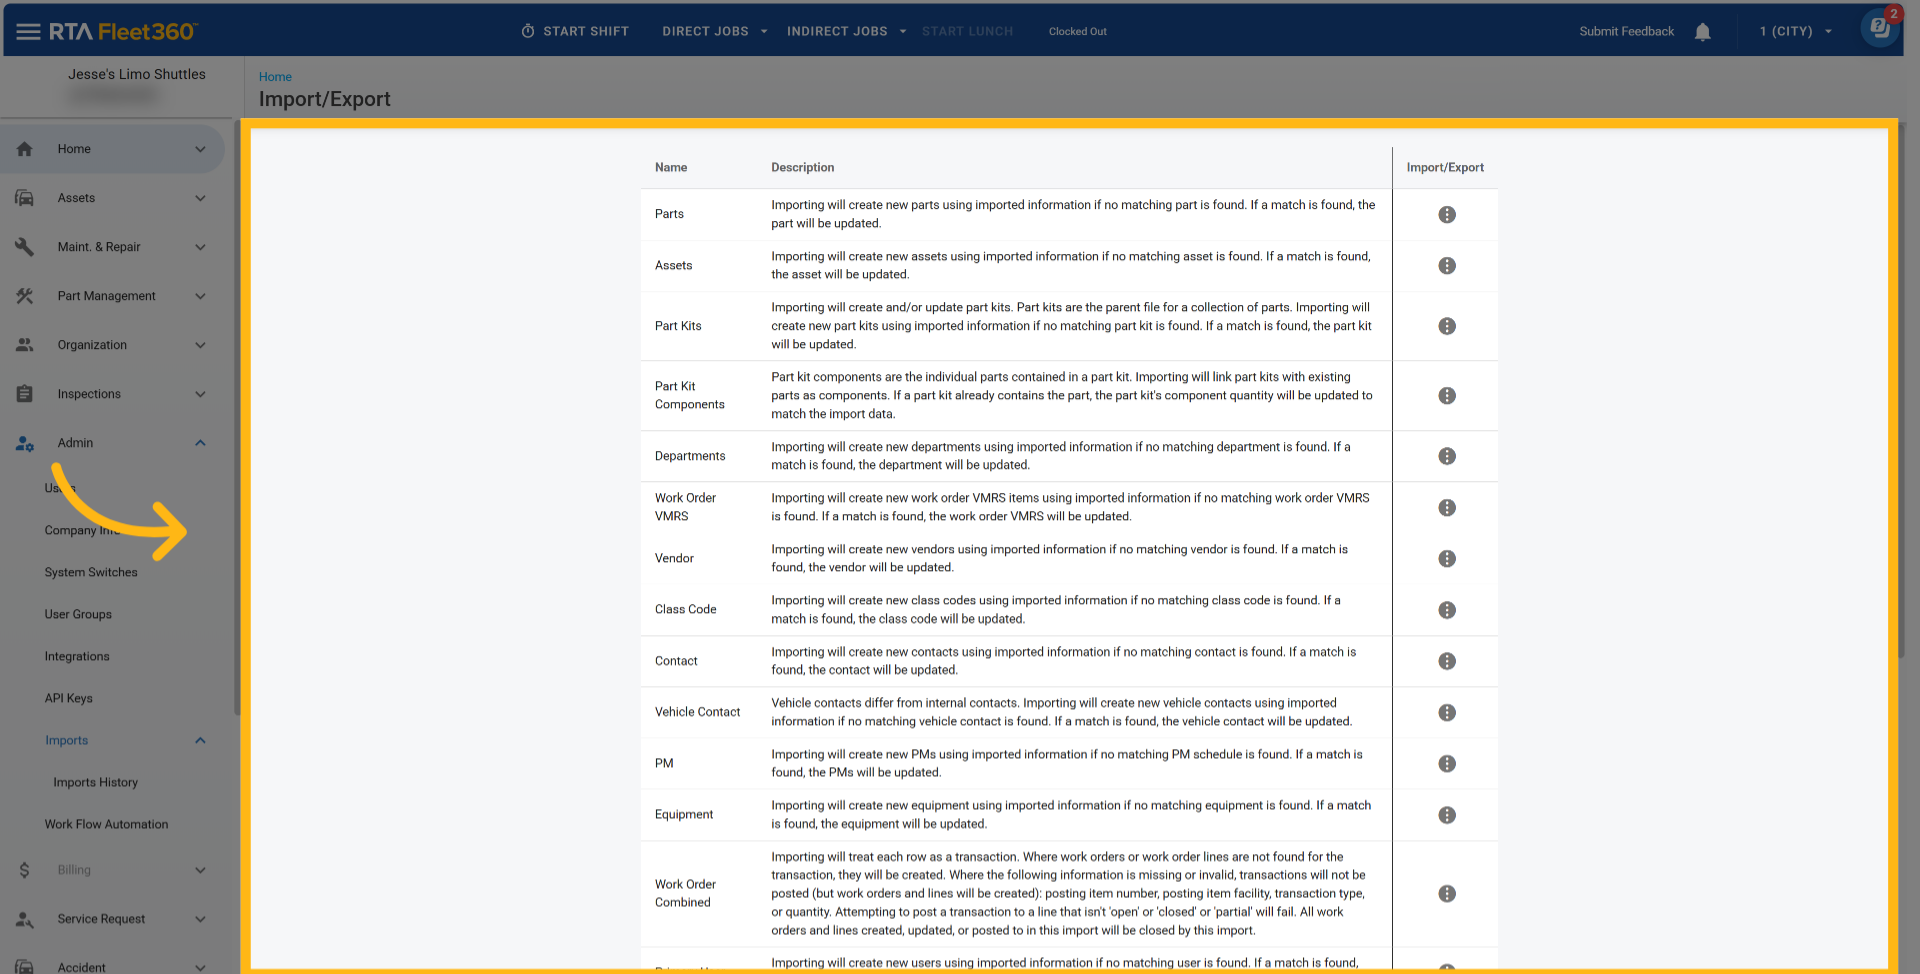
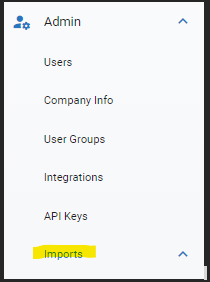
Access Imports by selecting Admin → Imports
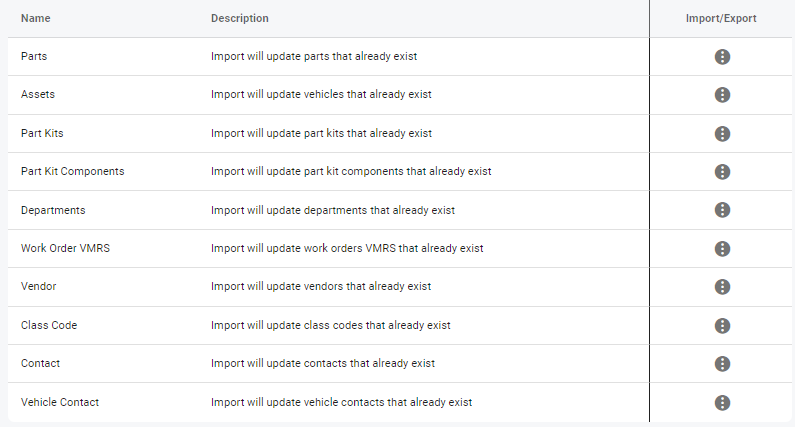
The Imports Page will appear
Hover over the three dots
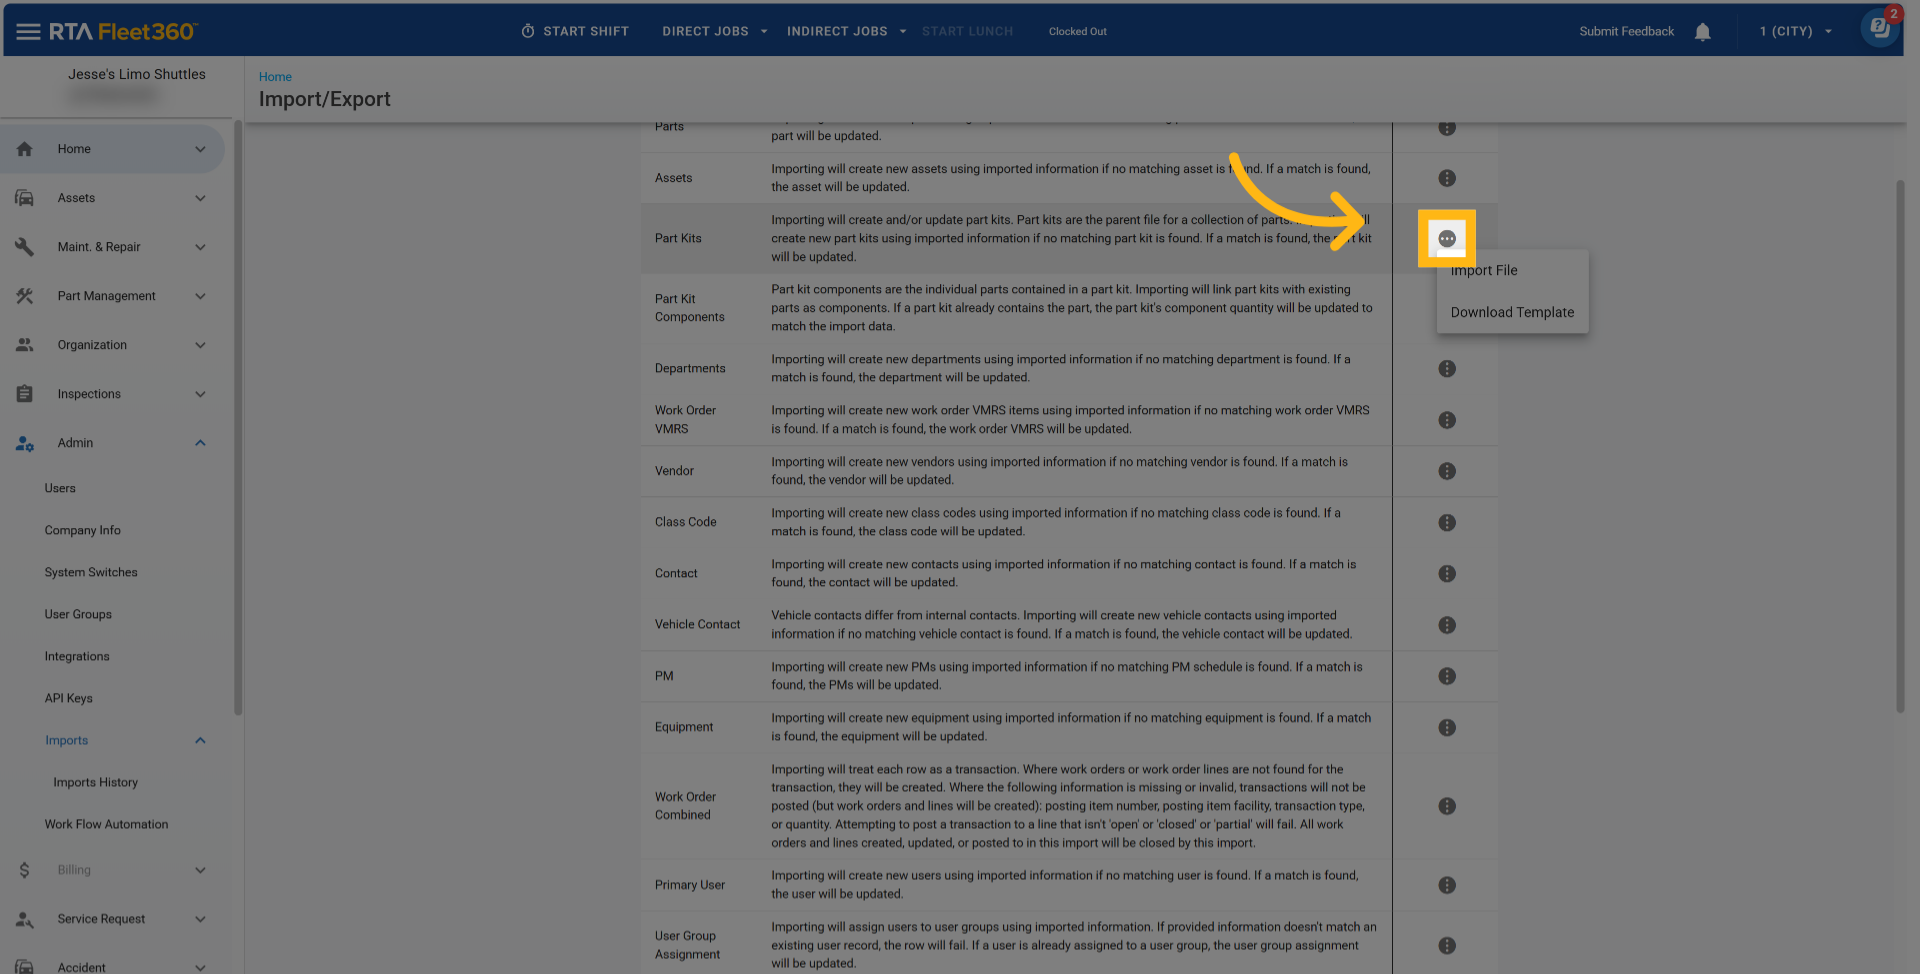
Select “Download Template”
The template will automatically download as a
.csvfile named after the import type (for example,AssetTemplate.csvorVendorTemplate.csv).Each template contains:
All available fields for that import type.
Asterisks (*) marking required fields.
Column headers that align with RTA’s system field names.
Example data formats to help structure your information.

Uploading a File
There are 2 ways to get your data into an import:
Drag and Drop or Click to Upload a CSV, XLSX or XLS file
Copy and Paste table data from a spreadsheet or google sheet
The instructions below will guide you through the full import process when uploading a file. To use the copy and paste function, see the Appendix at the end of this document.
Under Admin - Click on Imports
Find the file type you’d like to import to
Hover over the Import/Export menu

Click Import File

Drag and Drop or Click to Upload your file

You will be redirected to a new page displaying your data and to make some quick decisions
Columns of data will be displayed
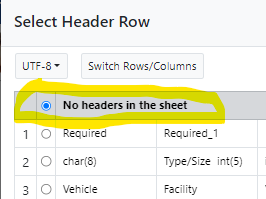
Designate the Header Row if applicable
It’s helpful to have a header row to help with matching/mapping columns but you can proceed without having a header row
Select the radial button next to the row of your data that is considered the header (column titles)
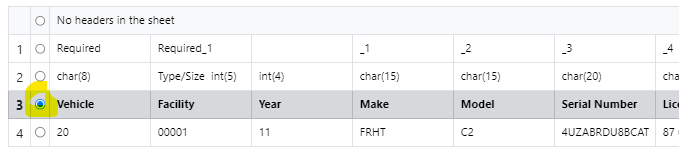
If there are no headers on the sheet, select the radial button that denotes there are no headers
Click Next in the bottom right corner of the screen
The next step will be to match/map your data to our data columns to ensure that the information gets placed in the right fields in your software
Matching Data Tables/Mapping Columns
This step is important in ensuring that your data flows to the right fields in your software
Be sure to refer to to review the parameters of each import file you will be using to learn the definitions and required formatting for the template fields in the software.
After following the steps listed for Uploading a File, proceed with the below
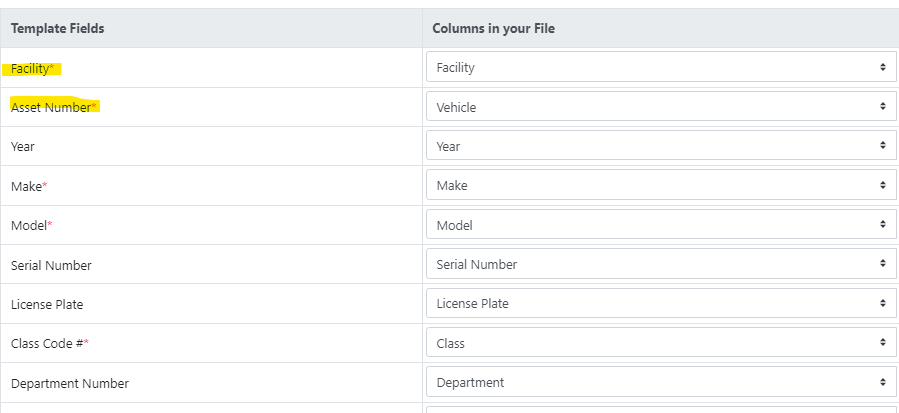
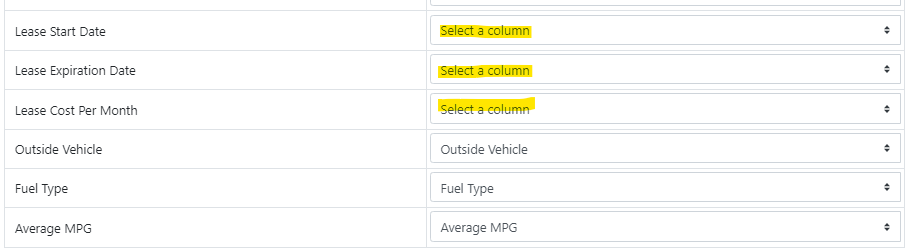
Visit each drop down in the “Columns in your File” column and select the column from your file that should correspond with RTA’s Template Field section
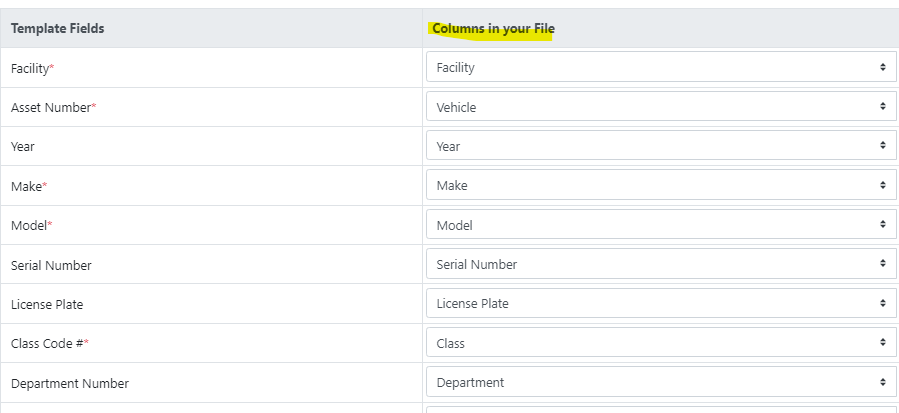
Once you’ve done this once, the system will remember your mapping if needing to import this file again for updates in the future
Template Field items with an asterisk are required and the import will not work without data in those fields
If there is a non-required template field that you do not wish to have data populate to or update, simply leave the “Columns in your File” dropdown as “Select a Column” which tells RTA that you won’t be updating anything to that field
Once all columns have the appropriate mapping, click Next at the bottom right of the screen
Next will be verifying the data where RTA will display issues/errors in the import. See the “Verifying the Data” section below for the process to follow.
Verifying the Data
Verifying the data is an important step. Items with issues will show up in red and will not import. Follow the guidelines below for verifying data for import.
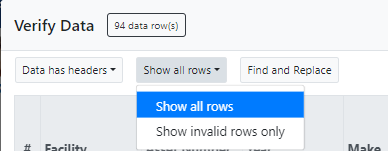
Rows highlighted in light red are data rows that contain errors
Use the drop down at the top of the “verify data” page to select whether you want to see all rows or only the errored/invalid rows
Fields that are colored dark red call out the items in that row that need attention
Errors can be related to multiple factors (Clicking in the error field will display why it errored at the bottom of the page)
Errored rows/fields can be updated in real time at this stage by clicking in the field and adding the corrected data
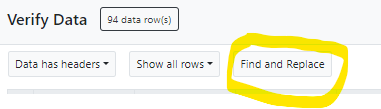
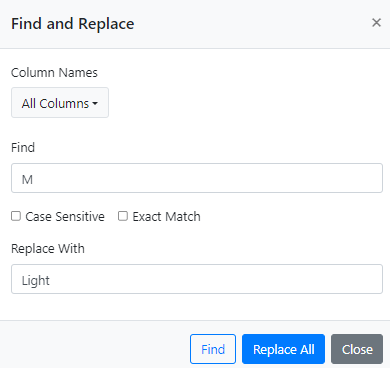
Use the Find and Replace option if needing to correct bulk errors
Click Find and Replace button at top of page
Choose whether you are replacing across all columns or use the Column Names drop down to select a column of data to replace items
Column names appear in the order they are listed in the file when reading from left to right
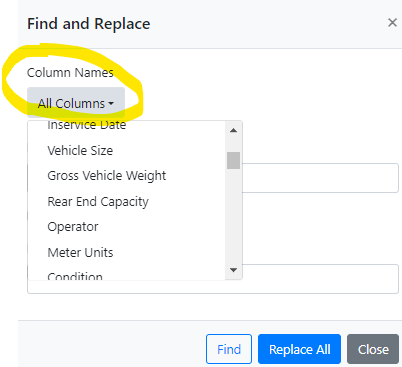
In the Find box, type in what you are looking to replace and then select if you want it to be an exact match to that entered data and if it needs to be case sensitive
In the Replace With box, type what you would like the new value to be and click Replace All
Once errors are updated correctly, the row will display without the red backfill indicating that the row no longer contains errors
Scrolling to the end of the row allows you to remove errored rows if you aren’t sure what you’d like errored values to actually be

Once all corrections have been made, you are ready to import and can click the Submit button at the lower right corner of the screen
The next and final step is the results of the completed import. See the next section.
Results/Completing the Import
Once the steps for uploading the file, mapping columns, and verifying the data are completed, you do not have to sit and wait for things to finalize.
The status of the import will display on the screen but while it is in progress you can navigate to other areas and go about doing what you need to do.

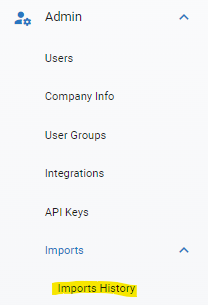
You’ll be able to view the status of the import via the Import History tab which can be found by expanding the Imports section under Admin in the menu and then clicking Imports History
Refer to for more information on reading the Imports History list.
Appendix
Using the Copy/Paste feature for Imports
Under Admin - Click on Imports
Find the file type you’d like to import to
Hover over the Import/Export menu
Click the Copy/Paste link

Paste the copied table data from your spreadsheet into the provided box
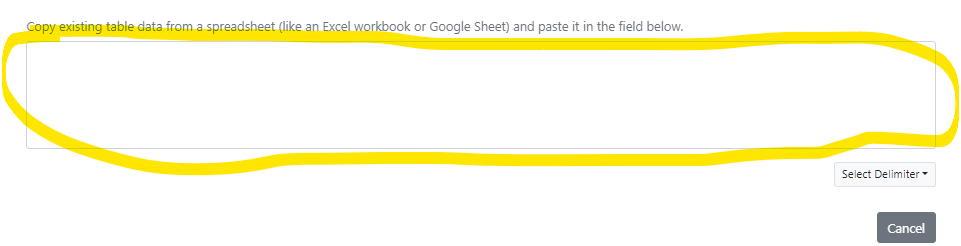
Select the type of delimiter to use for the data
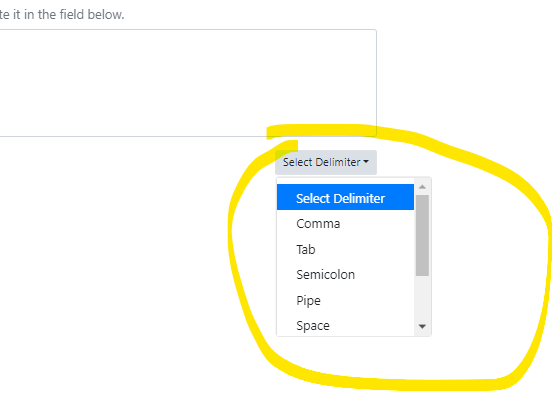
Click Next
Follow steps 6-8 of Uploading a File.