
Part Accounts Setting
An account code is used to denote a general ledger account number or other information for accounting purposes. Account Codes can then be subsequently used on Purchase Orders if the “Use Account Codes” switch is set to yes.
Refer to Parts System Switches for more information.
Once Part Accounts are created, they can be associated with individual part files by adding them to the account number field. Refer to Adding a Part File for information on where this is applied.
This article will describe how to add and edit Part Accounts
Where part account numbers are maintained
Part Accounts in Fleet360 is the only place to add or change a part account number. Fleet360 is your system of record. Account numbers added or edited in RTA Classic do not flow into Fleet360, so going back into Classic will not fix, add or correct anything here. Make the change in Part Management > Settings > Part Accounts.
A part account number is stored once for your whole company, not once per facility. Add the account number one time in Part Accounts and it is available to every facility, so there is nothing to copy from one facility to the next and no separate all-facility step to look for.
If you used to use Update Account # in RTA Classic
The screen that maintained part account numbers in Classic was Update Account #, under System > Utilities > Parts. In Fleet360 that work is done in Part Management > Settings > Part Accounts, described below. Two differences to plan for:
Accounts are added and edited one at a time. There is no mass-update or all-facility utility, and none is needed, because an account number is already available in every facility as soon as you save it.
Fleet360 keeps one monthly budget and one annual budget per account for the whole company. A separate budget per facility for the same account is not part of Fleet360.
Changing an account number is still a one-at-a-time edit, and the cautions further down this article about part files being left with a blank account code apply to every change you make.
If the New Account button is greyed out
On the account list, New Account is unavailable while any of the following is true:
There is text in the Search box above the list. Clear the search and the button becomes available again.
A new account that has not been saved yet is already in the list, shown as Untitled. Save it or remove it first.
The list already holds 999 accounts, which is the maximum.
Your user group does not have permission to add account codes. An administrator can check the account code permissions for your group in Admin > Groups.
The Part Accounts screen itself only appears if parts management is part of your subscription. If the menu item is missing rather than the button being greyed out, that is what to check first.
Refer to Adding a Part File for where the account code is selected on a part file.
Adding new part accounts
From the main menu, select Part Management> Settings> Part Account
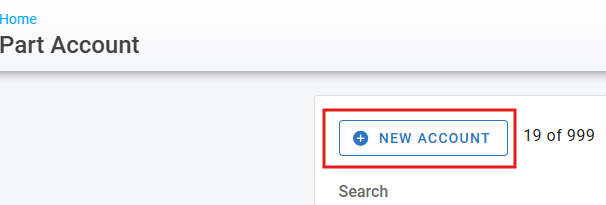
Click + New Account.
Enter the account information
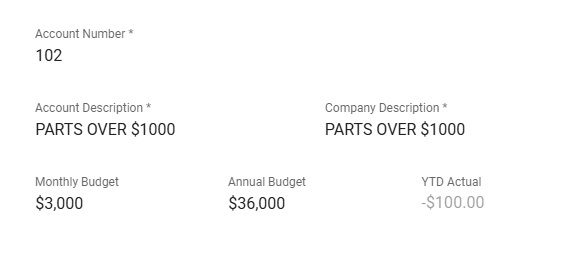
Account Number - GL associated with the part
Account Description - Description of the account code
Company Description
Monthly Budget for the account
Annual Budget for the account
YTD Actual will fill in automatically with the posting history of the part with the actual dollar amount posted for that account number
Click Save and the new code should now display in your code list.
Editing Part Accounts
From the main menu, select Part Management> Settings> Part Account > select the account to be edited
Click into the fields to update the information.
Click the checkmark to save.
If you edit the account number via the Part Account settings, any part file associated with the old account number will now be left with a blank account code. Before editing the account number itself, it is recommended to export the list of all parts that have the current account code number so after the change, those part files can get updated properly.
Deleting Part Types
From the main menu, select Part Management> Settings> Part Account
Click on the trashcan icon next to the part account.
Click delete when the confirmation box pops up.
If you delete the account number via the Part Account settings, any part file associated with the old account number will now be left with a blank account code. Before deleting the account number itself, it is recommended to export the list of all parts that have the current account code number so after the change, those part files can get updated properly.