
RTA Web Parts - Inventory Tab
The Inventory Tab of the Parts file is all about tracking your total part inventory and assisting with requisitions and Purchase Orders. This article will focus on the three panels in the inventory tab.
Refer to Part File TOC for more information on the data displayed in the parts file.
Stocking Panel

All parts are segmented into one or more locations for ease of use and location. The Stocking Panel is used to document the location of the part, adjust the part quantity, create and edit BIN labels, and prepare part tags for printing.
Default Bin Labels (titles) display as Bin A-Bin E. RTA Web offers the ability to set up a maximum of 5 separate documented locations for any part. Utilizing the Labels and Part Tags can make inventory time faster and easier.
To allow the use of more than one Bin Location in a part file, be sure to set System Switch 09 under Parts Parameters in the Main System Parameters area in the Classic version to the number of stocking areas to be available within any part file.

Editing Bin Labels
We recommend that the first step in this panel is to label your Bin Areas. This field can be alpha-numeric. You could label it a number or even a location like Garage1.
To edit the bin labels, follow the below process:
Click Edit Bin Labels

Add a Bin Title to each field as applicable
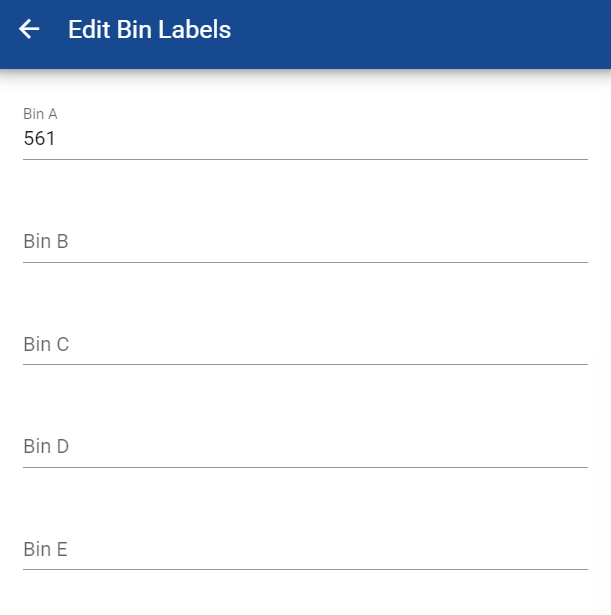
Click Save
Adjusting Bin Quantities
Adding and editing bin quantities is easy in RTA Web. RTA recommends using purchase orders in RTA to make managing parts inventory quick, easy, and accurate. If a mistake should happen, adjustments can be made via the stocking panel by doing the following:
Manual adjustments are not advised on a regular basis. Allow RTA to track inventory more accurately through part postings to work orders and receipts through purchase orders. If counts are off, it is best to review all postings since the last count to identify where the posting error occurred and fix the posting as opposed to a manual adjustment.
Click Adjust Bin Quantities

Enter the appropriate “on-hand” amount into each corresponding bin
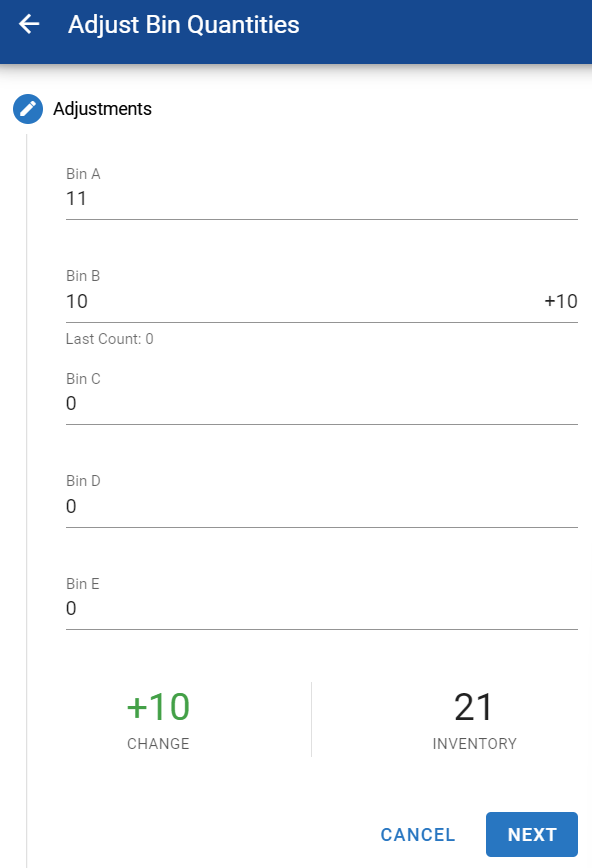
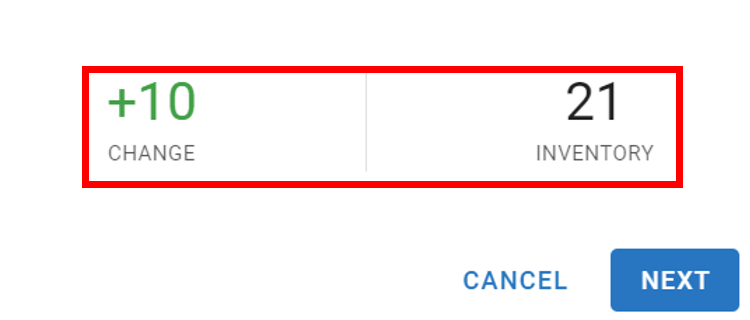
The “change” and “inventory” counts will adjust as changes are made
Click Next
Enter the reason for the adjustment (for example “physical inv” which might be used if physical inventory count showed more or less parts than originally thought
There is a limit of 15 characters in this field
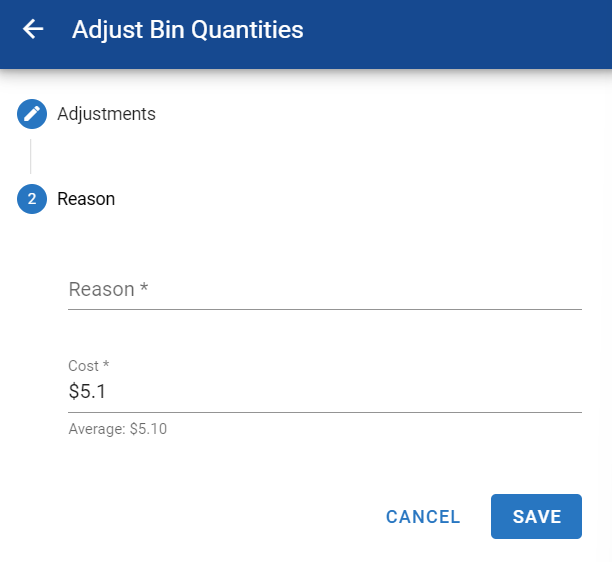
Cost can be adjusted as well by changing the price
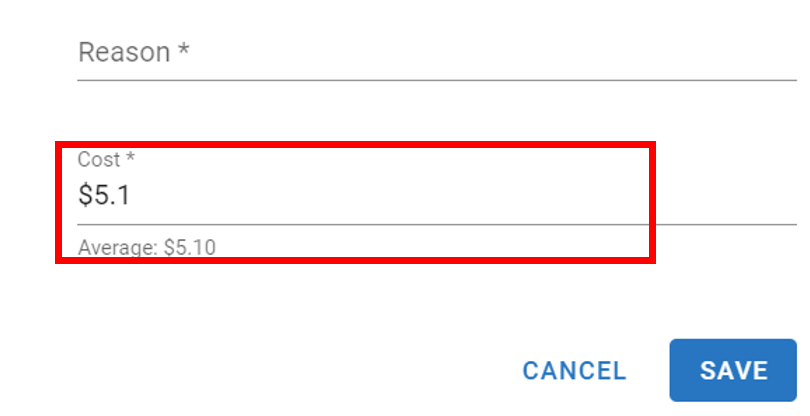
Click Save
Queuing Part Tags
Part Tags and Bin Labels can be printed using RTA Classic. Queuing the Part Tag through RTA Web creates the tag for printing. Refer to Part Tags and Bin Labels for a deeper dive into this functionality in RTA Classic.
Follow the below process to queue a part tag.
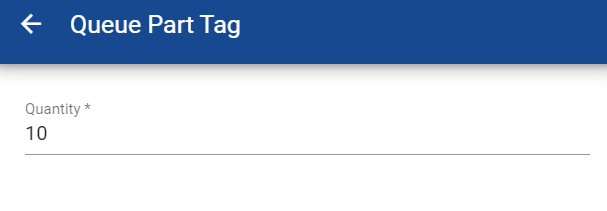
Click Queue Part Tag

Enter the quantity of tags needed to tag parts on hand
Check selection box to include the bin label if desired
Select a created bin label to be included from the drop down
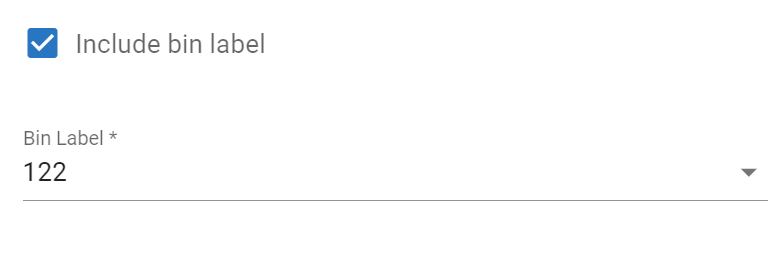
Click Save
Usage Information panel

These fields display the usage per period and the usage per year. Period 1 is always the current period, period 2 is the previous period and so forth.
RTA calculates the period usage based on postings to work orders and updates the reorder point and reorder quantity (if the reorder lock is not selected) Refer to the Ordering Panel below.
Part usage is updated when:
Parts are issued to Work Orders
The various periods are refreshed when the End of Month process is run from either:
Classic RTA. Refer to End of Period for instructions and information on running end of period processing for parts and other modules
RTA Web. Refer to RTA Web - Period Cost Settings for setup and information on how the Automated End of Month Process works in Web
To edit the usage in a period, click in the field below the period number, enter the usage, and click the check mark.
When adding a part to the system for the first time, it is best to update this panel to reflect the average yearly usage for that part prior to history being added to RTA to kick start the reorder process on the right foot.
Lock Re-Ordering
Information in this panel is used to generate purchase requests for stocked parts when the inventory level falls below the specified reorder point. The quantity requested depends on the calculation method specified in the appropriate switch.
Refer to Reorder Point Settings for more information on the various calculation methods. RTA recommends using the Min/Max method.
Users are able to lock the re-order point and re-order quantity to a stationary number. These numbers will not be affected by actual usage of the part which can lead to over or understocking.
RTA recommends not locking and allowing the system to update these numbers based on actual usage.
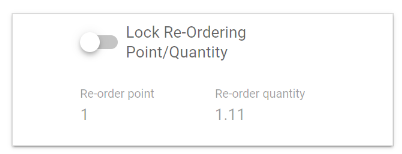
Lock Re-Ordering Point/Quantity Toggle
Select the Reorder Lock toggle to manually set the reorder point and reorder quantity and prevent the RTA system from adjusting them
If the Reorder Lock toggle remains deselected, the Reorder Point and Reorder Quantity fields will not be available for editing. Instead, they'll automatically be calculated and set by the system after the part usage information has been added
The reorder point and quantity will be adjusted as needed each time end of period for parts is processed in RTA Classic
The adjustments made are based on part usage, price, and shipping days (lead time). Hence, as the yearly part usage increases, the reorder point and quantity may also increase, and vice-versa. Refer to "Part Requests" for more information.
Ordering Panel
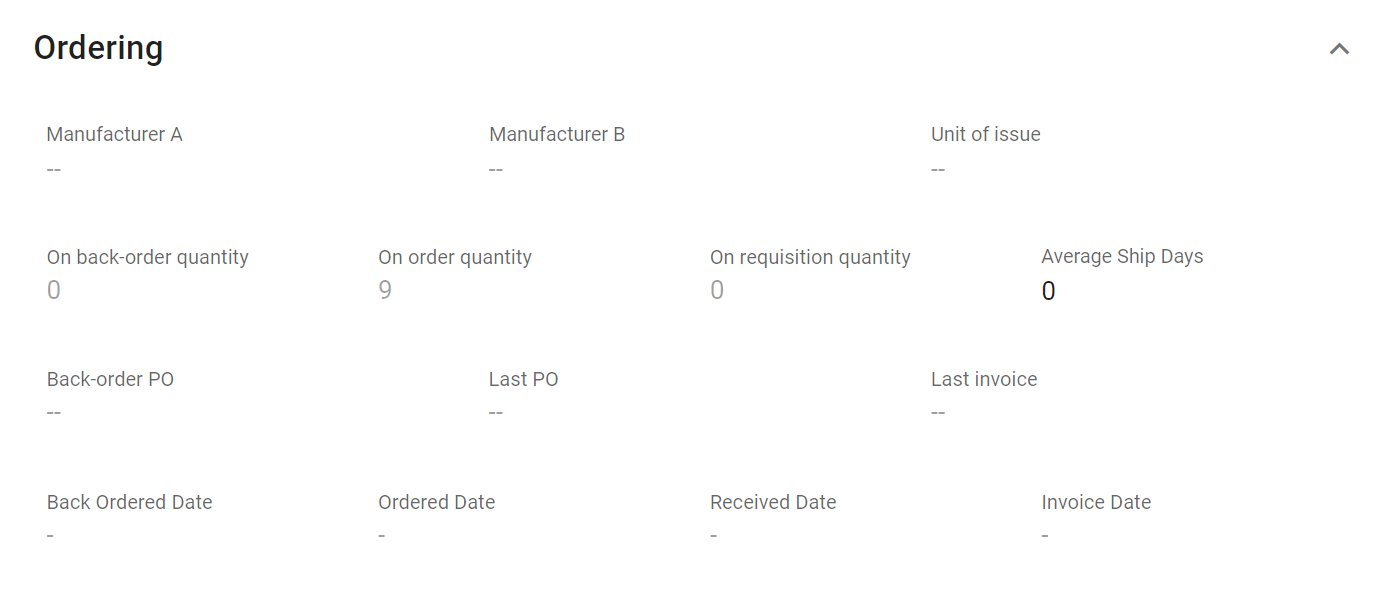
The fields in this panel and their descriptions can be found below.
🔓 Denotes editable fields