
RTA Web - Warranty Claims Received Status
Once the warranty claim is submitted to the vendor, the vendor will then process the claim and provide either a refund or credit. Once that is received, the warranty claim file status will need to be updated and the information for the refund/credit added.
Access the claim file via the warranty claims master list under the vendor menu option
Click the status button in the upper right corner
From the drop down, click on the Received status

In the confirmation window, provide the following
Vendor Claim ID if not already entered previously and is not required
Check number if a check was issued OR if a credit was issued, simply type credit for the check#
This will fill if previously entered and is not a required field
The amount will pre-fill from the claim amount field though this can be updated if the credit or check amount is different
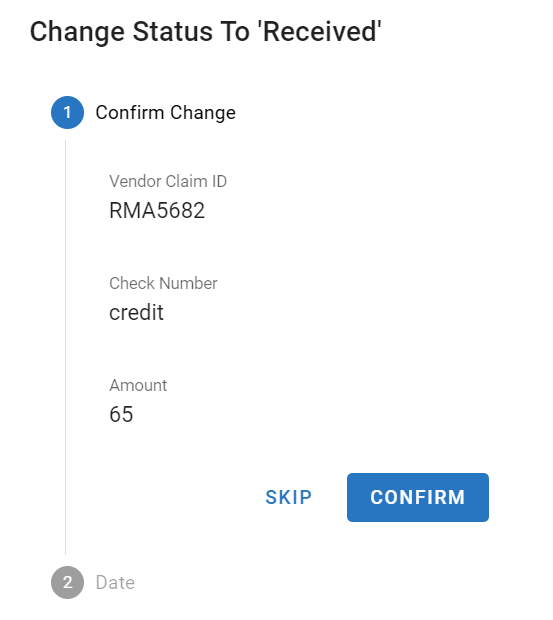
Click Confirm
Confirm the date the credit or check was received from the vendor
The “received on” date will default to the current date and this can be changed if the credit or check was received on a prior date
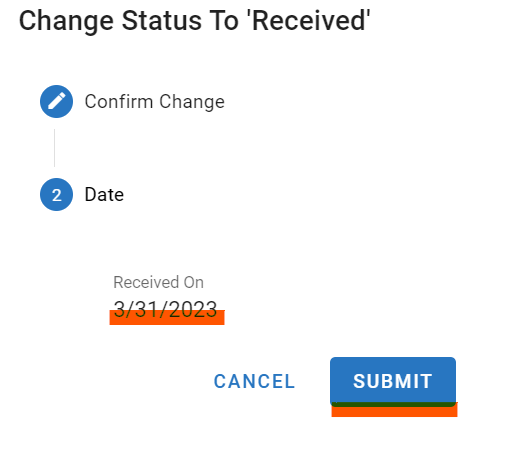
Click submit
Be sure to also take the next step and post the credit to the actual work order transaction so that the repair costs will be accurate. Refer to Warranty Claims Posted Status for instructions on the next process.