RTA Web - Adding Assets
There are two methods that you can use to add a new asset to RTA Web. You can use the “VIN look up” feature and add the asset based on VIN or you can create a new asset.
Once the asset is added, the record contains multiple tabs. It will not be necessary to enter information in every tab or every field at this time unless desired. The goal of this document is to get up and running quickly.
For information on the additional tabs and fields that can be utilized for asset files in RTA Web, please visit Asset File Table of Contents.
This article will cover how to add assets in RTA Web using the two methods mentioned above.
Adding an asset using the Look Up VIN process
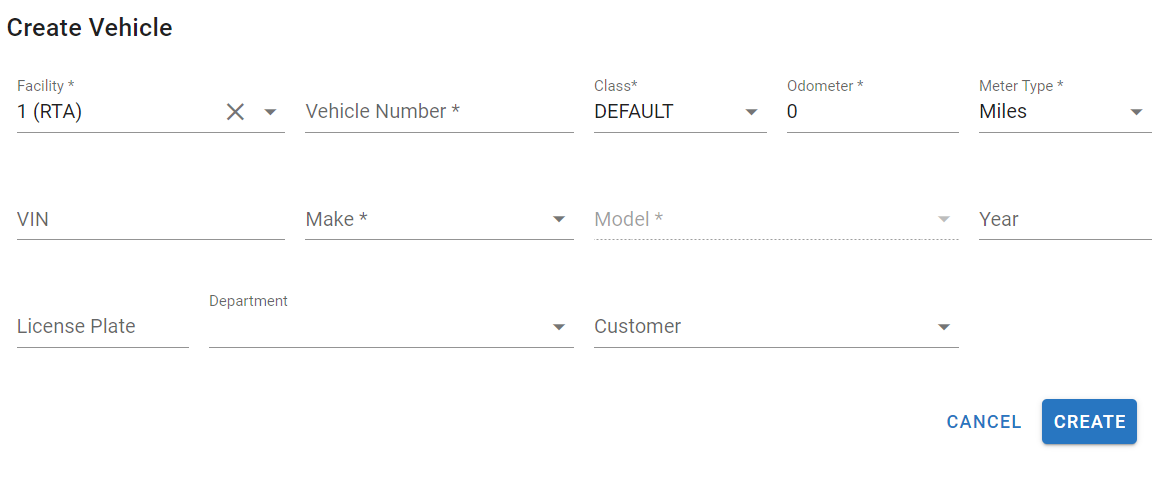
Adding an Asset using the Create New Button
🖊️ Denotes a required field
Be sure you set up your PM (Preventive maintenance) schedules for your assets ensuring that this cost saving feature's ability to track and schedule asset PM schedules is utilized. Refer to PM Schedules in RTA Web
Don’t forget to set up asset warranties in the file to save hundreds to thousands of dollars in repair costs. Let RTA help you track warranties and file claims. Refer to Asset Warranty Set Up to learn how to do this now.
Using templates when adding assets of the same make and model can speed up the process for asset adds if needing to add multiples. The data from the template asset, including PM schedules and warranties, is copied to the new asset. Refer to Template Assets if wanting to add assets using the template feature.


