RTA Web - Creating an Asset Class
The RTA software comes with a large portion of the NAFA Class Codes loaded and ready for use. Users may use these or create their own.
While users can create unique class codes, the NAFA codes will typically cover most, if not all, coding needs.
NAFA Vehicle Classification System
The NAFA Standard Vehicle and Equipment Classification Code has been created to address the deficiencies of the various classification schemes in use today. NAFA recognizes that although there are several widely accepted classification systems in use by various segments of the fleet industry, each is specific to a particular aspect of fleet management, with little commonality between each scheme. This lack of common comparative classifications has resulted in major obstacles to the sharing of data between fleets and has been a significant contributor to the inability of the fleet industry to develop and report usable benchmarking data. The goal of the NAFA classification scheme is to create a coding system that meets the following criteria:
A fleet can use it as a vehicle and equipment classification system.
It is comprehensive enough to apply to any fleet application.
It is flexible enough to be customized to any fleet application
It is intuitive such that any given vehicle or equipment fits only one category.
Other classification schemes can be cross-referenced into it.
It can serve as a reporting standard for comparative purposes.
All vehicle classification systems are based on underlying assumptions that provide the logical structure to the system. The assumptions beneath the NAFA Standard Vehicle and Equipment Classification Code are:
A gross vehicle weight based classification system provides the common attributes to compare vehicles from widely different fleets and fleet applications.
Operating and maintenance costs have a direct correlation to gross vehicle weight, vehicle type and vehicle function.
For further details on the NAFA Classification System, refer to NAFA Asset Classification System.
Creating a Unique Class Code
Follow the below steps to create a unique class code outside of those that already exist in the software.
Click the + sign
Enter a Class Code (this must be a unique number/character combination that identifies the overall class)
Enter a Class Description (detail what this class code is used for so that it is easily recognizable)
Click Create
Add Max Units in the Class Info Panel
This is used as a warning threshold when meter readings are updated for the asset. If the units entered are above the max units number put into this field, an alert will display on the screen. This field helps with erroneous meter entries.
Navigate to Custom Fields Tab
Add up to 22 asset specifications to be tracked in the custom fields tab
Use the “Apply New” Dropdown
Select each item to be added individually
Click the + after each item selection
Repeat until finished adding fields (up to 22)
Navigate to Asset Spec Tab
Use this tab to restrict the values that can be added to the asset file for the specification items
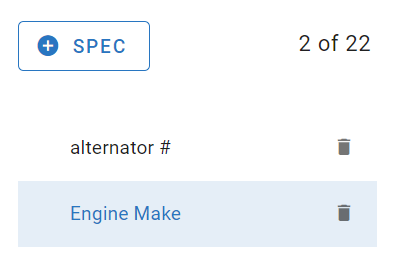
Click + Spec
Enter the Asset Spec Description ( the field title name)
Click Required if wanting it to be a required entry on the asset file
Click Save
Click on the spec title that now displays if wanting to restrict the field values entered
Click on Dropdown list
Add an approved value for the field - This can help with reporting consistency. For example, limit the entry to Chevrolet so that users can’t put in Chev, Chevy, etc. and can only enter Chevrolet
Click + if needing to add more
Navigate to the Replacement Tab
Enter in a replacement by score and/or replacement by year component to assist with forecasting and projections
Refer to Replacement Panel for more information
Navigate to the Attachments Tab
Add any attachments that might be relevant to the class


