RTA Web Application - Getting Started
The RTA Web application represents the next evolution of the RTA Fleet Management Software ecosystem, designed to save you time, reduce fleet costs and make our roads safer.
Logging in to RTA Web
Accessing the RTA web application is similar to many other modern web applications and can be accessed using any of the modern web browsers including Google Chrome, Apple Safari, Mozilla Firefox, and Microsoft Edge.
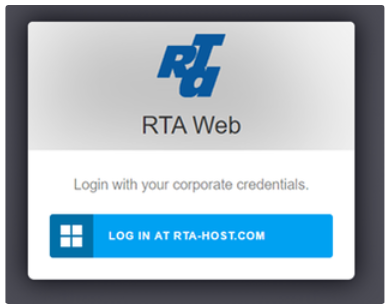
Access app.rtafleet.com through your web browser
Click Sign In
When prompted, click “Log In At RTA-Host.com
Enter the assigned username and password
be sure the username format is entered as username@rta-host.com
Password Policy
Passwords must be between 6 to 25 characters and contain three of the following: 1 uppercase, 1 lowercase, 1 numeric, 1 special character.
Click Sign In to be directed to the web application
User Management
Special Note on Active Directory vs RTA Classic Users
Account Type | Purpose |
|---|---|
Active Directory (Web Application) |
|
RTA Classic User |
|
There are a few variants to this configuration based on how a company administrator has configured the RTA Classic application:
RTA Classic security is disabled. In this scenario, once the user authenticates to the RemoteApp, all users connect to the RTA Classic application using the built-in System Classic user.
RTA is configured for passthrough authentication. In this scenario, once the user authenticates to the RemoteApp, the RTA application matches the Active Directory username to an RTA Classic username and applies the security settings for that user as specified in the Classic User Management.
Overview of User Management
Users can be granted access to the Web Application and the Classic application as needed. If only granting access to the Web Application, everything for setting up a user will solely be done in the Web Application.
Managing users to have access to both versions will require a two-step process in order to properly grant a user correct permissions to access the Classic, web and mobile applications.
Step 1: Create the User in the Web Application using User set up instructions below
Step 2: Create a user in the RTA Classic application as outlined in Creating New RTA Users if needing to grant access to the Classic application as well.
Naming your users: Use the same username for both the Classic and the web application. This will make it easier for the user to remember and allows you to use the SSO passthrough authentication via System Switch 09 under Miscellaneous I. |
User Setup
To set up Web Application users, refer to Creating New Users. If you need assistance, please reach out to our Support team or call 1-800-279-0549.
New Users can be added by any individual assigned to the standard Admin User Group. See User Group section in the Creating New Users document link above.
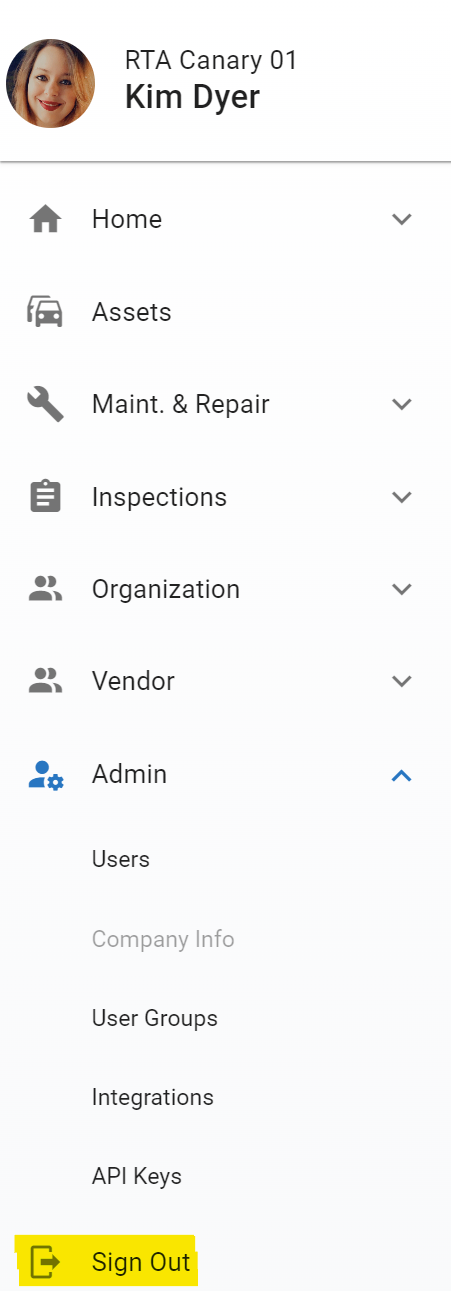
Signing out of the Web Application
When the user is done accessing the application, he or she can Sign Off of the application. To do this, select “Sign Out” from the menu
Multi-Lingual Support
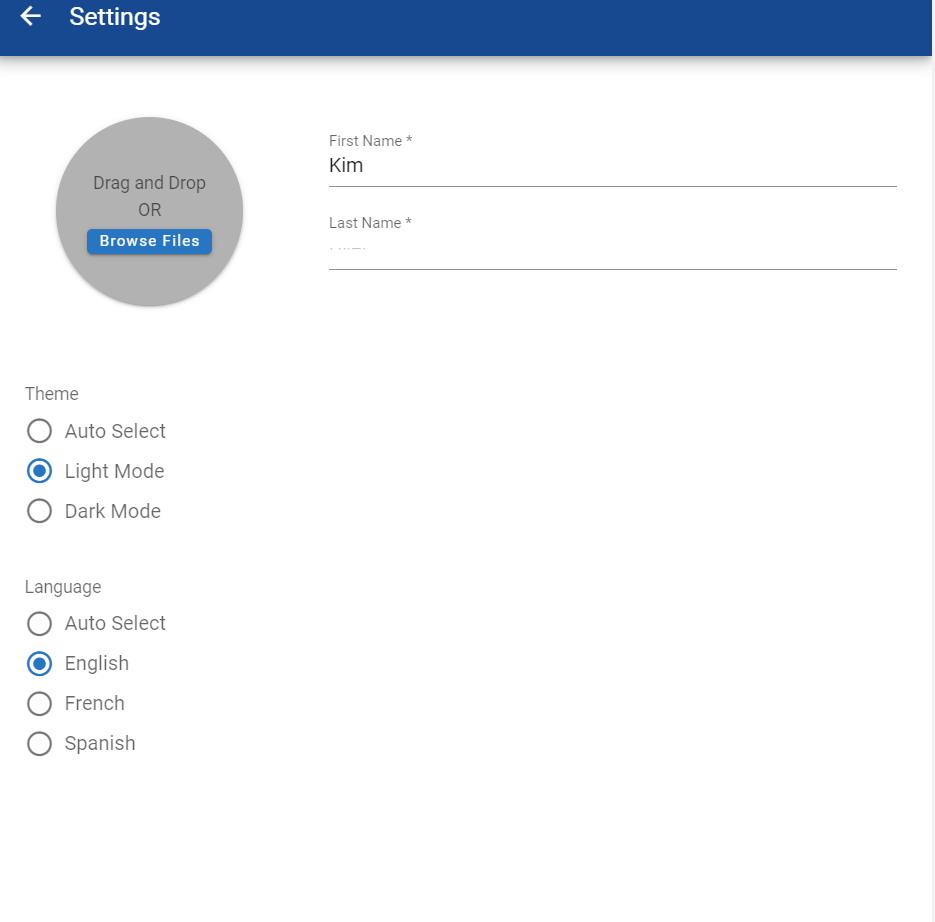
Users have the ability to change the language displayed on RTA Web. Currently, English, Spanish and French are available.
To change the language preference:
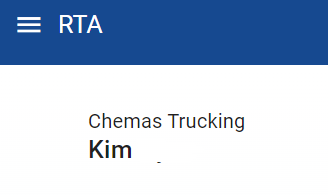
Click on the user name when signed in on the upper left corner
In the Settings Window, choose the desired language
Click Save
The web will now display in the preferred language.
This setting will not change language on printed forms from web such as Work Orders or Purchase Orders. There is not currently a way for those to appear in any language other than English.
Theme
Users have the ability to change the display theme on RTA Web. Currently, Light and Dark Mode are available.
To change the theme:
Click on the user name when signed in on the upper left corner
In the Settings Window, choose the desired theme
Click Save


