
RTA Web - Tire Inspection Setup
One of the many time-saving features in the RTA Fleet Management Software is the ability electronically track tire tread depth and pressure readings and be able to store the data historically in the asset files for later review. Traditionally this data would have just been entered in as a note within a work order which does document the information. However this method did not lend itself to the ease of looking up the previous data in a single area of the asset record.
If you setup the tire combinations on your assets in the asset file and enter the readings within the Tire Inspection Module then you will be able and review that data easily in the Asset File.
The Tire Inspection Setup in RTA Web is split into three sections:
New Axle/Axle Layout Add or Delete
Axle Details
Axle Overview Section
Page Contents include:
Adding Axles and Tire Combinations
If you wish to track tire readings electronically for your assets, they must be set up as assets in RTA.
To add Tire Readings, the asset must already exist in RTA. Refer to Adding Vehicles for instructions on adding assets in RTA Web
To set up the axle and tire combination for an individual asset record, follow the steps listed below:
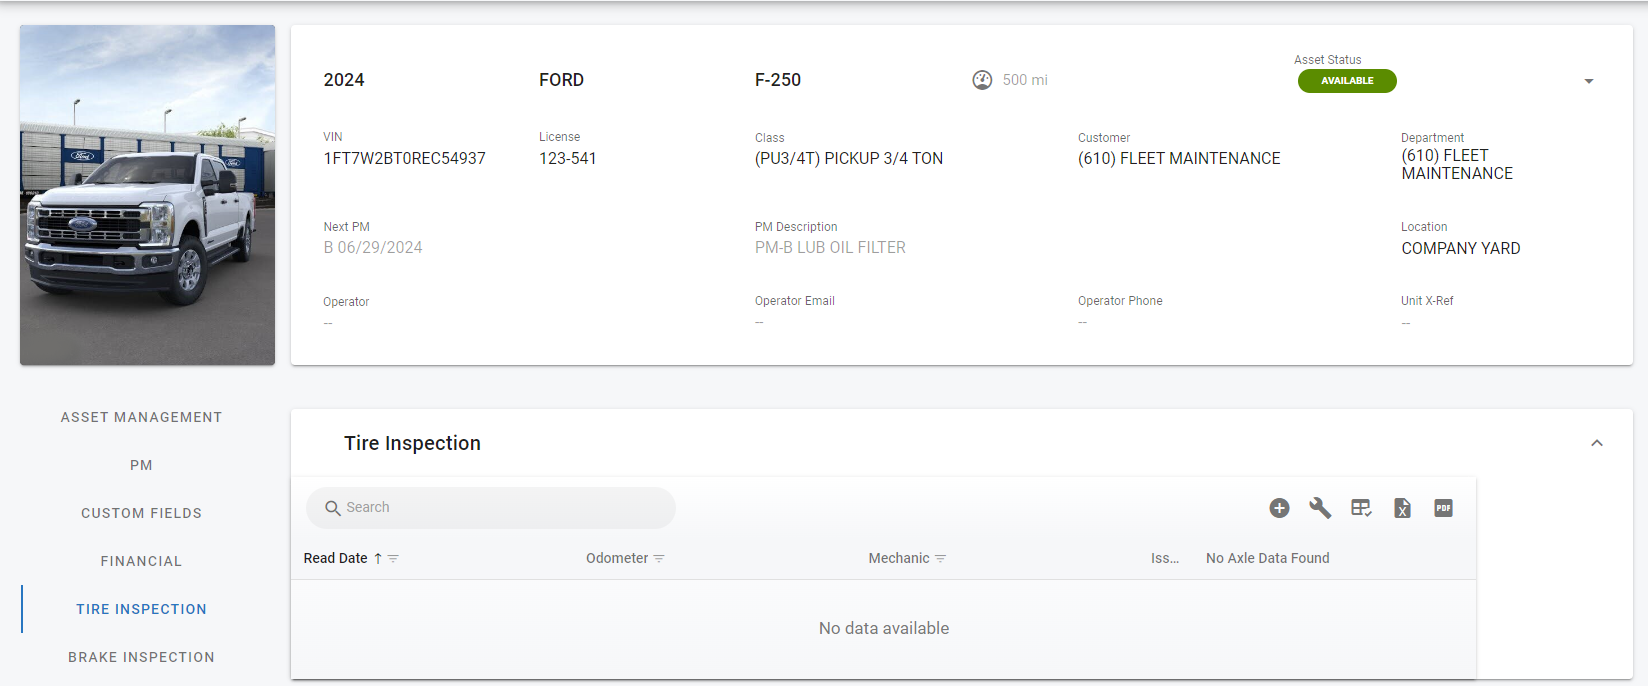
Search and open the asset file in RTA Web
Access the Tire Inspection Section from the asset file
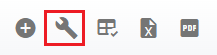
Click the Wrench option to add a new axle tire combination
Note: You do have to at least setup your core Axle/Tire combinations individually in the appropriate assets but once you setup the first combination you can use those records to template the same Axle/Tire setup to other assets by simply using the Template Button (See Below)

Adding an Axle
🔓 Denotes fields that are editable within RTA Web.
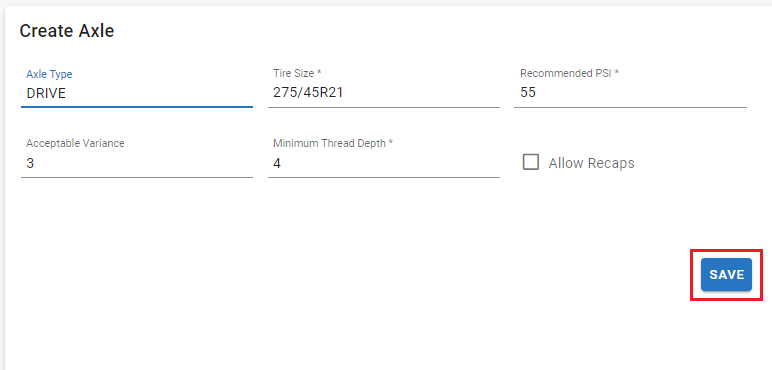
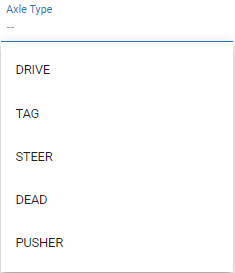
🔓 Axle Type – This is the Axle position on your asset. There is a pulldown menu to pick from
(See Below):Axle Options are:
Drive
Tag
Steer
Dead
Pusher
🔓 Tire Size– This is the tire size you are running on this Axle. For Example: 275/45R21
🔓 Recommended PSI – This is the manufacture recommended pressure to keep the tires at
🔓 Acceptable Variance – This is the acceptable Over/Under variance that you will allow for a tire pressure reading. For Example:
Recommended PSI: 55PSI
Acceptable Variance: 3 PSI
Would set a range of 52 PSI to 58 PSI as a normal range
🔓 Minimum Tread Depth – Sets the Minimum tread depth acceptable before tire replacement
For Example: 4/32 at or below is at which point replacing the tire is needed.
🔓 Allow Recaps – FYI Check Mark whether or not you would allow Recapped Tires on the Axle or Not

Once the Axle info is entered then select the Save Button to save the Axle.
Repeat for as many axles that you run on your current asset
Adding Positions to the Axle
To add positions to your Axle simply:
Click on the Axle Number of the Axle you wish to add positions to
Click the Plus
 Button
Then in the Create Position Area:
Enter the Tire Position Label. For Example: RF-Right Front and LF-Left Front
Select as FYI whether you want this position to run a Capped Tire or not
Hit Save:
Repeat for all the positions on the Axles you added in the first step

Once completed it should look something like this

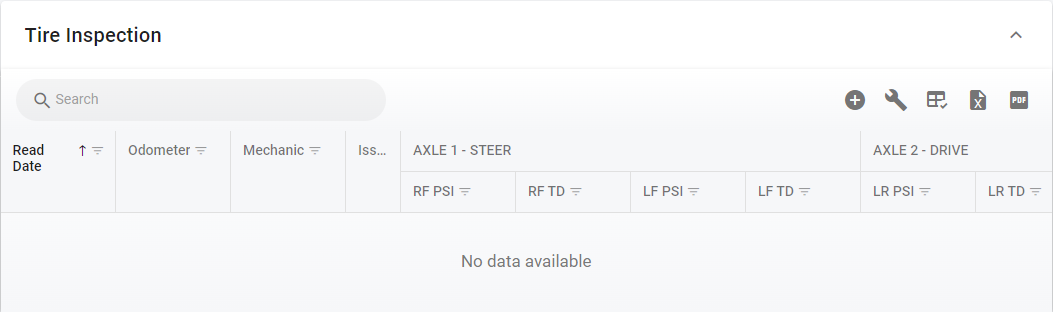
Once you back out to the Tire Inspection Main Window it should now look like this and ready to start putting inspections in.
Once the Tire and Axle Setup is complete you can enter the Tire inspections electronically in the system. See RTA Web - Adding a Tire Inspection for more information on how to.