
RTA Web - Warranty Claims Posted Status
Once the credit or check for the claim has been received from the vendor and the receipt information has been entered with the status change to “received” in the claim, it is imperative that the posting process now occurs.
Neglecting the posting process will impact the accuracy of the assets individual repair costs as well as the overall repair costs for the fleet.
To ensure the process is done, RTA recommends completing the posting process immediately following the receive process since the claim file is already up.
Click on the status button in the upper right corner
From the drop down, select the posted option - This action will post a negative warranty credit to the work order, negating the cost of the replaced item
In the confirmation window enter the following:
Work Order # - this should already populate with the WO# when the claim was created
Work Order Line # - this should already populate with the WO Line # when the claim was created
Amount - this is the credit amount from the vendor and should populate based on the claim amount
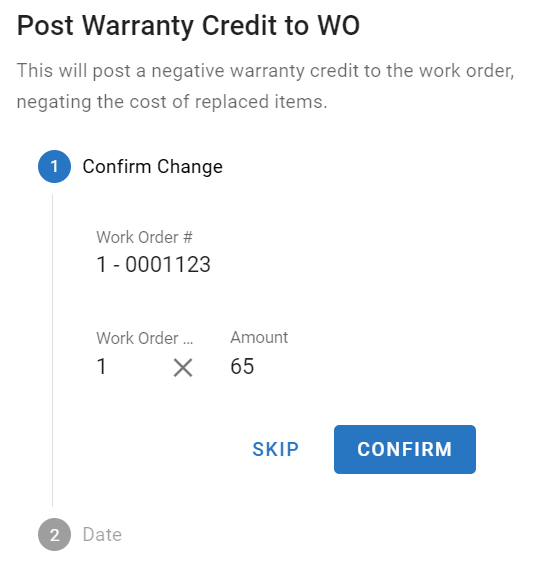
Click Confirm
In the confirm window, ensure the “Posted On” date is accurate (it will default to current date)
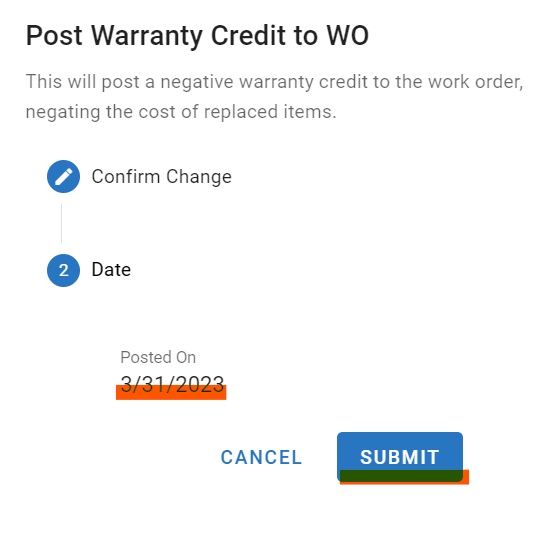
Click Submit