
RTA Web - Customizing Master List Columns
Users have the power to customize columns in many areas of RTA Web. Customization provides the ability to minimize or maximize the type of data that is visible in the master list as well as sort and filter where available.
This document will focus on the following:
Filtering Columns
Columns that are able to have a filter applied will be identifiable by the filter icon in their header.

When the filter icon is visible, simply click the icon and make your filter selections from the available fields and click OK
The displayed list will refresh with the requested filter in place
Filters can be removed using the same process above
If the filter icon is blue, that indicates that a filter is in place for that column and you may need to remove it or change it to see additional information.
Using the Filter String
A filter string appears at the top left of the search lists to allow users to easily identify filters that are in place on the list as well as further customize the filters.

Clicking the Clear link in the upper right will clear all filter settings on the list
Below will walk through how to use the filter string.
Click the filter string to edit filters
Use the + to add new filter conditions
Use the X to delete set filter conditions
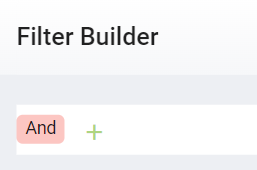
Adding Filter Conditions
Add new filter conditions for your list by following the below steps:
After clicking on the filter string, click the + icon in the Filter Builder window
Click Add Condition
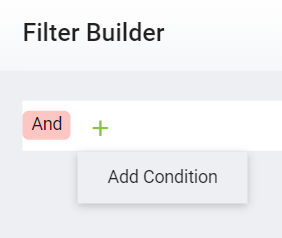
A new filter condition line will populate for the user to then set conditions
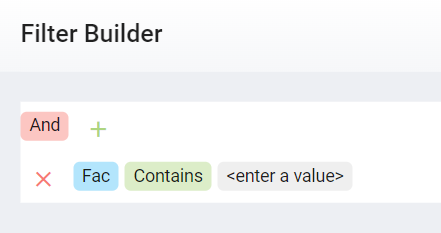
The line consists of three category areas. First is the data column which the conditions will be applied. Second is the condition setting for that column. Last is the data value to be applied.
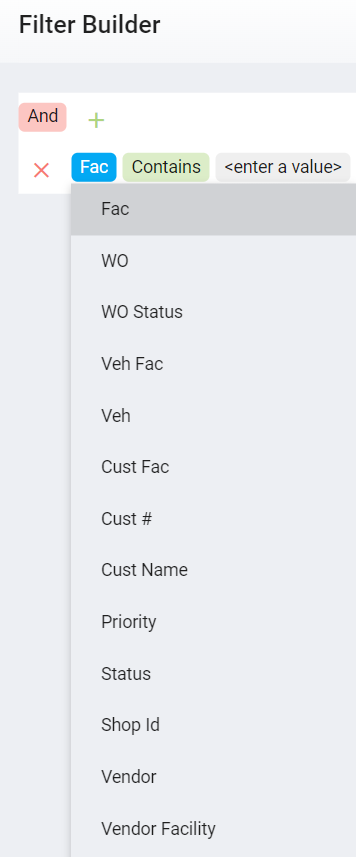
Click the Fac and select the data column to apply the filter conditions to
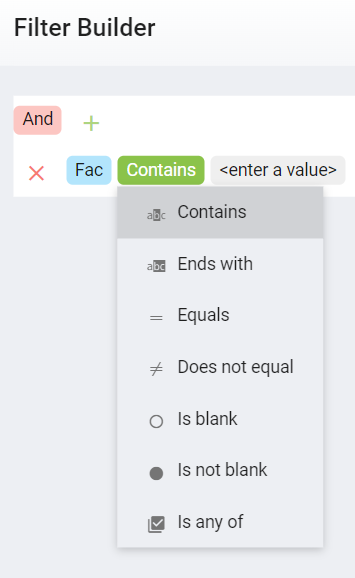
Click the condition setting (Contains) to change the filter condition. Use either Contains, Ends With, Equals, Does Not Equal, Is Blank, Is Not Blank, or Is any of
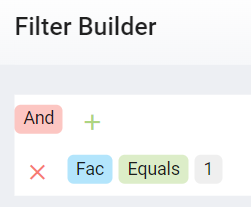
Click the Enter a Value option and enter the value relevant to the line condition
For example, perhaps the line is (Fac - Equals - 1)
This means that the list filtering is set to show only line items where the facility is equal to facility 1
Multiple filter options can be applied
For example, in addition to the filter to only pull items in Facility 1, the user can use the add button again and also add a secondary filter for a specific department and so on
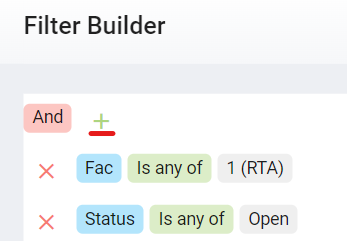
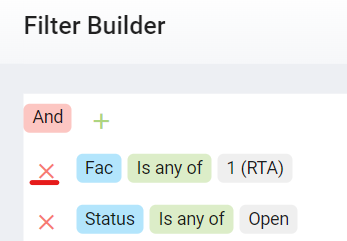
Removing Filter Conditions
Use the Clear button while in the search list to remove all filters in place or open the filter string by clicking on it and clicking the red x next to a condition line or filter needing to be removed.
Sorting Columns
Click the column header to sort ascending or descending
When clicking the column header, an arrow will appear and will denote how the information is being sorted.
The arrow pointing down means the items are in descending order

The arrow pointing up means the items are in ascending order

Each column sort acts independently of the others.
For example, sorting by year gives you the chronological year order for an asset and if you then apply the sort for the “make” column, the sort switches and the year will no longer be chronological and instead the list will now display in alphabetical order by make field
Adding Columns
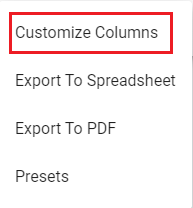
Click the Master List triple dot icon in the upper right corner

Select the Customize Columns
Scroll through the Column Chooser or type in a column header in the search to find it in the list (multiple items can be selected in the same action)
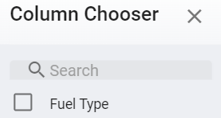
Click the empty box next to a column title to add it to the list to be displayed automatically
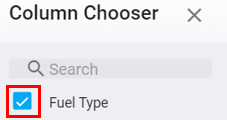
The list will refresh, and the new column will be displayed along with the data from corresponding asset files
Removing Columns
Click the Master List triple dot icon in the upper right corner
Select the Customize Columns
Click the check box next to a column title so that it displays as empty (multiple items can be de-selected in the same action)
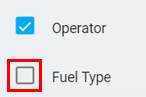
The list will refresh and the column(s) de-selected will no longer be displayed
Creating Preset Views
Users may want to have different variations of the master list that display certain items in certain orders for the purpose of viewing or exporting. This can be done by using presets. Presets allow for multiple variations of a master list to exist and the user can toggle between them depending on the view that is needed.
Creating a Preset
Using any of the methods or combination of customizations such as filters, sub-filters, sorting, adding/removing columns, or rearranging columns, customize the list to display as needed
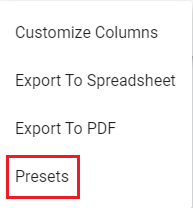
Click the three dots to expand the list menu in the upper right corner
Click Presets
On the banner that opens at the top, click Save As

In the Save Preset As box, add the following:
Give the preset view a title (This will display as a preset option in the future to choose from when viewing the list)
If wanting the created preset to be the default view when accessing the list, check the “Set as Default” box
If the created preset needs to be available to all users company wide who have permission to view that specific area, check the “Set as Company Wide” box
Click Save
To access various presets that have been saved for a particular list, visit the presets banner on the master list by clicking the list menus using the three button icon in the upper right and selecting presets. From there, users can use the drop down in the preset banner to select the preset option desired for viewing.
Deleting a Preset
It may become necessary to delete a preset that has been created and saved.
Access the master list where the preset is housed
Click the list menu icon (three dots) in the upper right corner
Click Presets
Using the dropdown of the preset banner, select the preset to be deleted

Click Delete
Click Delete in the confirmation window
The delete function cannot be undone. Once a preset is deleted, it cannot be recovered and will need to be rebuilt and saved.