RTA Web - Assigning and Completing an Inspection
Assigning an Inspection Template to a PM
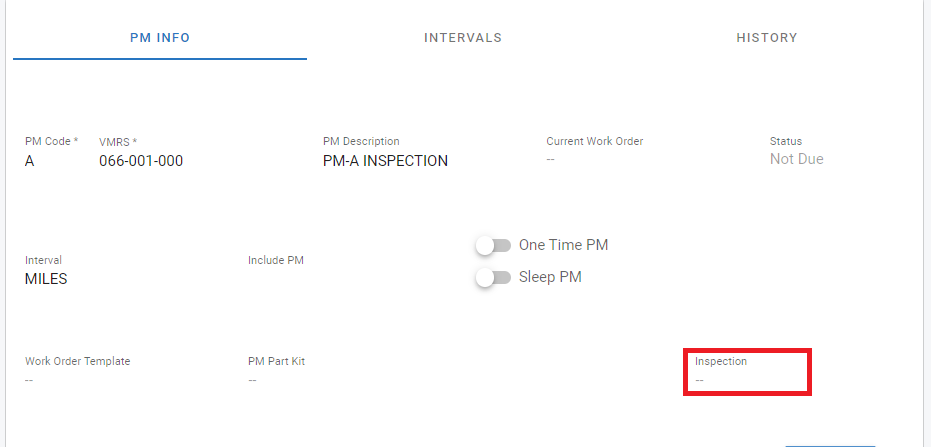
A great way to ensure your inspections are being done in a consistent way during your preventive maintenance services is to add an inspection template to your PM’s within your asset file. Refer to Adding PM’s to assets. Anytime you assign the PM VMRS code to a work order for that specific asset the inspection will be added to the PM line.
If you click the line below “Inspection” you will get a pop up box with a list of inspections to add to this PM.
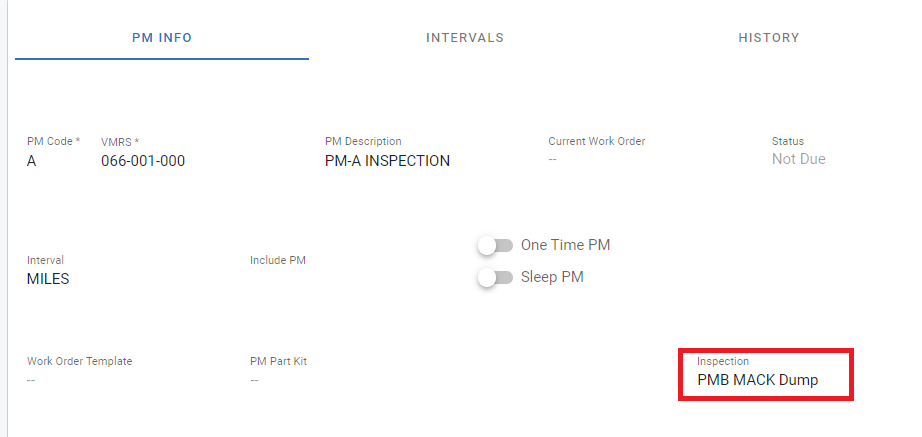
In this case PMB MACK Dump was selected. You can now see an inspection has been added to this PM.
Assigning an Inspection Template to a Work Order
You can also add an inspection template to the work order line. Once the line is added, if you click on the job line you will see the inspection button at the bottom left. The + sign means no inspection has been added.
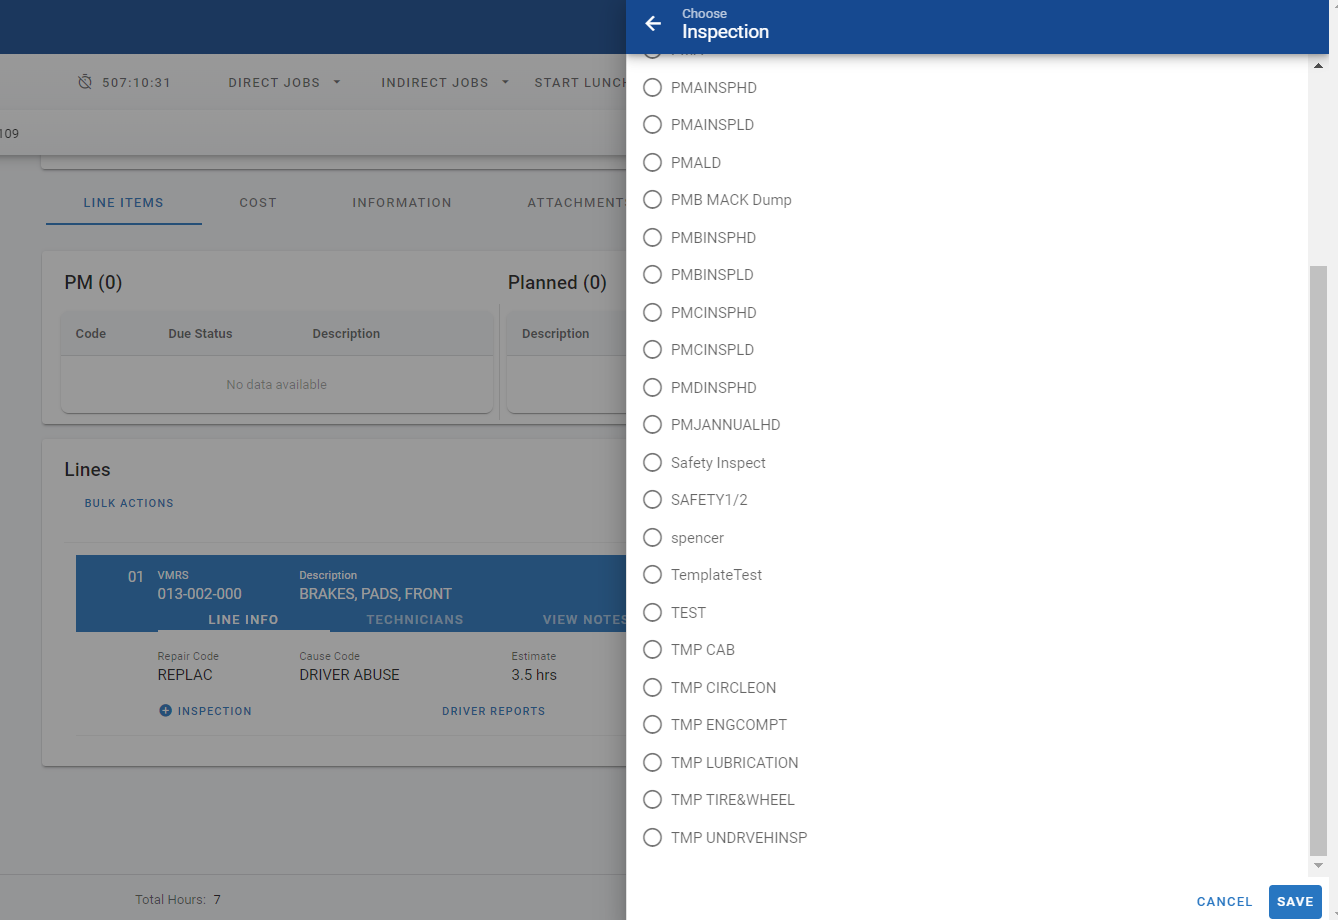
Once you click to add an inspection you will see a list pop up of all the inspections created in the system.
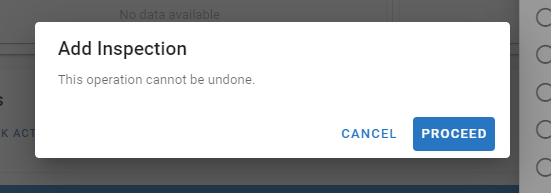
Choose the inspection you want to add and click “save”. You will get a “proceed” with action popup. Once and inspection is added it must be complete before the job line can be closed.
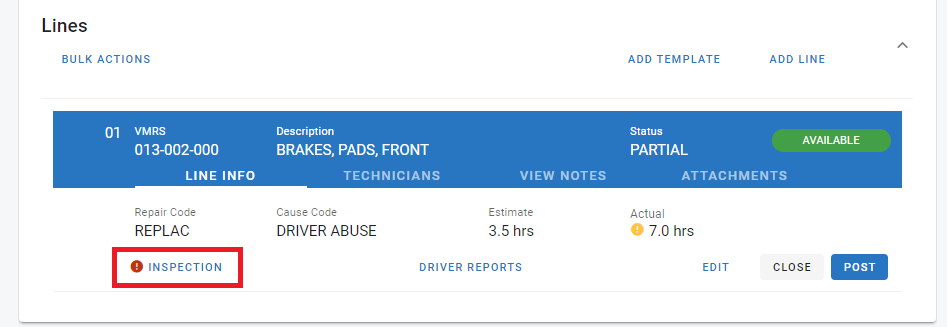
Click “proceed” and the inspection will be added to the job line. You will see a red ! next to the inspection indicating it has not been completed.
Completing an inspection
Once the inspection is added to the work order the technician must complete it before the the line can be closed. To access the inspection, click on the job line that contains the inspection, and click on the inspection button with the red !.
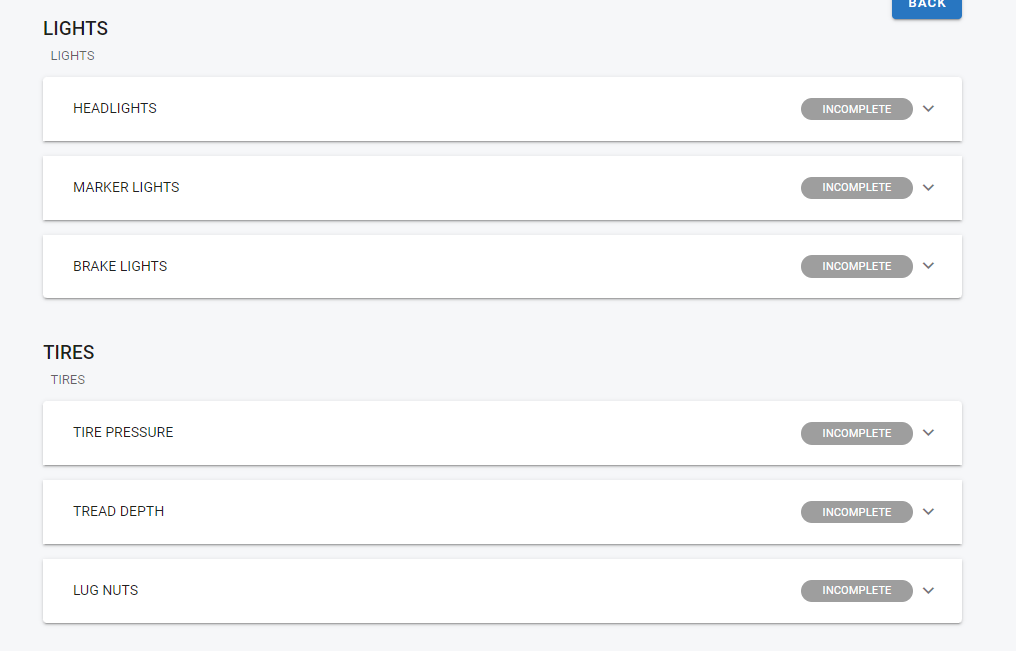
When you start the inspection you will see all of the sections with their respective steps below. Click on the down arrow next to “incomplete” on the right side of the step to expand the section.
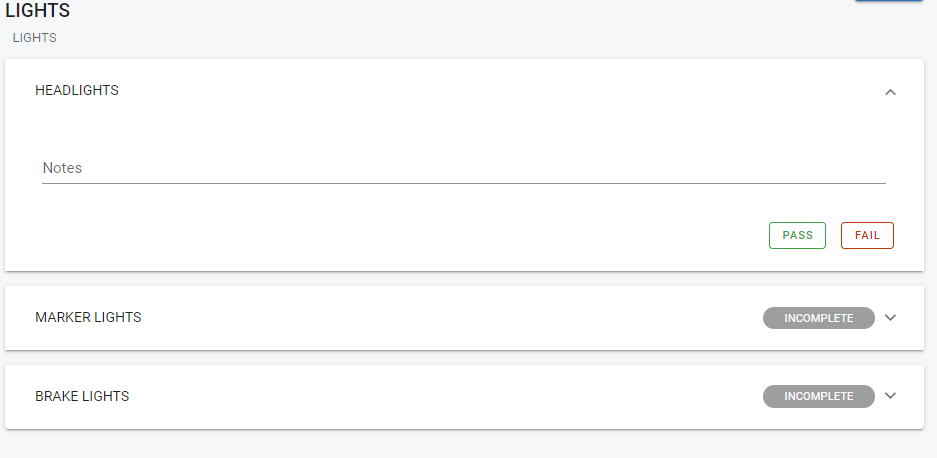
Once the section is expanded the technician will have the ability to enter notes, then click on pass or fail to complete this step.
If the inspection step was created with more than one location and prompts were used, the above screen is what it would look like. In this case the prompts are a required field and the prompt is “Brake Measurements in 32nd’s”. The brake measurement section was also set up with “4” as a max locations number signifying the four brake measurements this inspection requires be completed. The technician would click “add location” as needed to enter each locations measurements.
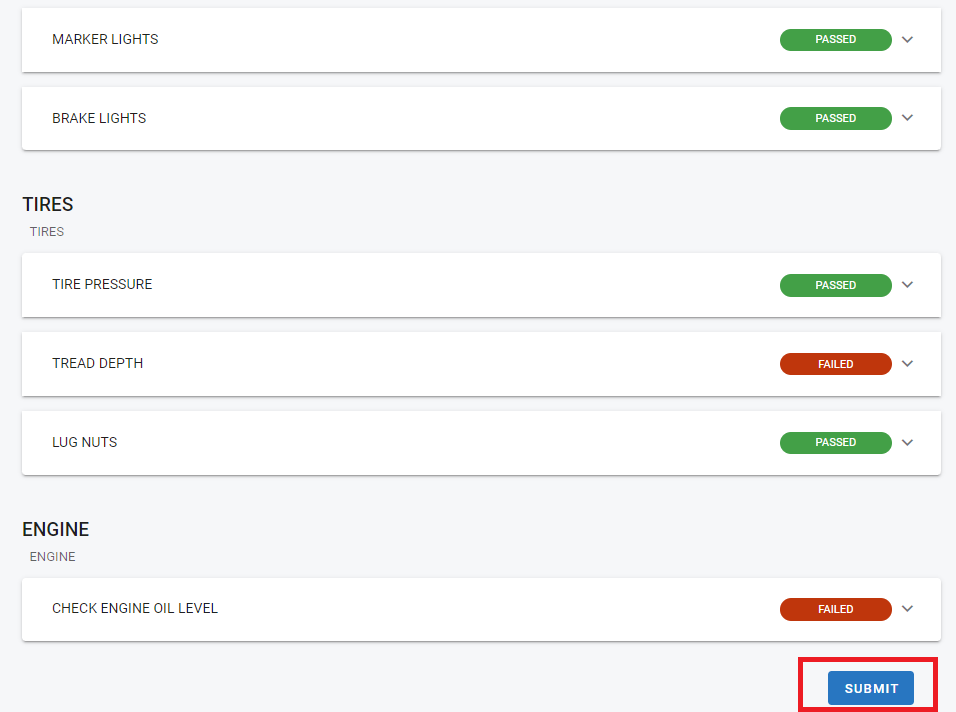
If any section fails that have defects set up, those defects will be added to the work order so the technician can clock in and repair the defect when they are done with the inspection. Click the pass or fail button for each step in the inspection, and hit submit when done to complete the inspection.
You will see a green checkmark next to the inspection when it has been completed. You can click the inspection button at any time to review any notes or items which passed or failed.
