
RTA Web - Vehicle Status
You have the ability and control to set up, change and color-code asset statuses to keep track of your assets. This is a great tool to look at your asset list to see specific statuses or export your status list to different people inside or outside your organization.
Overview
The system has six statuses set up by default.
Available
Scheduled for Repair.
Awaiting PM.
Waiting for Parts.
Red Tagged to be Repaired.
Currently being Repaired.
Add an Asset Status
In the main menu select Assets> Settings > Vehicle Status
Click
 New Status
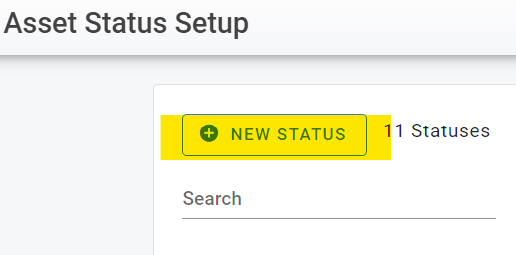
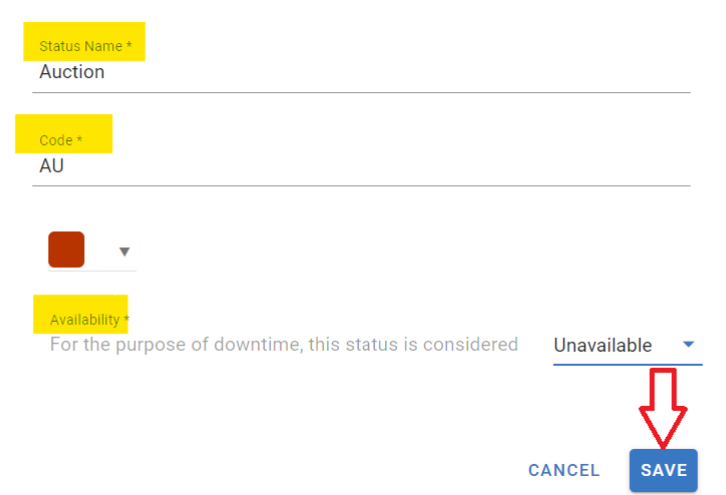
Enter the Status name to be used.
Enter the status code which is an abbreviation for the code. For example, waiting for parts may have (WP) as its abbreviation.
Choose the color to be associated with the status.
Select whether the newly created status considers the asset to be available or unavailable for downtime purposes.
Click Save
Once you set up your custom statuses, you can see them in many areas of RTA Web. You can view all asset statuses in the Asset Status Search Screen.
Editing an Existing Asset Status
In the main menu select Assets> Settings > Vehicle Status
Click on the status to be edited from the list.
Edits can be applied to the status name, color, and availability.

The top status “Available” is the only status that may not have changes or edits.
Deleting an Asset Status
In the main menu select Assets> Settings > Vehicle Status
Click the trashcan icon next to the status to be deleted.
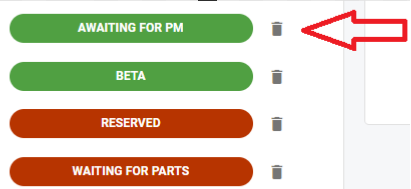
Click Delete in the confirmation window.
This action removes the status as an option to add to assets going forward, though any asset that currently has that status applied will remain in that status until it is changed.