Changes to Attachments and Files in RTA SaaS
Overview
RTA recently made changes to how we store and manage files for customers using the Attachments feature in RTA (previously known as Image Viewer). As a result of these enhancements the user experience and workflow have changed. This document outlines the reasons for the changes and their impact on customers.
Why did RTA make these changes?
There are three primary reasons for these changes:
Improve the user experience of uploading and managing Attachments.
Increase the capabilities of all the RTA applications, including our web and mobile apps.
Continue to provide RTA at the best prices for our customers.
What has changed?
A few things have changed in RTA as a result of this migration.
Files have been moved
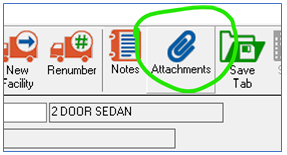
The most recognizable impact for some customers has been a change in storage location of the attachment files. All files that are attached to a vehicle, work order, etc. from within the RTA application have been migrated to a secure, robust and scalable cloud storage system called Amazon S3. This means that in order to access your files you will need to open the vehicle or work order and click on Attachments.
This will bring up the familiar Attachment window where you can view and manage all the files attached to the item.
New user workflow for managing attachments
As part of this change, we have greatly simplified the workflow for adding attachments to items in RTA.
Old Method | New Method |
The previous process for uploading and managing files in RTA was cumbersome, error prone and required user training. Frequently, files would be attached improperly, resulting in broken links for other users of the system:
 | The new process for uploading attachments is simple and requires no additional user training. Files will never be lost. |
| We have eliminated the need for the Setup and Copy File steps. The new process is as follows.
|
What about files shared across many vehicles or work orders?
Many customers have attached the same file across multiple items in RTA, such as an insurance card that is used for all the vehicles in a facility. In cases where RTA identified a shared file, we did not migrate those files to the cloud storage. You can continue to manage those files using the old method in RTA. Future versions of the Attachments module in RTA will offer improved support for those types of files.