RTA Web - Creating a Motor Pool Reservation Using Customer Kiosk Mode
Motor Pool has a Customer Reservation Request screen called the Motor Pool Kiosk Mode. This allows anyone given a special URL link the ability from any web browser to come in to make a Motor Pool Reservation from the convenience of their own computers and it frees up the Motor Pool personnel from having to enter these in manually from the office.
Motor Pool Setup:
Before the Customer Kiosk Mode can be used to allow online reservations to be made the Motor Pool module must be setup ahead of time. See the section on Getting Started with Motor Pool for setting up the Motor Pool section.
Starting Kiosk Mode:
Once Motor Pool is setup and you are ready to accept reservations. The steps below will assist in starting the Kiosk Mode.
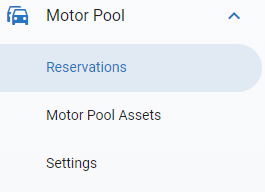
Click on Reservations under the expanded Motor Pool section of the main menu
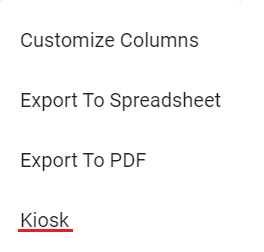
Click on the Triple Dot Menu Option in the top right had corner of the Reservations header section


Select Kiosk
Select the Facility to create reservations from
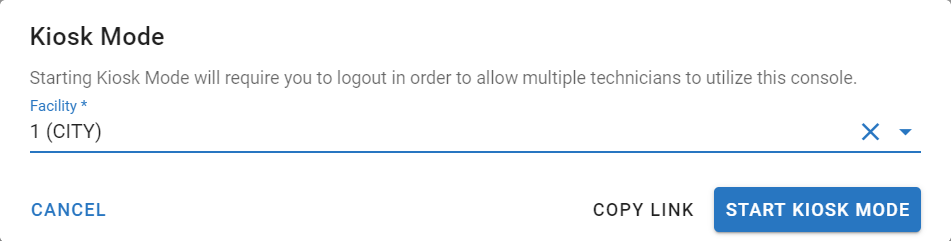
From here the Customer Kiosk can be launched two ways.
Use the Copy Link option.

The Copy Link option will copy the Kiosk URL to Clipboard
For Example:
Then the URL link can be imbedded into your website or distributed in email to launch the Customer Kiosk
OR use the Start Kiosk Mode to directly launch the Customer Reservations Kiosk Mode.
Entering a Rental Request:
Once the Kiosk is launched, there are a few fields that are required request a rental.
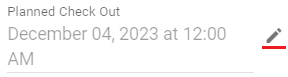
Click the Edit Pencil for the Planned Check Out field and enter the date and time the renter/driver will be checking out the asset
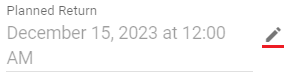
Click the Edit Pencil for the Planned Return field and enter the date and time the renter/driver will be returning the asset
Enter the Vehicle Class Type you wish to rent from. This is presented from the arrow in the form of a pull down menu with the available class/types.
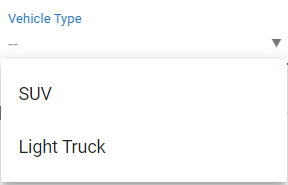
Note: The Vehicle Types that show in the lookup list will correspond to those that are available during the date range you select for your rental request
Enter the rental rate most appropriate for you rental period.
The Rates need to be set up as part of the motor pool prior to adding to a rental request. Refer to Motor Pool Reservation Rates for information on setting up rental rates to be part of motor pool if necessary

Enter your basic Travel Plans Including:
Number of Passengers
Number of Stops
Number of Miles

Enter the Renter’s information in the Renter section. This includes the renter’s name, department they are associated with, phone number, and email
The Department is associated with created departments in your RTA software. If the department does not exist in your Department list, it cannot be used and would need to be added to your software. Refer to Departments for information on Departments in your software.

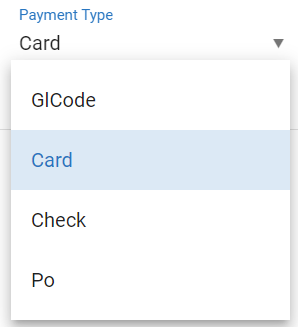
Enter a Payment Type for the reservation. Select one of the 4 options available
If you do not do payments for reservations, select any type
Your RTA software does not use this field and it is notational for the records
In the Drivers section if it is the same person as the renter you can select the Same as Renter option. If not then fill in the Driver section as well. Once all required items are entered, the user can click Create
Be sure to click Create after all fields are entered to save the reservation.
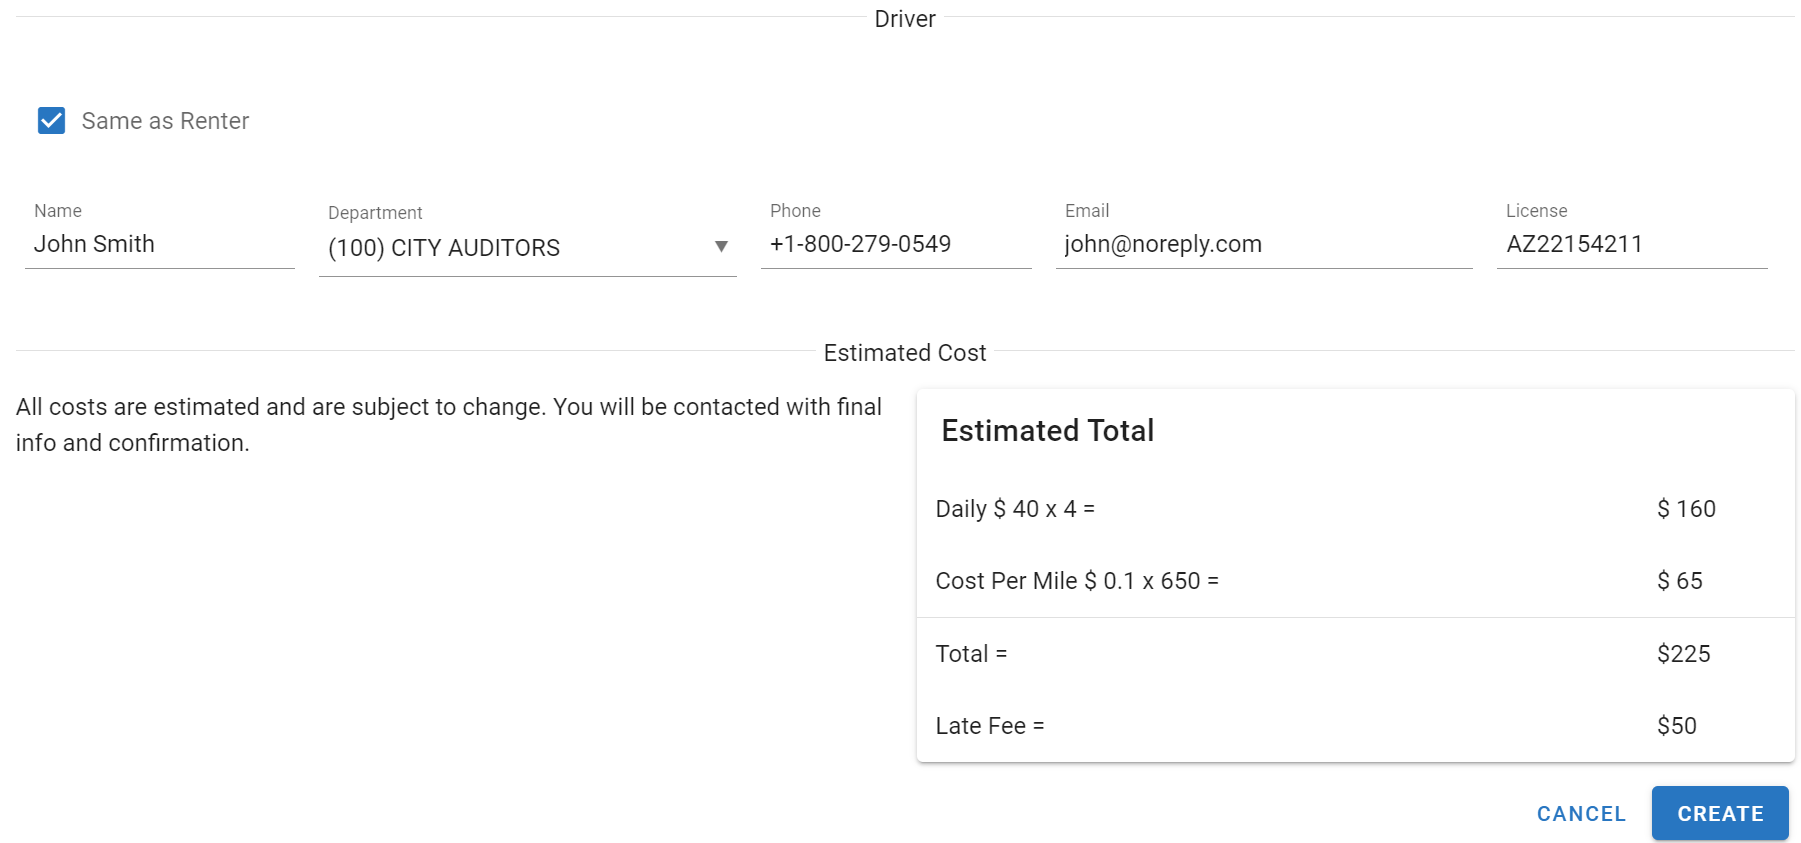
As the rental Request is filled out in the Customer Kiosk you will get an estimated summary of the rental costs at the bottom of the request form
Once the Create button is used to submit the Rental Request you will see the following screen pop up:
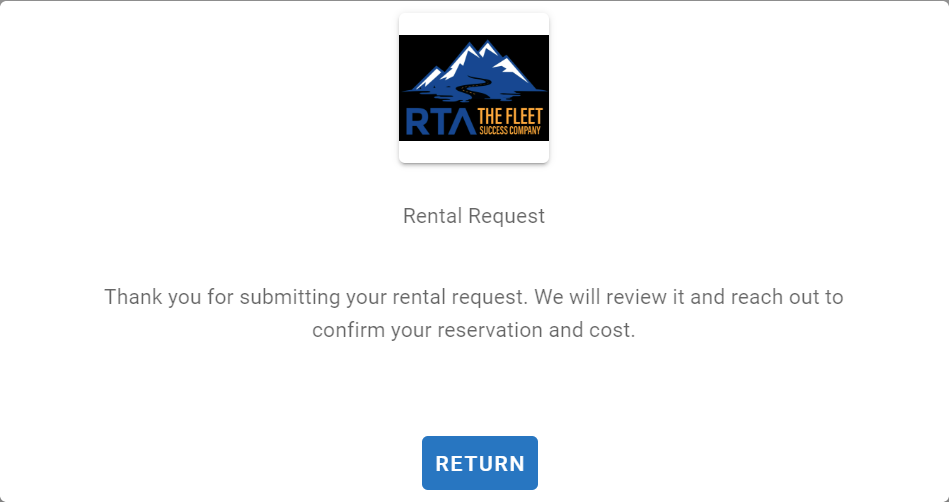
From here the request will show up in the Reservation Search as a “Pending Reservation” then they are managed just like any other reservation.
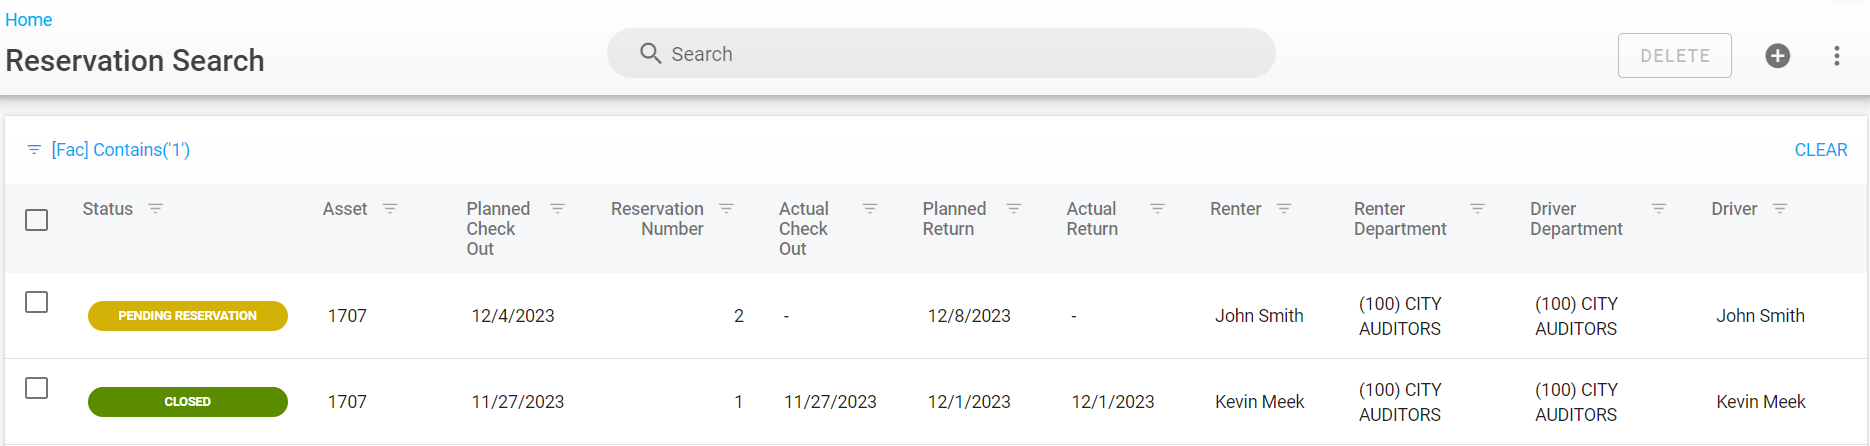
For instructions on managing the reservation including the actual check out and return, refer to the Managing Motor Pool Reservations section of the documentation.