RTA Web - Installing Citizen Label Printer
Initial System/Hardware Requirements:
Citizen CL-S700 or CL-S621 (Can be purchased from us)
Printer must be on the Network. (Network card)
Windows Only Computers
Install Printer on the network
Note: You may need to consult your I.T. Department to assist with Install.
Installing Print Drivers:
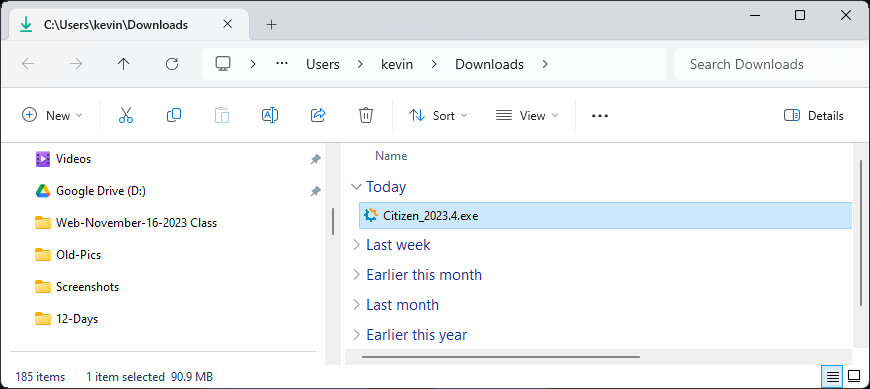
Download the printer driver and run the installation
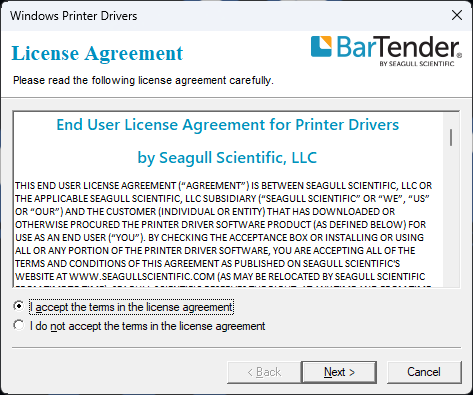
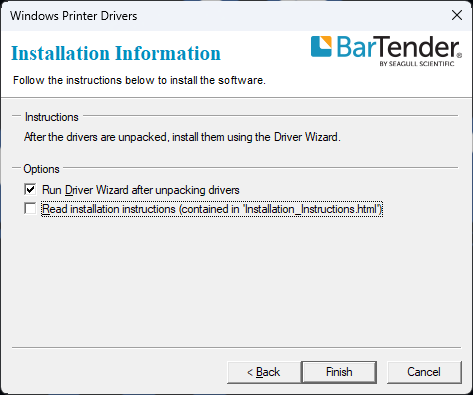
Accept terms
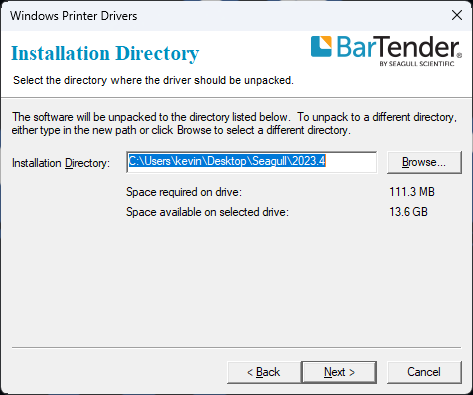
Hit next on directory screen
Uncheck installation instructions and hit finish
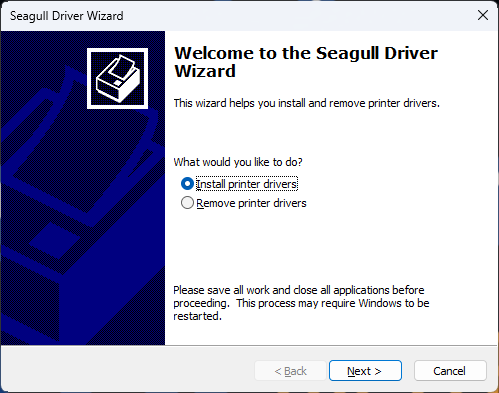
Say yes to the make changes prompt
Keep it on install printer drivers and hit next
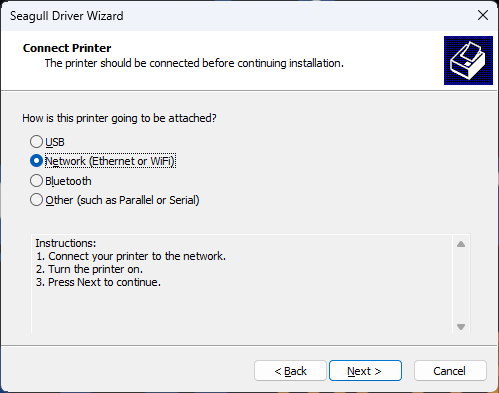
Select network and hit next
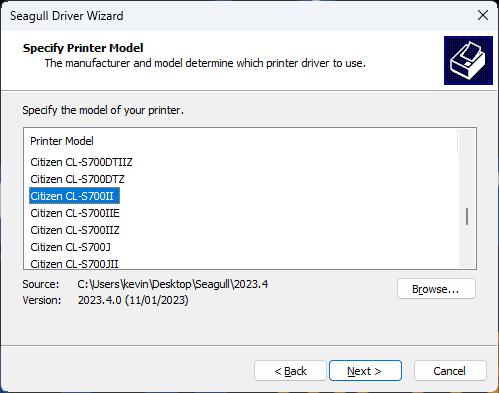
Find Citizen CL-S700II and next
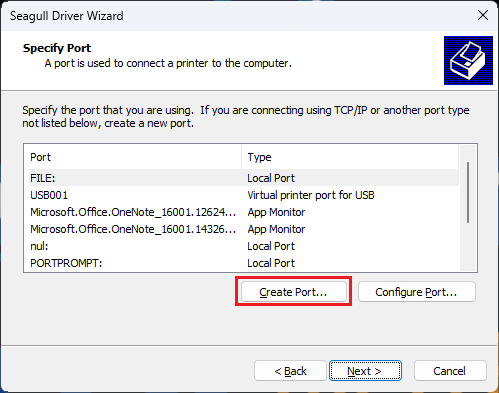
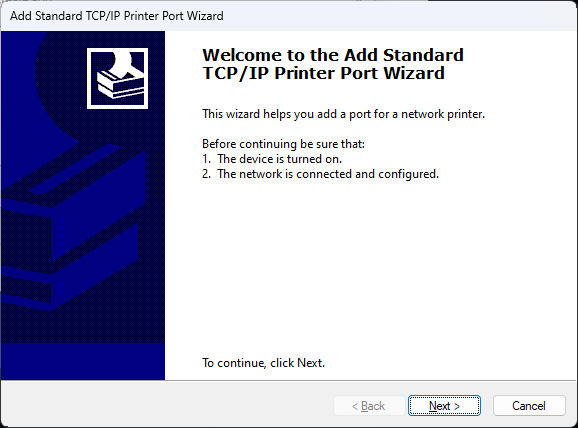
Create port
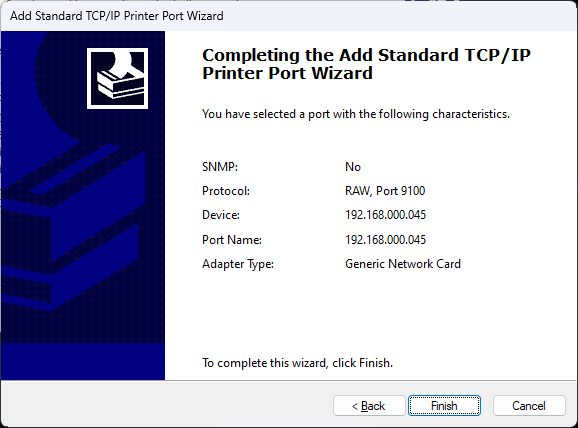
Standard TCP/IP Port
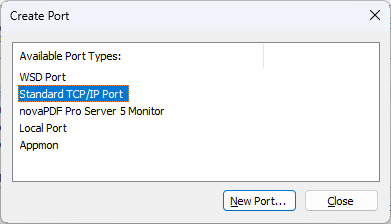
Hit New Port
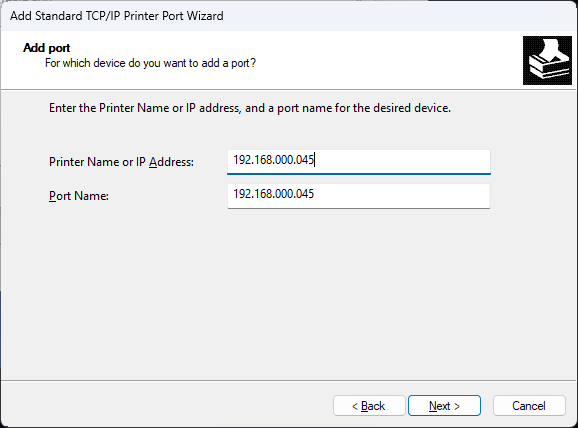
Enter in the Printer IP into the IP Address field (See the IP Address on front Printer Menu Screen)
Note: The Citizen Printer must have an internal network card installed in order to be used as a Network Printer. You can contact RTA for inquiries on the Citizen Network Cards.
Hit next
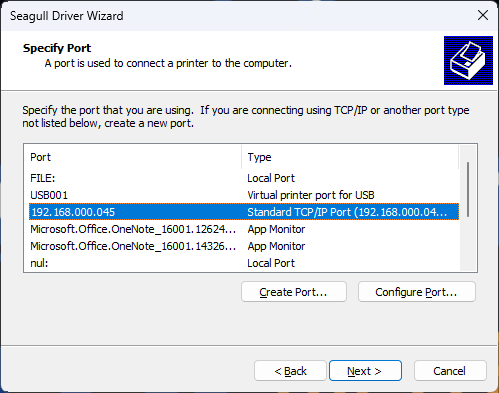
Select port you created and hit next
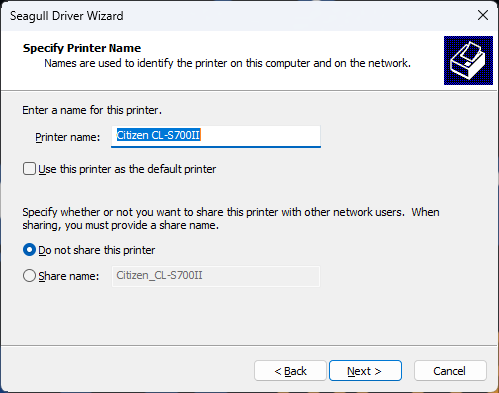
Leave printer name alone and hit next
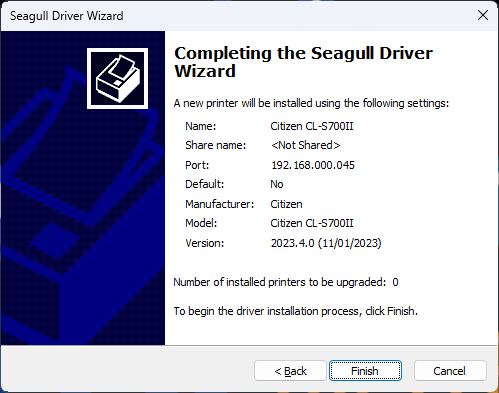
Hit finish
Installing:
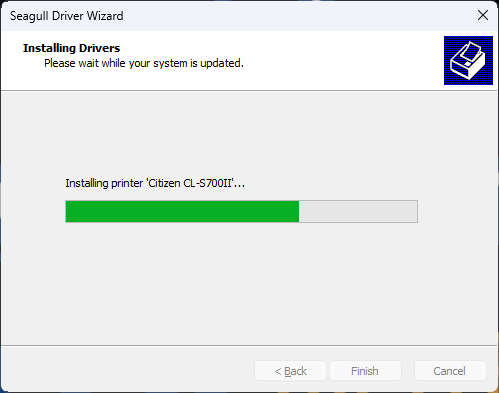
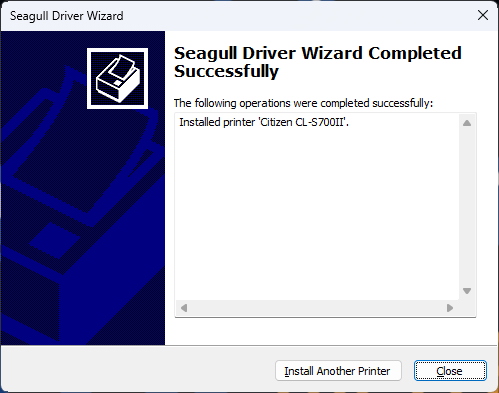
Can close out of printer settings if there is any up
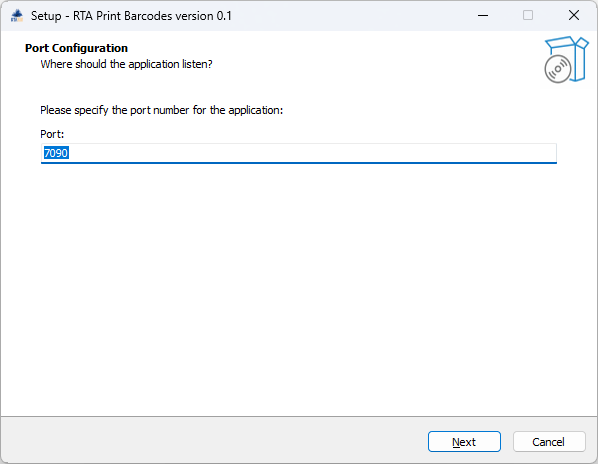
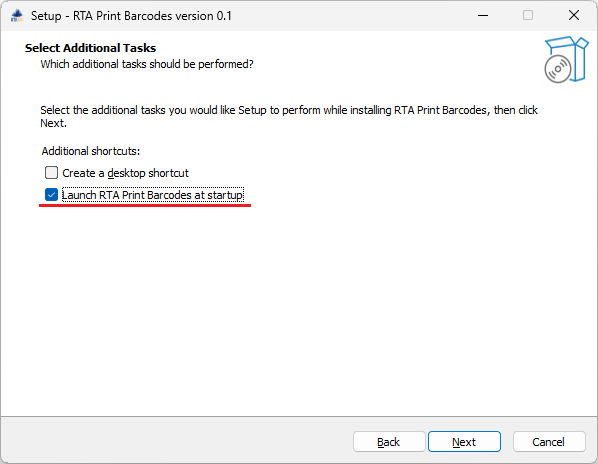
Install RTA Print Barcodes
Download RTAPrintBarcodesInstaller.exe from https://customers.rtafleet.com/files/printbarcode.zip

Unzip and RUN AS ADMINISTRATOR:

Follow the instructions in the wizard, including providing an available port number for the printing app to use.
Then Select Next
Select Next

Select Next
Select Install

Select Finish

Windows Task Scheduler Settings:
It is recommended that if you opted to launch the printing program from startup you will want to make some setting adjusts in the Windows Task Manager.
Open Windows’s Native Application, “Task Manager”

Select the “Task Scheduler Library” folder (not its dropdown arrow) from the left hand file structure.

Navigate to and double click the RTA Print scheduled task to access the Settings
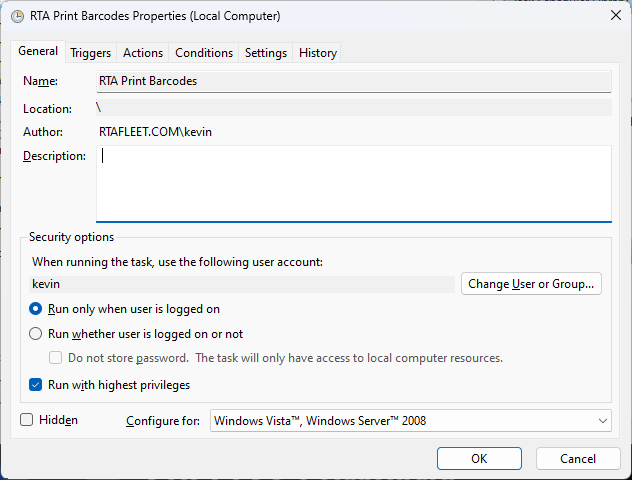
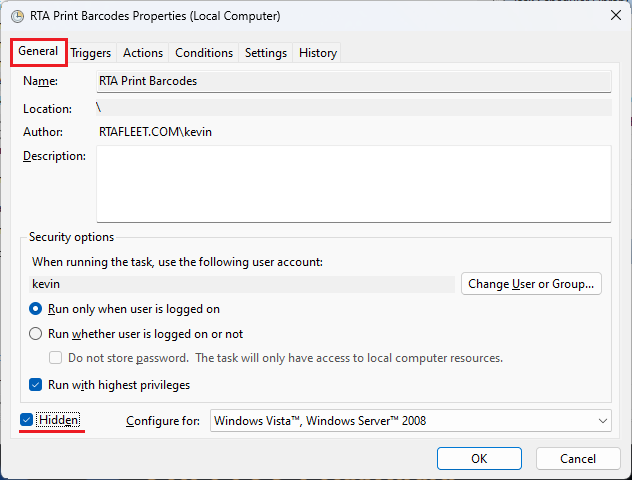
From the Settings Screen:
In the General Tab Check the box for hidden
In the Conditions Tab Uncheck any boxes that are checked

In the Settings Tab:
Uncheck the “Stop the task if it runs longer than:” box
Note: Leaving this checked will end automatic startup after the specified amount of time. The application will need to be uninstalled and reinstalled to automatically generate a new scheduled task, or else a new task will have to be be manually created.

Once Done Select File and Exit
RTA Web Application Printer Setup Instructions:
For Printer Settings and setup in the RTA Web Application see the section on RTA Web - Facility Printers Tab.