How to Add a Vehicle
Step by Step guide
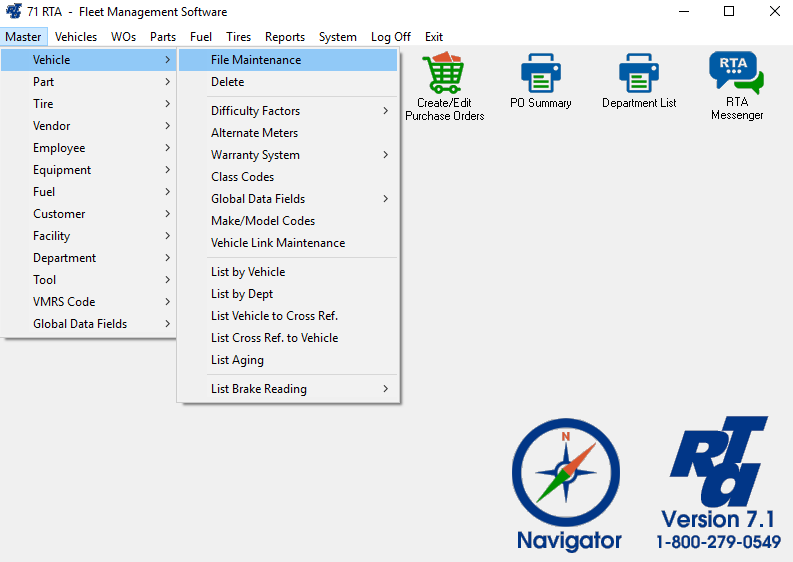
- Select Master > Vehicle > File Maintenance (MVM) from the RTA main menu.
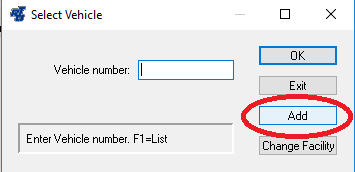
- Enter a vehicle number and select “Add”. The vehicle number is a text field allowing up to eight characters
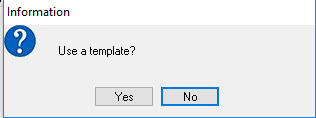
- Specify if you would like to use a template. (Most information from the template vehicle will be copied to the vehicle being added. Only the inherently unique information is omitted, such as: VIN, License, Odometer, Operator, etc.)
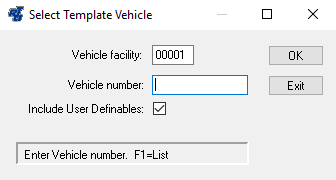
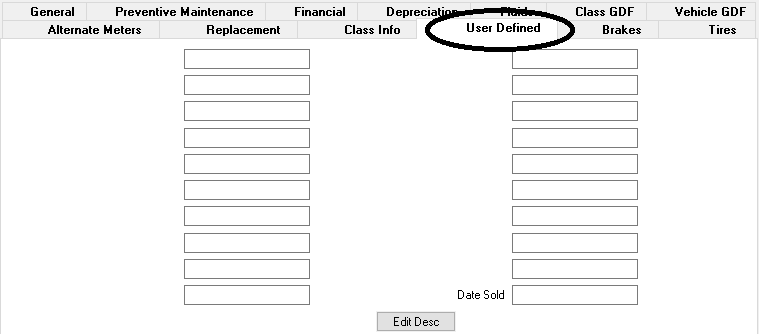
- If you use a template, you will be prompted for the Vehicle Number you wish to use for the template. You may enter the Vehicle Number, or press ”F1” to select from the lookup list of your existing vehicles in the RTA system. Leaving the “Include User Definable” box checked will also copy the data from the “User Defined” tab of the template vehicle. Uncheck the box if you wish to use the default field descriptions in the “User Defined” tab for the vehicle being added.
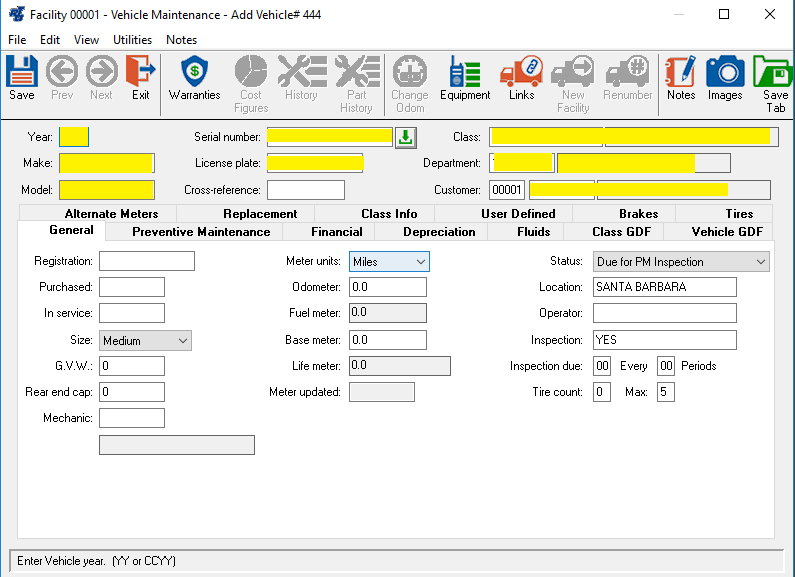
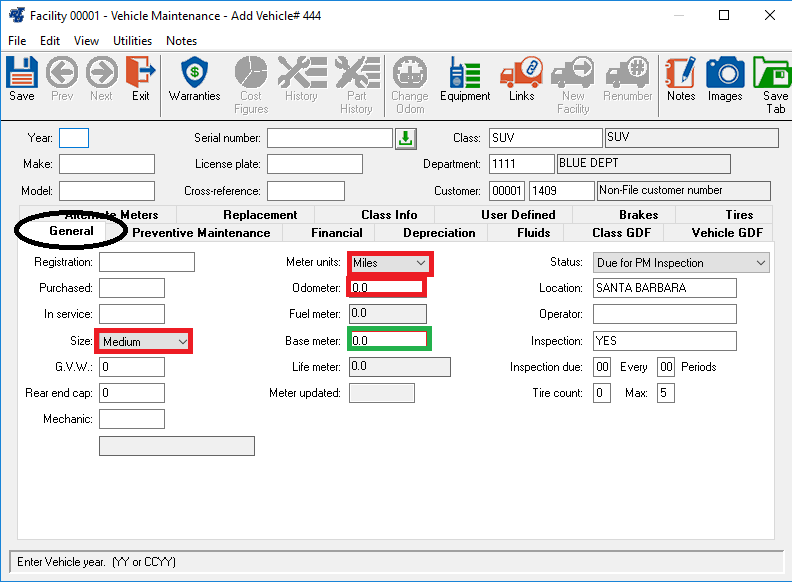
- Enter the Year, Make, Model, Serial Number (VIN), License Plate, Class Code, Department, and Customer in the upper section. When the cursor is in any of these fields, a “Help Line” is displayed at the lower left corner of the window, prompting you for information and advising if a list is available using the “F1” key on your keyboard.
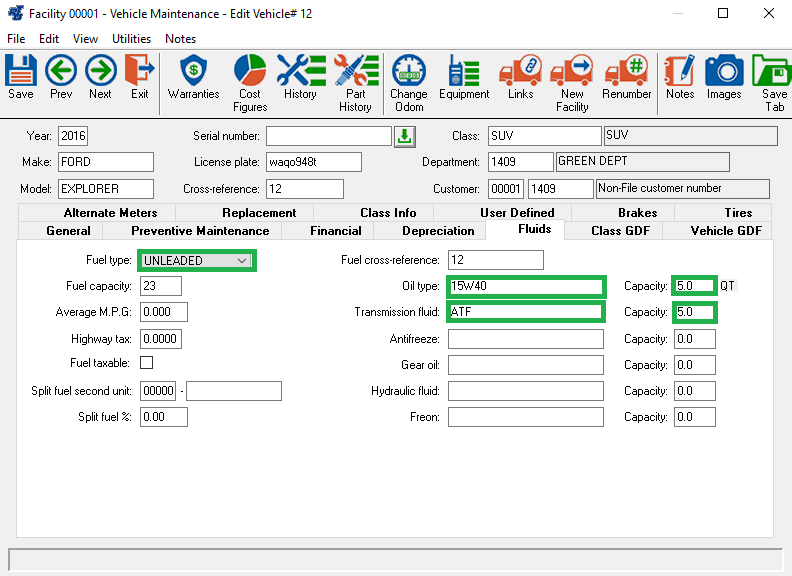
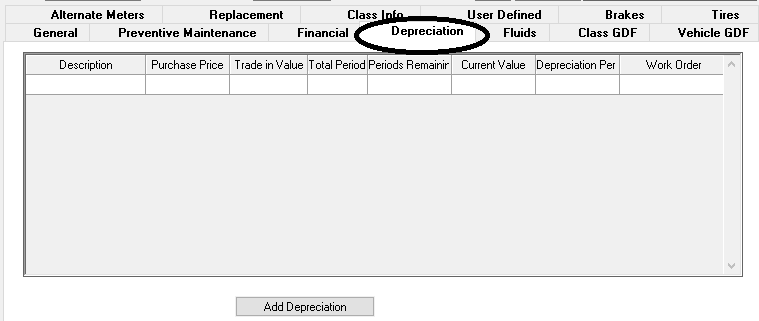
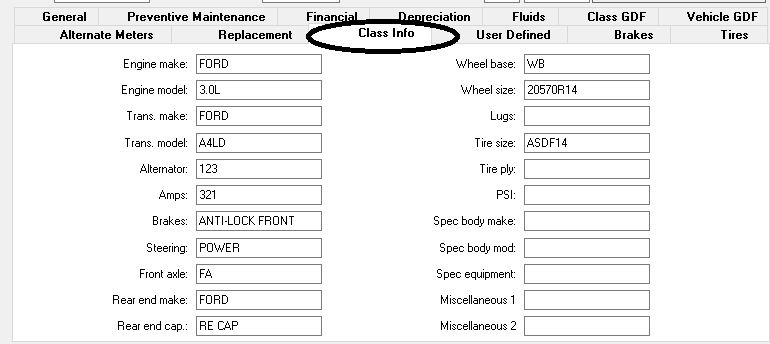
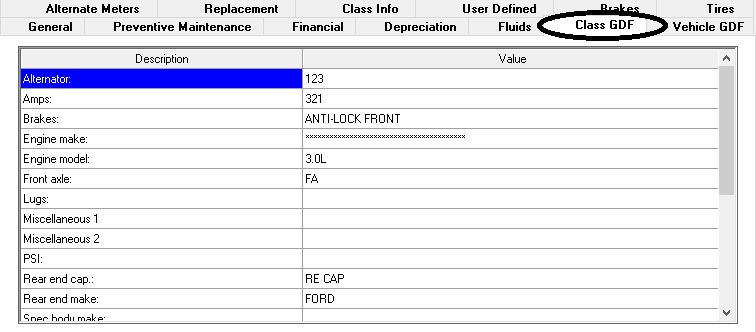
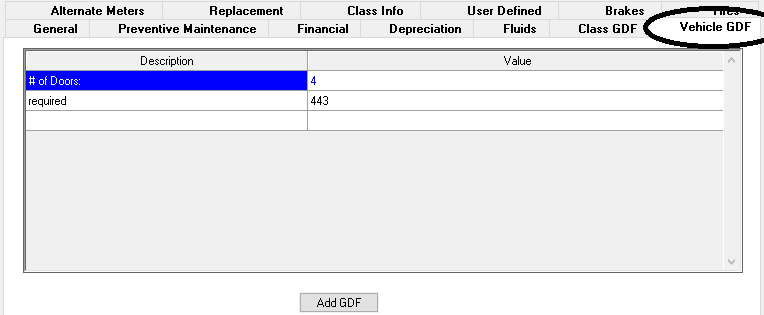
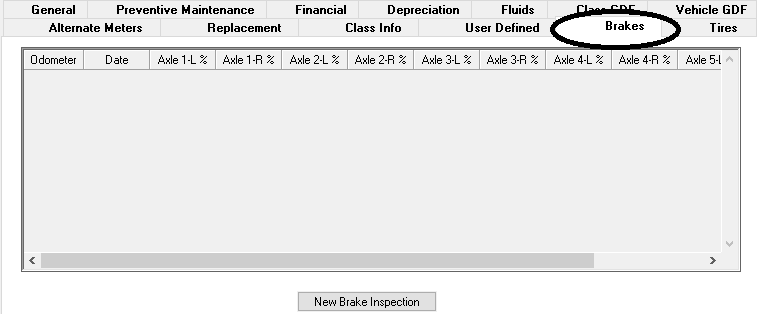
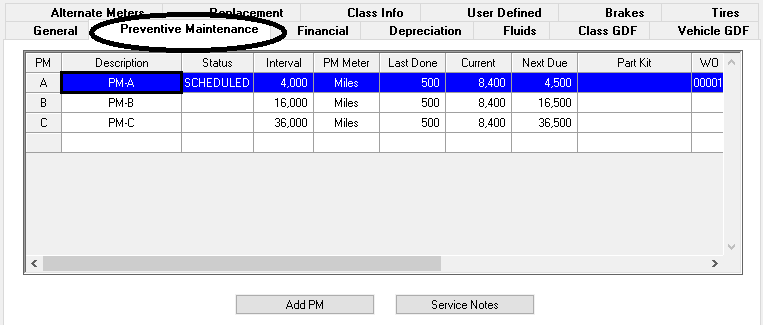
In the lower section, there are Tabs with labels in bold font. Only a few areas within these tabs are “required”. Below are descriptions of the fields. ****Click to see a description of each tab.
- Save the Record
Tips
Basic Information
In order to track repairs, preventive maintenance, and costs for a vehicle, trailer, equipment or asset, it must be added into the Vehicle Master File.
Tips for Adding Vehicles
Acquire as much information about each vehicle as you can prior to entering it into the system. (Odometer, PM Schedule, PM History, etc…)
● The Vehicle Number is an alpha-numeric field and will sort left to right. Using all three-digit numbers or all four-digit numbers is not a problem. The sort affects the listing of Vehicles when you mix the number of digits you use to designate your Vehicle numbers. Refer to the RTA User’s Manual for more information. Review Chapter 1 Introduction, “Text Fields vs. Numeric Fields”, and then devise a vehicle-numbering scheme accordingly.
● The Vehicle Record contains eight screens. It is not necessary to enter information in every screen or every field. Many of the fields are provided for your benefit and are not used by the RTA system; required fields will be noted in the description. For example, if you want to track only Vehicle Year, Make, and Model, then simply fill in those fields and leave everything else blank, but if you want to track additional information, the fields are available for you.
● Use a Template when adding similar vehicles. This greatly speeds up the process of adding vehicles into the system because most of the data from the template vehicle, including PM schedules and warranties, is copied to the vehicle being added. The only information that does not come across from the template is the information unique to each vehicle such as meter readings, serial numbers, license plate numbers, and PM histories. Those unique entries will need to be entered, as well as any unit specific data from the Class Info and User Defined Tabs.
