RTA Web - PM and Planned Boxes
Creating Work Orders on RTA Web is simple with the tools at hand. One of those tools is a combination of the PM and Planned boxes within the WO page.
Similar to the desktop version of RTA, a Work Order will show if the vehicle in question has PMs or Planned work due. If the user chooses, they can simply double-click the PM or Planned line in order to add it to the Work Order as a new Line (Planned Work ). The same options applies at RTA Web.

PM Procedure
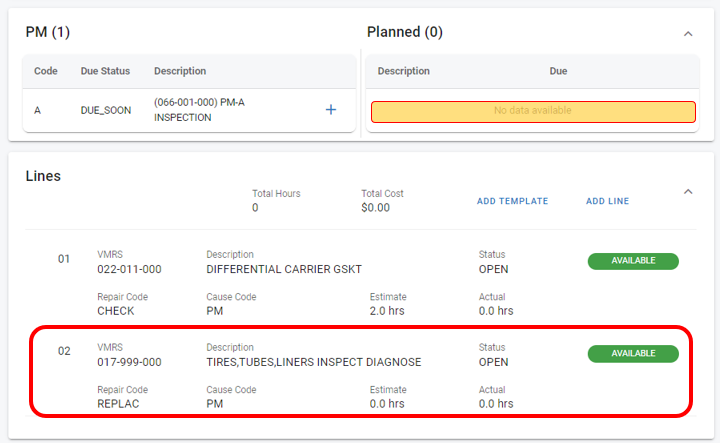
When a PM is due on the vehicle, that Code, Status and Description will show when creating a vehicle’s Work Order. If a job is being performed and a PM line is needing to be added, from the Work Order page click on the + button and a new line will be added. Job details (assign mechanic, add notes, etc.) can then be added to the newly created line.

Planned Procedure
Following the ‘Planned Jobs’ rules, a Work Order Line can be rescheduled either by a particular Date, PM or Odometer trigger, thus removing it from the Work Order it’s on and placing that line in a ‘Planned’ status. Similar to PM lines, these Planned-Work Orders can be applied to an open Work Order by clicking the + button on the Work Order screen and updating job details.
For example, a Tire Diagnostic job was recently assigned to a Work Order, then rescheduled as ‘Planned'. The next time this vehicle is brought in to be worked on, that Tire line is still awaiting completion, and is listed as 'Planned Work’ on the Work Order page. Click + to add:
When it comes to rescheduling a Work Order line in RTA Web, the user can click the line to open the details, then select “Reschedule” with the parameters of Date, PM or Odometer as a trigger.
