RTA Web - Meter Readings
Understanding the Various Meter Types
RTA tracks several types of vehicle meters. It's important to understand how they work because vehicle cost per mile and miles per gallon reports use the various meters. The meter types are as follows:
Primary Meter: This is the current vehicle meter reading, sometimes referred to as the work meter. It is the most up-to-date meter reading and is updated throughout the RTA system.
Fuel Meter: This is the most up-to-date meter reading entered through the options in the Fuel Inventory module. This is tracked separately from the primary meter to ensure MPG figures are properly reported.
Alternate Meter: This is the meter reading for other types of meters that might be on the vehicle (e.g., hours, yards, cases). This meter has no ties to the Primary or Fuel meters.
Life Miles: This is the accumulated miles traveled for the life of the vehicle. The life miles can have the same or higher reading than the Primary and Fuel meters, but never a lower reading. Life miles continue to increase even though Primary meters may rollover or get reset to 0 when replaced.
All of these are displayed in the vehicle file in RTA Web on the Asset Management Tab.
Primary Meter Reading
Viewable
The current Primary Meter Reading can be seen in the following areas:
Vehicle File - Primary Information Banner
Vehicle File - Asset Management Tab
Work Order - Vehicle Information Banner
Editing
The Primary Meter reading can be edited from the vehicle file and through work orders.
Work Orders should have the primary meter updated to the current reading. If there is an error in the meter reading, that should be done through the vehicle file using one of the options below.
Refer to Work Orders in RTA Web for information on updating a primary meter through a work order.
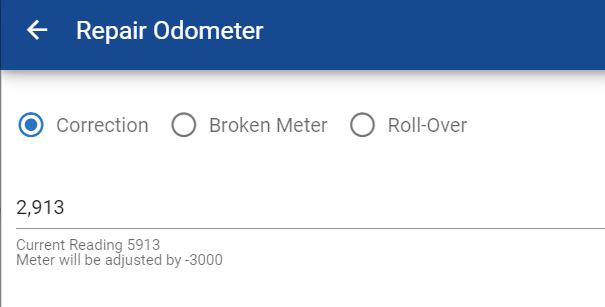
Correction
Errors can happen when meter readings are updated or input when adding a vehicle. RTA Web can help with correcting a meter reading by following the below steps.
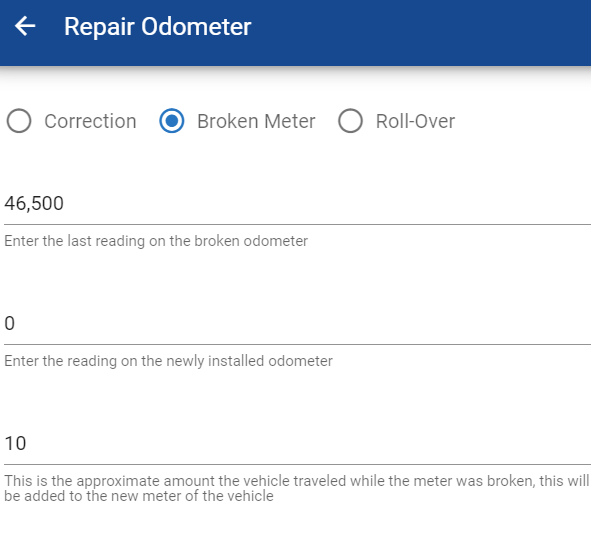
Broken Meter
Replacing a broken meter will need to be done on occasion. Follow the steps below when this occurs.
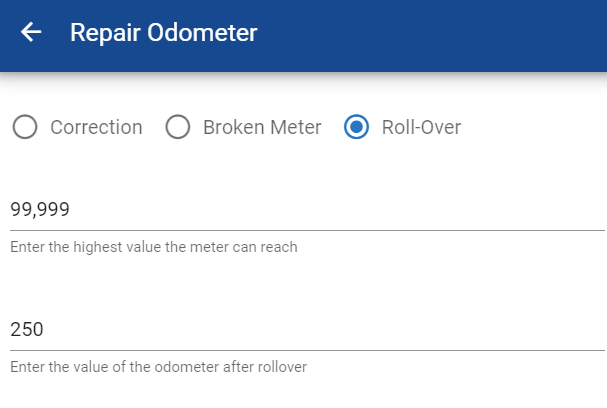
Rollover
Once an odometer reaches its max count, it will roll back over to zero and start over. Ensuring that the vehicle file is capturing the full life correctly, an adjustment would need to be made. Follow the steps below when an odometer rollover occurs.
Alternate Meters
An alternate meter may be another meter such as an engine or component hour meter OR it may represent items transported by this vehicle such as passengers, cases, boxes, tons, yards, and pallets. A total of 40 alternate meter types can be defined in the RTA system.
Up to 4 alternate meters can be assigned to a vehicle. Once they are assigned, they can be viewed in the Alternate Meter Banner in the vehicle file.
Alternate meters can be used to help determine when PM services are needed. For example, if this vehicle has a standard odometer and an hours meter, the hours meter can be set up as an alternate meter and the PMs can be set up to be tracked by days, miles, and hours.
Setting Up Alternate Meter Types
While alternate meters can be adjusted in RTA Web, the types to choose from must exist first and those are set up in RTA Desktop.
Refer to Alternate Meters for instructions on setting up the types.
Adding Alternate Meters to the Vehicle
Once the alternate meter types have been set up in RTA Desktop, they can be applied in RTA Web. A vehicle can have up to 4 alternate meters assigned to it.
Follow the below steps to include alternate meters into the vehicle file.
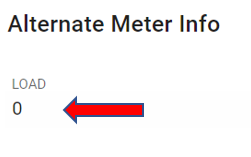
Editing Alternate Meter readings
Once the alternate meter types and values have been set up, they can be edited in the vehicle file. Refer to the Adding Alternate Meters to the Vehicle section of this document for set up instructions.
Follow the below steps to include alternate meters into the vehicle file.
Alternate Meters cannot be adjusted through Work Orders in RTA Web. They can be adjusted through work orders in RTA Desktop. Refer to Adding a Work Order for instructions on using this feature in RTA Desktop.


