RTA Web - User Groups
Access to various areas of RTA has always been a big question. In recent years, accesses can only be granted at the individual-user level. With the addition of RTA Web User Groups, administrators can create groups of users with like-access to the various areas of the program.
Starting with the initial Hosted User Permission Roles: Access Chart as a foundation of access rights, Admins can generate new groups of access for each of the areas listed in the link. Either use existing User Roles as a template, or create a while new role/group from scratch. Once the new Role is created, assign users to it to fill the Group.
From RTA Web the Admin can navigate to Admin > User Groups to view existing access rights for user groups.

From the existing “Default User Groups” shown, the Admin can expand the major components to select/de-select access rights for Admin, Master/Setup, Parts, Work Orders and Shop.
Adding a new Role from scratch
Use the + button in the top-right corner of the menu to create a new User Group.

Add the User Group Name and License Type (Full, Technician, Driver), then Save
Use the expanded access rights to set what this group is allowed to do:

By checking the box for “Add Parts” for example, those users assigned to this user group will be able to add parts into RTA (within the facility they have access to).
Adding a new Role from a Template
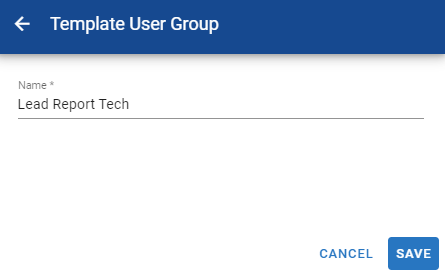
From the User Groups page, click the column header(s) of the existing User Groups you want to template into the new group. For example, click the column headers for “Lead Technician” and “Report User” to create a new role, we’ll call them “Lead Report Tech”.

Once Highlighted, click “Add Template” and fill out the Name, then Save

The new User Group will be saved. All Editable boxes will show in Blue, those default boxes which are not editable will be grey. Toggle the access rights for your new users using the expandable major components.
Assigning the User Group Role to your Users
From Admin > Users, the Admin, User Admin and specified custom Users can click on a user and assign their new Role under “Assigned User Groups”. Select the By Facility, or By Group, depending on view preference, then click Manage to edit access groups.

Click on the + to either add a column or a row and use the drop-down lists to select the facility and/or User Group you want to assign

Then Save
To remove access or delete a row/column, use Manage to remove all check boxes, then Save. Any rows/columns that are void of access boxes will be removed from the Assigned User Group screen of the profile.