RTA Mobile - Paperless Shop Brake Inspection
Adding a Brake Inspection through the Mobile Paperless Shop Screen
From RTA Mobile Application, click the Paperless Shop menu option and select a job to clock in to from your Jobs list. Refer to the Clocking on to Jobs option within the Mobile Application.
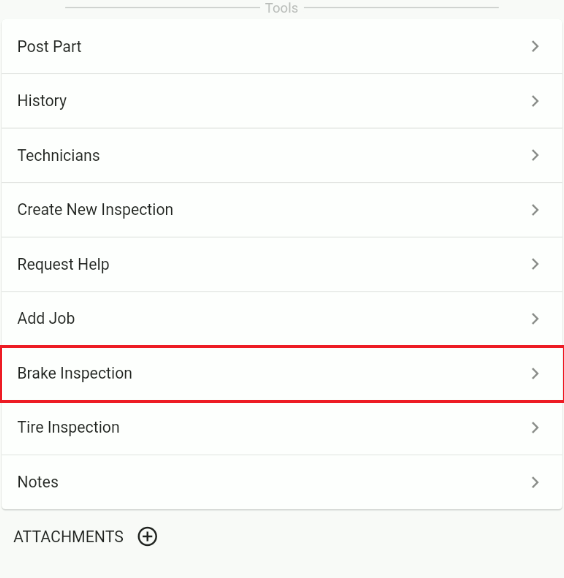
Once clocked in to a Work Order Job Line click Scroll down to the Tools Section: Refer to the Tools Section in RTA Mobile - Paperless Shop Tools Section
While in the Tools Section Screen click on Brake Inspection.
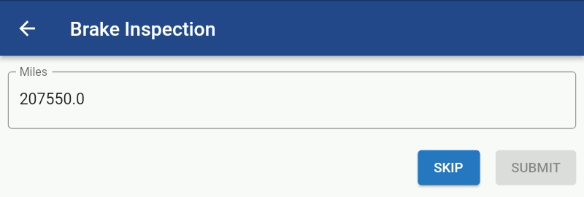
The following Inspection entry screens will pop up:
Enter the Current Odometer with a Submit or Skip button.
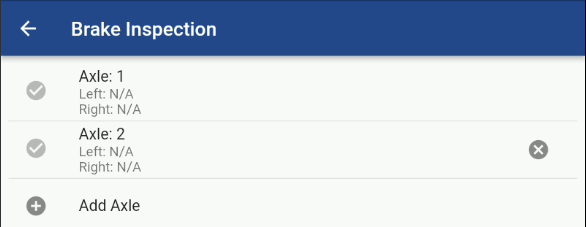
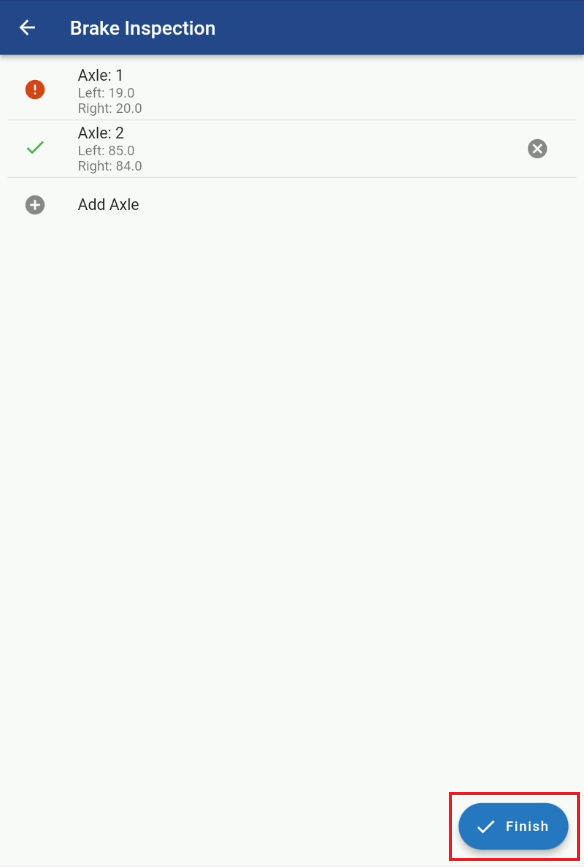
The Vehicle Brake Inspection Axle List will pop up and you will enter in to each position and update the data.
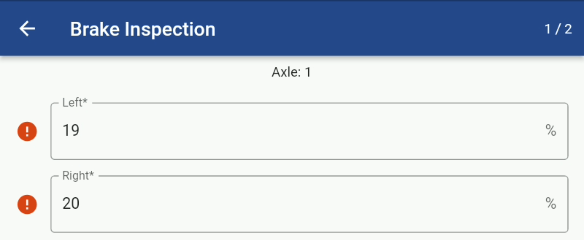
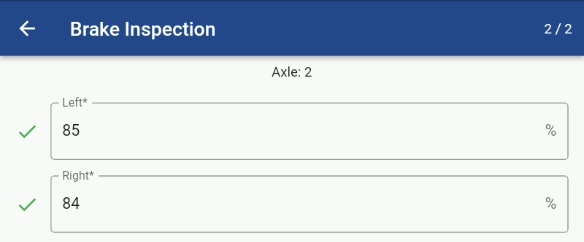
Within the Axle Record you are presented with:
Left Brake Thickness Reading - This could be in Percentage, Inches, Millimeters or 32nds. See RTA Web - Brake Inspection Setup
Right Brake Thickness Reading - This could be in Percentage, Inches, Millimeters or 32nds. See RTA Web - Brake Inspection Setup
Use the Side Arrows at the bottom of the screen to cycle you through the Axle readings
Note: If the Data being entered below the Critical Thresholds you will see a ❗circle in front of the number.
Once all the Axle data is entered then select the Finish Button.
You should get a notification that the Brake Inspection was added.
You can review the Brake Inspection Readings from the Asset file in Web. Refer to the Completed Brake Inspection section in Adding Brake Inspection
