RTA Inspect - User Account Set Up
Once users are added into RTA Inspect they will need to set up their individual accounts. See Adding Users Here: Adding Users. There are two different ways a user will get an invite and need to set up their account. One way is through a company email, and the other is if they do not have a company email. See the steps for each below.
User Set Up with Company Email
Downlaod and install RTA Inspect from the App store
Open RTA Inspect and click "Email Login"
Click “Activate Account”
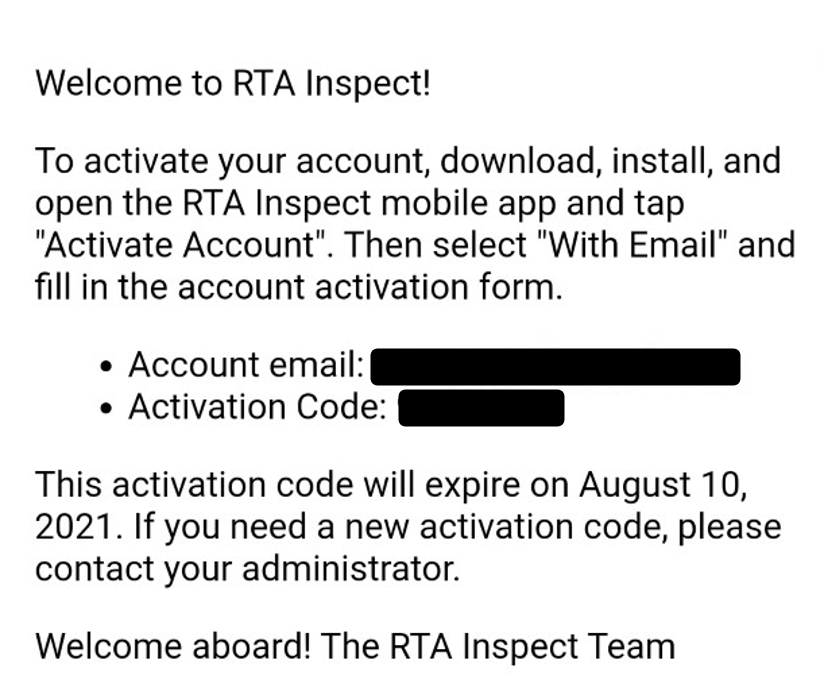
Use the credentials from your email (Example below)
Activation code is good for 7 days, if it expires, see your RTA administrator to get a new invite sent
Enter a secure password (at least 6 digits)
Click "Sign In"
User Set up without a Company Email
Since we don't have a way to send account activation and sign-in instructions to this employee directly, you will need to deliver these instructions to the employee yourself. Instructions are automatically emailed to you when you created the user. One easy way to do this is to print the emailed instructions, including the company code and activation code and deliver these instructions to the employee. You could also send the instructions in a text message if that is available. The RTA Inspect app has convenient buttons for copying account activation instructions and sending them in text messages. Once these instructions are delivered, here are the employee's steps:
Open the mobile app
If the app is already logged in to another account, logout
Click "Employee ID Login"
Click "Activate/Reset Password"
Enter the Employee ID/Number
Enter the company code (found in the instructions, also found in the app settings: Fleet/Settings/Company)
Enter a secure password (at least 6 digits)
Click "Sign In"

