Support - RTA Help Desk
RTA Help Desk is a tool to help users manage tickets and communicate with RTA’s Customer Support Team. It allows information to be transferred without getting blocked or lost in your email folder and gives the user more information on the status of the ticket.
Create An RTA Help Desk User
To create a user profile for RTA Help desk:
Go to https://rtafleet.atlassian.net/servicedesk/customer/portals
In the top right corner select Login
Put in the best contact email
An email will be sent with a link to complete setup
Create Password
The account is setup
Navigating Help Desk
Creating A Support Ticket
Go to the RTA Help Desk Customer Portal and login
Click the link for Technical Support Request
Add a brief summary of the issue in the summary line
Add any additional details or information in the description (example: Found in RTA Web or RTA Classic)
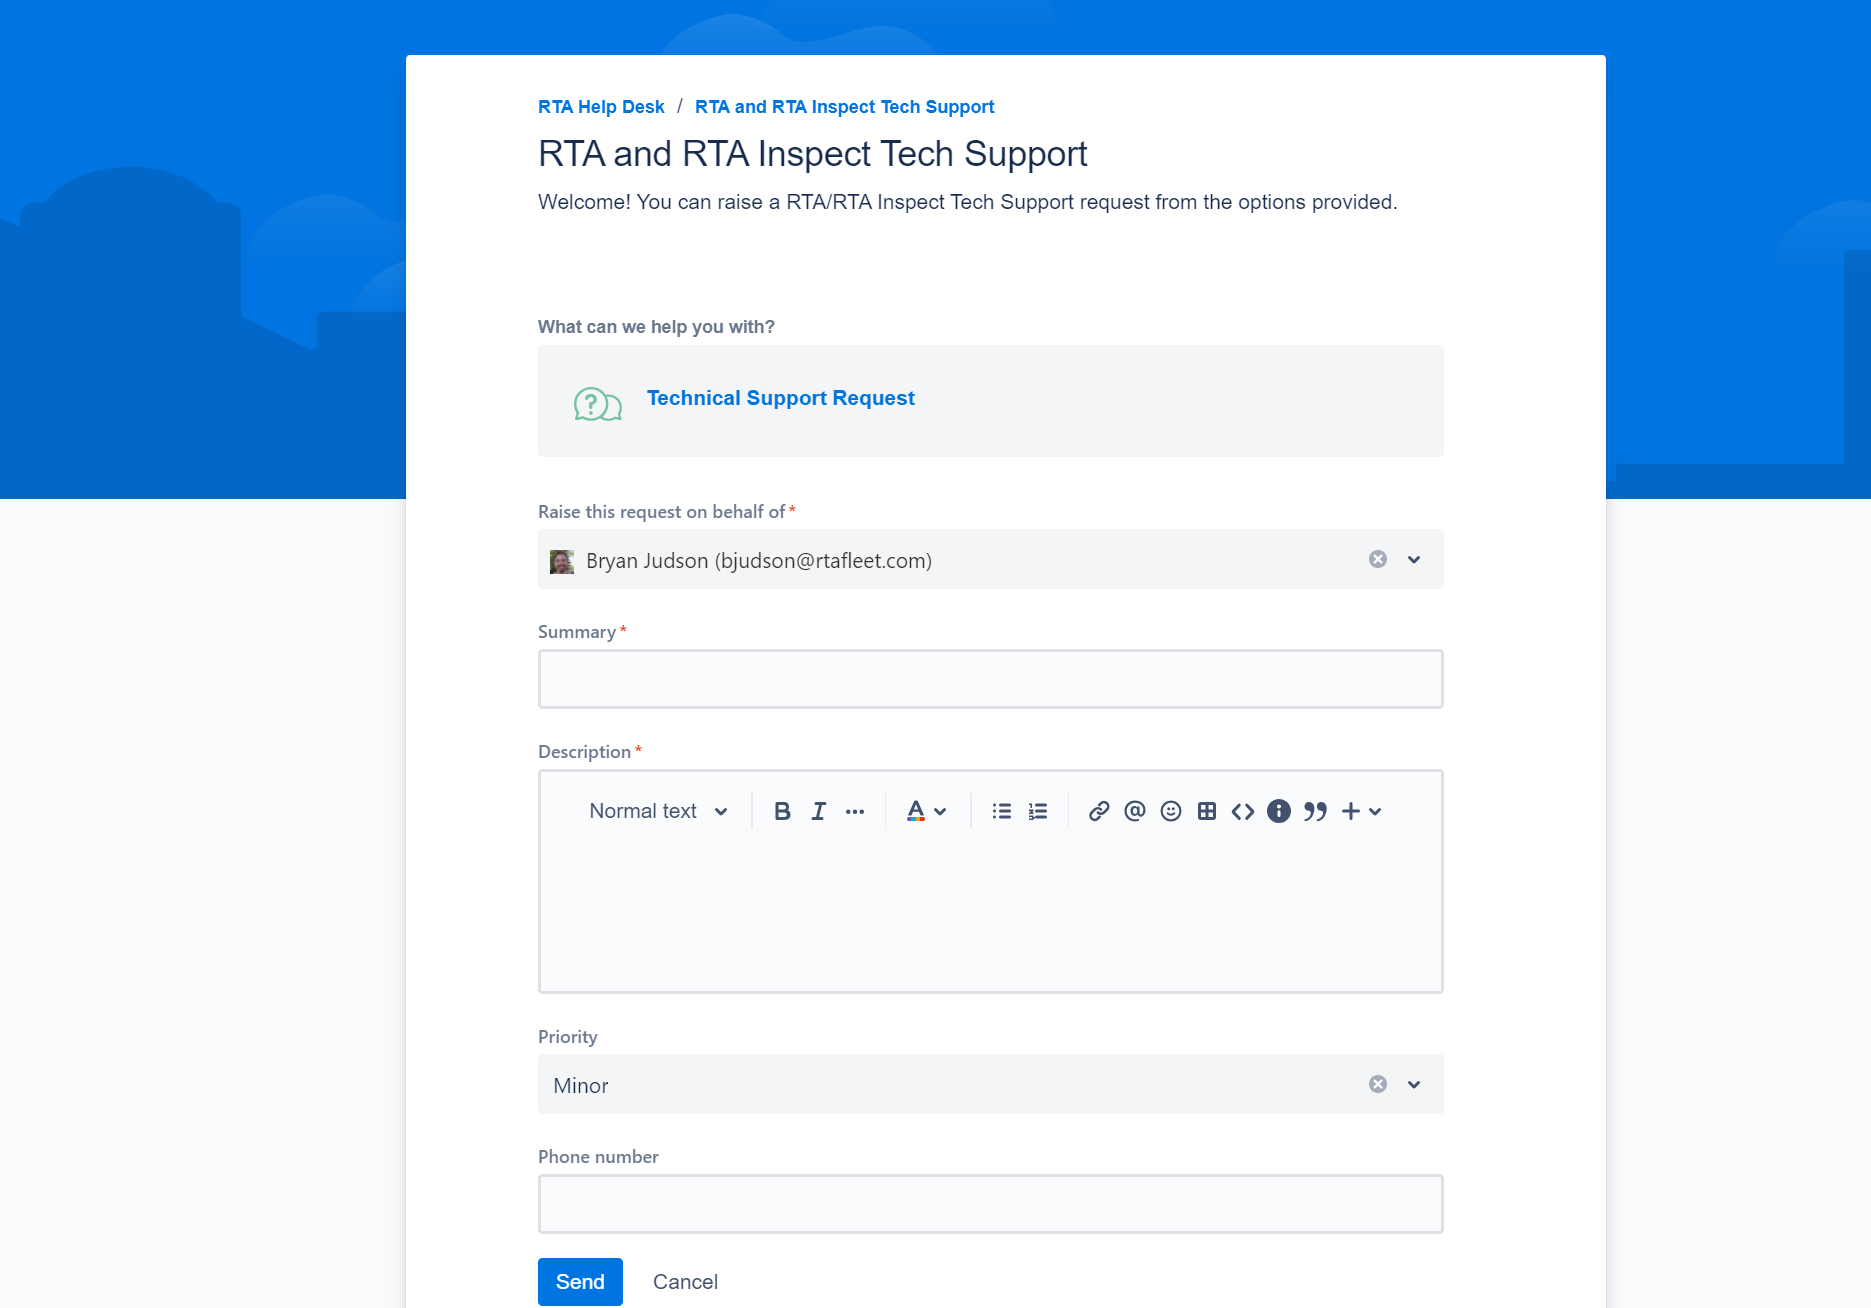
Optional: Add a phone number to receive a call
Optional: Add a priority to the ticket (see Priority Levels)
Select Send
An email will follow shortly after confirming the ticket creation
New Support Ticket
A confirmation email will be sent after a ticket is submitted that has a link to view the Support Request:
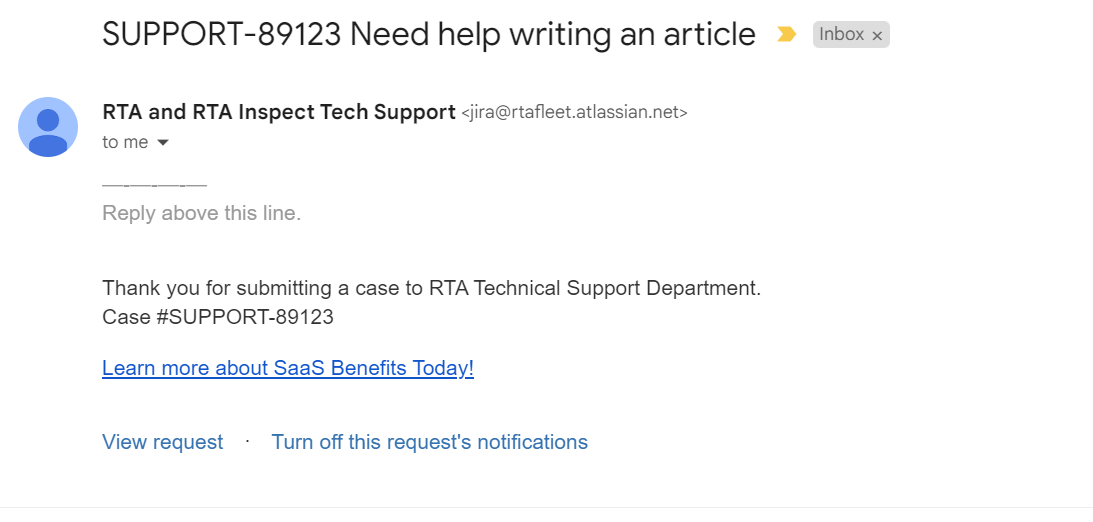
The link is directed to the Help Desk Support Ticket:
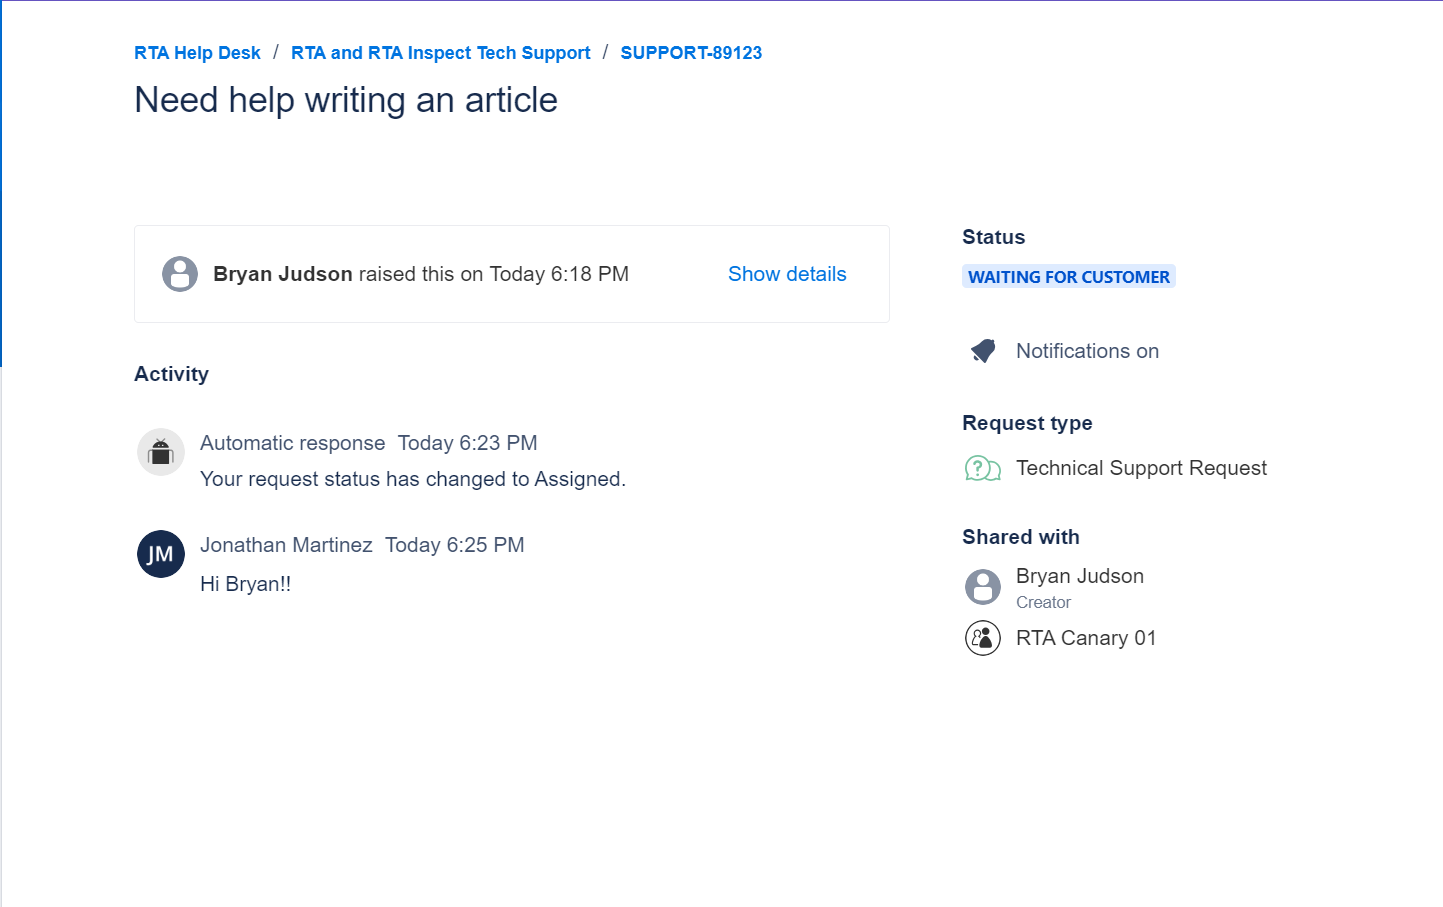
Replies can be added directly from this page to the ticket.
Exploring Tickets
Help Desk has access to all tickets, open or closed, including notes. To view:
Go to the RTA Help Desk Customer Portal and login
Click on Requests in the top right corner

Select Created By Me or All for tickets created by other Help Desk users where the user account is Requested Participant
The default view will show all of the accounts open requests, the ticket summary, and the ticket status (Refer to Ticket Status for more info)

The history only goes back to support tickets created after the Help Desk account creation time
Adding a Comment or File
Select the support case in question
Select in the box labeled Add a comment
Respond with information or attach a file using the Image and File icon

Select Save
Ticket Status
The ticket will be assigned a ticket status to help show its current progress. There are 15 status codes as it comes to Support tickets: